This post for my no-sew burlap tree skirt is one of our most popular posts in the history of Uncommon Designs. This is the perfect time to share it again with you! There is absolutely still time to make this beauty just tin time for the holidays and your tree will love you for it. After three years, I can promise you that my skirt is still in great shape and the ruffles are still full and impressive. Enjoy!
Do you ever wish that you had a beautiful tree skirt like the ones you see in magazines? I did! For years, I had just been draping burlap underneath my Christmas tree. While it served its purpose, I really wanted something a bit more finished. With the help of a few goodies from BurlapFabric.com, I was able to finally make that wish come true…
A No-Sew Burlap Tree Skirt
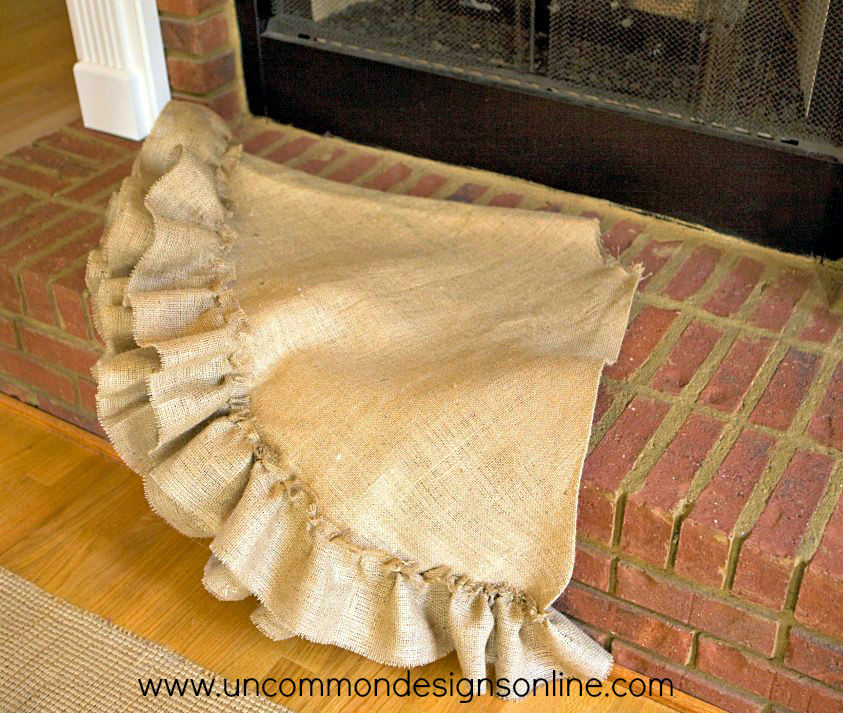
Just looking at all of those pretty ruffles gets my heart all a-flutter! Here is how you can make a no-sew burlap tree skirt for yourself…
Supplies:
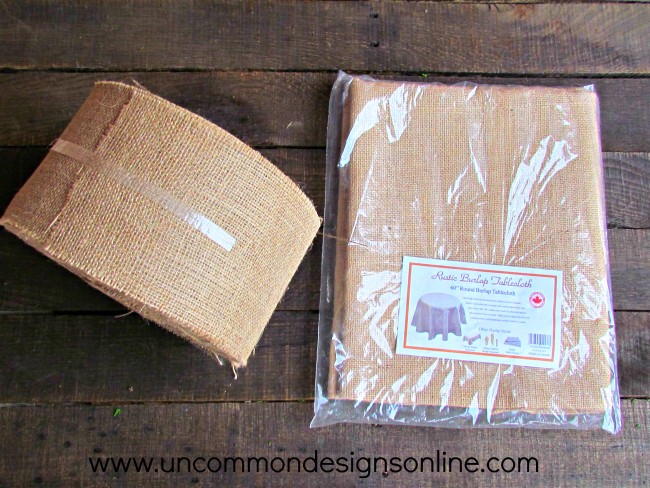
- One 60″ Round Burlap Tablecloth
- One 100 yd roll of 6″ Burlap Ribbon, you won’t need an entire roll and now stores carry the wider width ribbon! Try 2.5 x the skirt measurement!
- Hot Glue Gun and Glue Sticks
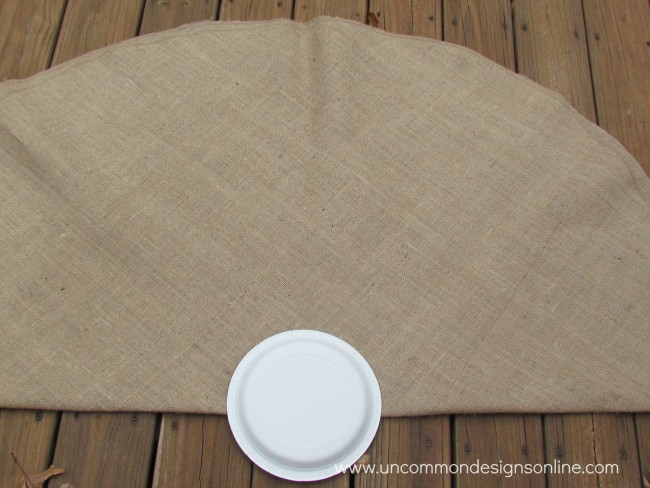
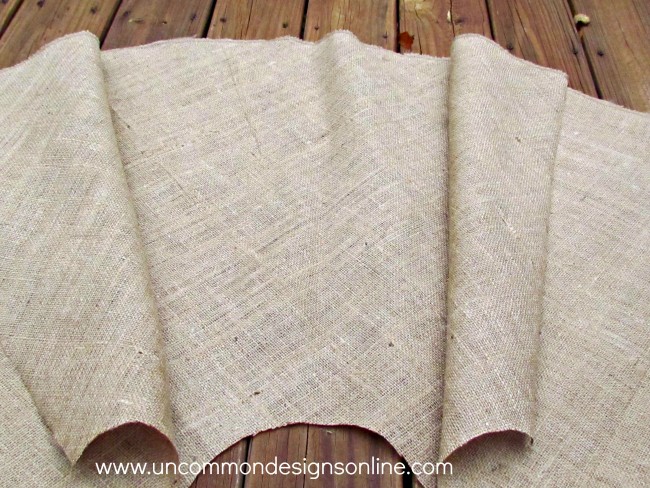
Step One. The first thing you will do is fold your tablecloth into quarters. Simply fold over once and then again. Now you will know where the middle of your tablecloth is. You will unfold one time and cut a half-circle out of the middle. I used a paper plate, but you could just freehand if you want.
Step Two. To create an opening, simply cut straight down from one point in the middle circle to the outer edge. You can leave these edges unfinished or you can press them down with an iron and hot glue the edge down.
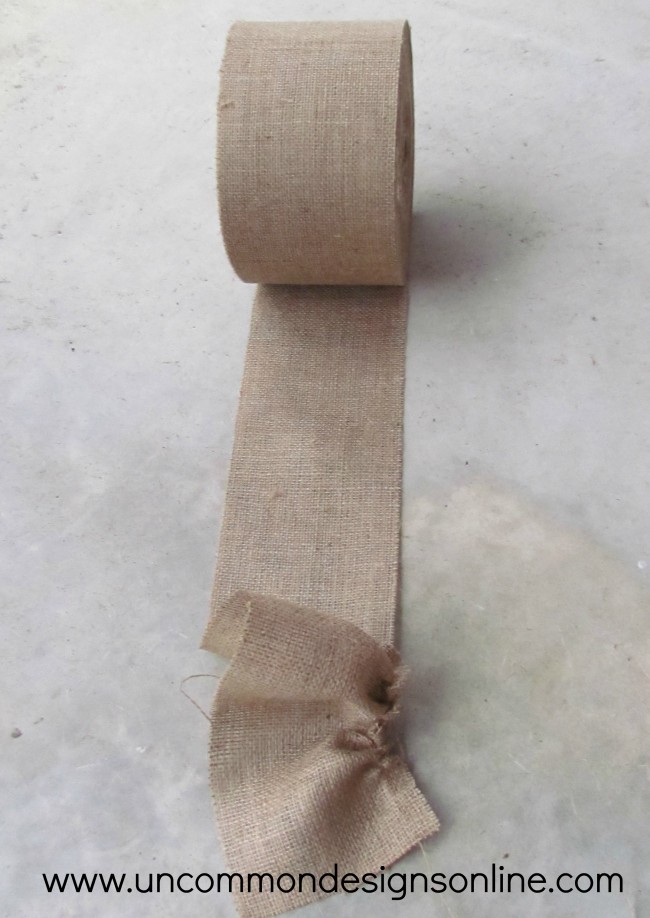
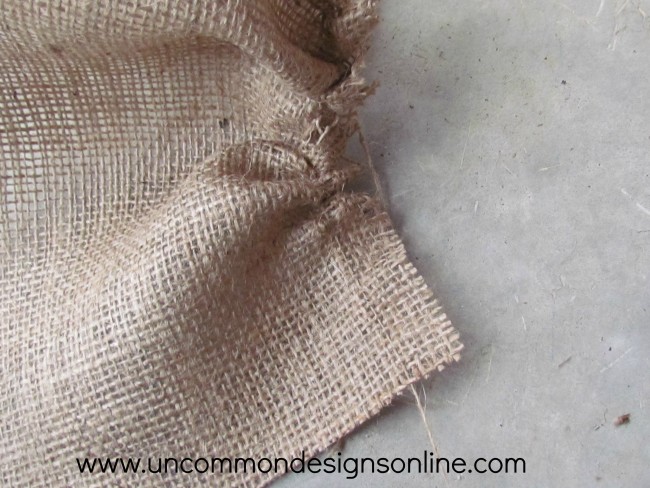
Step Three. Now you will take your 6 inch wide burlap roll and start making some ruffles. I pulled one thread about one inch from the top and started pushing it all the way down until I had enough ruffle to cover the outside of the entire skirt. The next two pictures will show you a close-up of how to pull a thread to make a ruffle and what it will look like while you are ruffling.
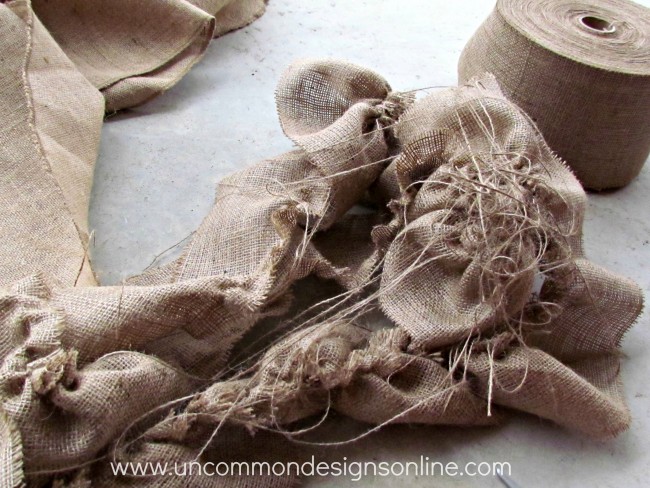
Step Four. To finish the tree skirt, you will simply hot glue the ruffle to the edge of the tablecloth. You will need to remove any frayed fibers of burlap. I did not at a closure, but you could easily sew ribbon, buttons, or hook and loop tape to use for fasteners.
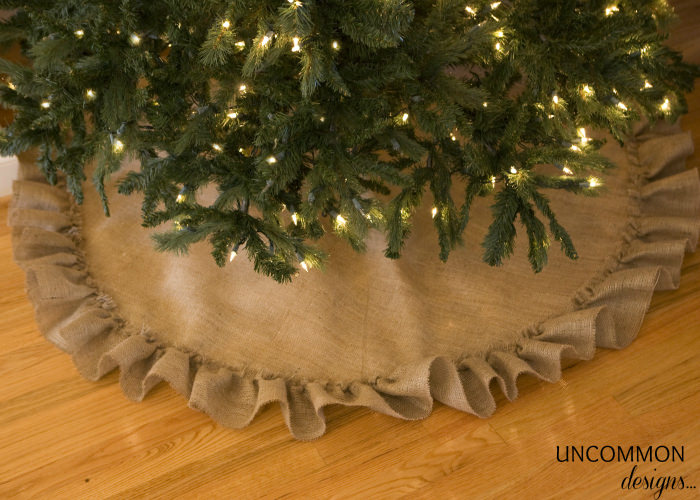
I am really loving the tree skirt and it was such a simple project! It peeks out from beneath my tree in just the right spot and the ruffles are gorgeous!
If you are a burlap lover like Bonnie and I, you may enjoy our burlap project page!
Trish Flake
Latest posts by Trish Flake (see all)
- Easy Leopard Painted Pumpkin - October 18, 2021
- Embroidered Swedish Dishcloths - May 3, 2020
- Easter Egg Decorating Party - March 21, 2020

That looks amazing!! Love the burlap skirt! So pretty and so simple….I’m definitely going to try and make one! xx Rani
That turned out really cute! A great idea for the non-sewer! And since it’s not used for very long, I bet it would hold up just fine too!!
I always get excited when I see no sew!! This is really pretty! You make it look easy to do!
Karen
What a darling tree skirt! Do you know I never have had a “Real” Tree skirt !!! Maybe I need to make one !
That’s the cutest tree skirt I’ve seen this year! I think I can do it!
Love it! And it’s burlap – one of my favs! And perfect because it’s no-sew! Thanks for sharing. I’m pinning this one to make for next year!
Loving the burlap look right now, and your tree skirt is so charming. Great tutorial!
Very pretty! I love the raw, natural look of the tree skirt…so perfect for the season!
With a name like The Gunny Sack, you know I love anything burlap!
You had me at burlap and no sew! So pretty. The burlap looks great with the white lights on the tree and the wood floor.
That’s a great idea and it turned out beautifully! Well done!
This is one maybe I could handle! Love it!
I do like your tree skirt, just my style too! I’ve got this linked to my tree skirts roundup post as well today, nice job!
So pretty…I still have time to make one, right? SURE!
Love it! This project was on my to-do list but it never got done! Guess I will file away for next year!
What a beautiful tree skirt. 🙂
Curious – how much of the 6″ burlap ribbon did it take? I want to make 2 and wondering if 1 roll would be enough or if I should get 2.
Where did you find your burlap tablecloth?
Your tree skirt is beautiful. I’m pinning it.
How much of the 6″ ribbon did you use for the ruffle? Trying to find a cheaper price, but can only find spools that come in 10 yards.
Carrie »
I would measure around your skirt and then multiply that by 2.5. It should give you a pretty good idea of how much you’ll need.
Take care,
Trish
I’d been thinking about doing something like this for Christmas this year, so I did a quick bit of Googling and ta-dah! This is exactly what I was looking for. Thank you! I’m definitely going to try this.
Do you need to prewash the burlap before creating the skirt? Any special directions regarding laundering of burlap?
What a great idea to make the ruffle with a thread from the ribbon. Making a tree skirt is on my holiday To Do as well. Time for something new under the tree! Visiting from Inspiration Monday party.
Would this fit an 11ft tree? If not how wide would I need the burlap round to be? Thank you! Absolutely love this. Just what I have been looking for!
Any suggestions for the best place to find the burlap tablecloth and 6 inch ribbon? Thanks
The tablecloth and ribbon are from Burlapfabric.com. We have a couple of linls to their site in the post, I will check to make sure they are working! 😉 Hope that helps!