Thank you Yahoo! for sponsoring this post. While this was a sponsored opportunity from
Yahoo!, all content and opinions expressed here are my own. #YahooDiy
Snow….I have a love/hate relationship with it. I LOVE it {for a limited amount of time}, and HATE that we do not get more of it here in South Carolina. When we do get the white stuff here, it is crazy!! {and super fun!} So I try to bring a bit of the snowy atmosphere into my Christmas decorating. This year I created this beautiful Christmas Greenery Snowflake after being inspired by this super tutorial on Creating Snowflakes That Never Melt at Yahoo! .
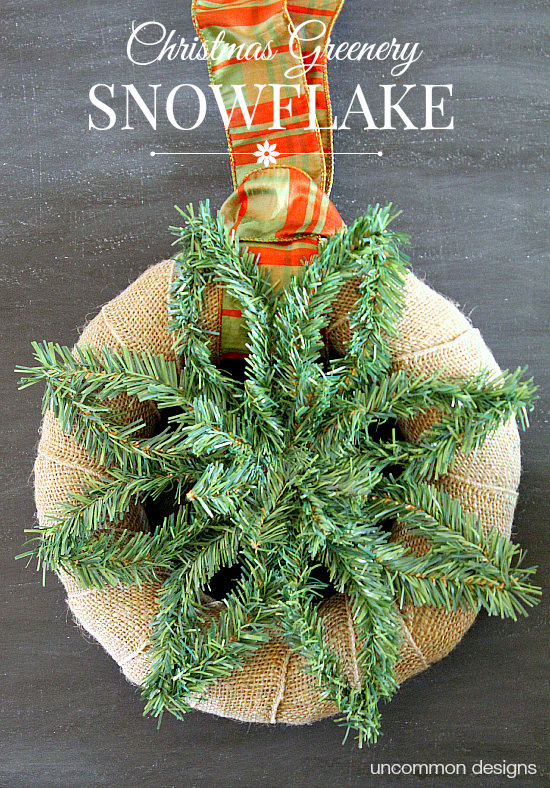
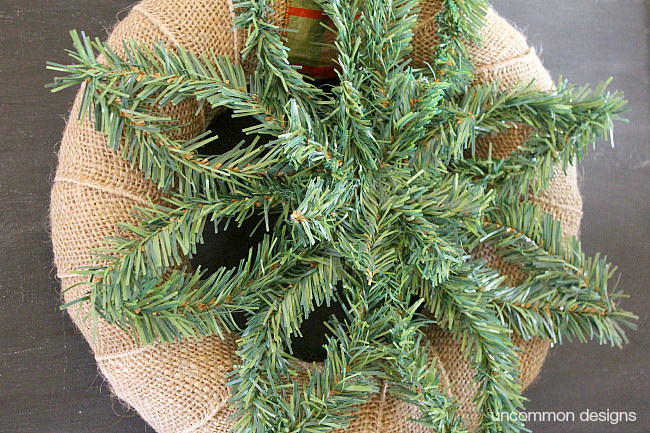
Beautiful right!? I could no believe how quick and easy this project was. Once I decided on the design of my snowflake, remember no two are alike, I finished the snowflake in about 10 minutes or less. Want to hear the best part, mine is crafted of fake greenery, so it truly will never melt!
Let’s Get Crafting…
________________________________
SUPPLIES NEEDED:
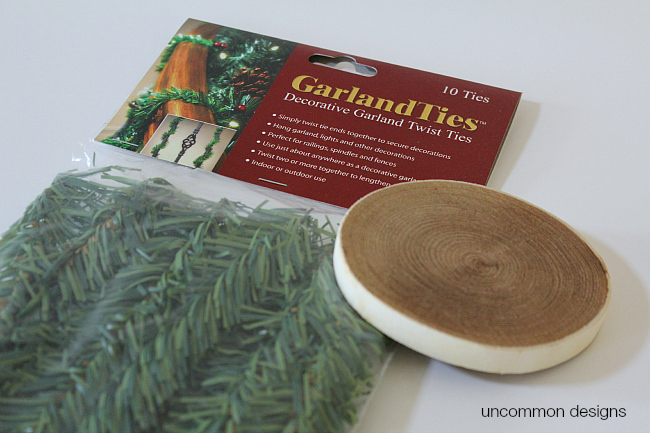
1. 1 Package of Decorative Garland Ties
2. Wooden disc or Birch Disc
3. Scissors
4. Glue Gun and Glue Sticks
STEP ONE:
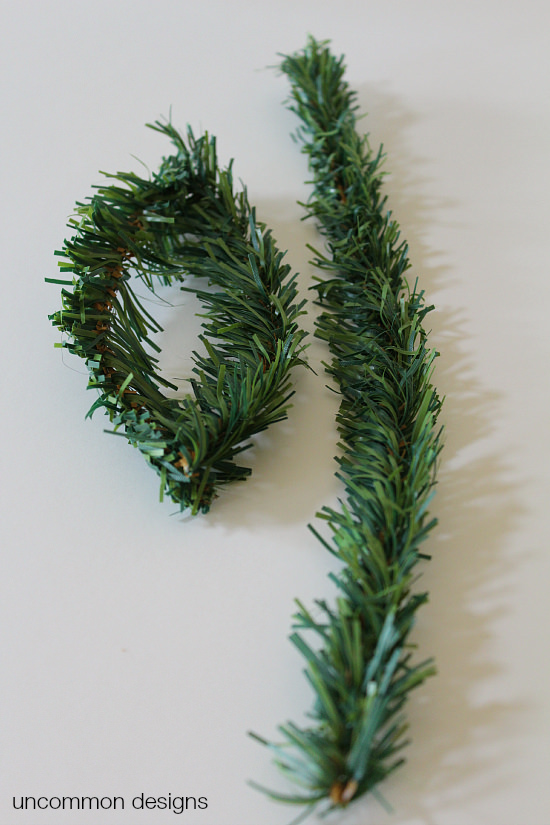
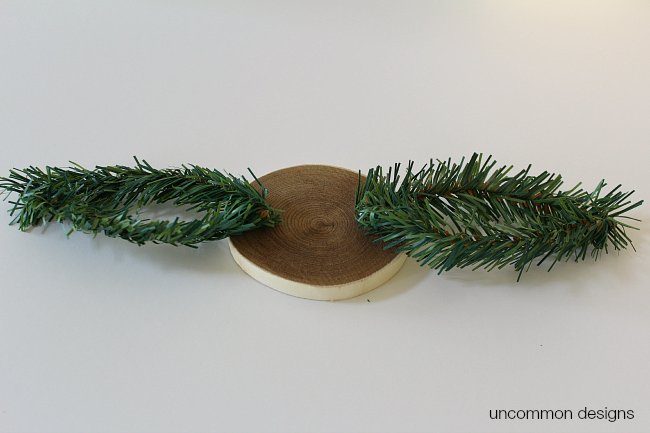
Take 8 of the garland ties to use for the outer ring of the snowflake. Fold each one in half and then gently curve them into oval shapes. Add a bit of hot glue to the bottom of each to attach the oval.
STEP TWO:
Once all 8 garland ties have been folded, shaped, and glued it is time to attach them to the wooden disc. Simply place them one at a time, and attach with hot glue, to the wooden disc. I attached them in this order….left middle {9 o’clock }, right middle { 3 o’clock }, top { 12 noon } , and bottom { 6 o’clock }. Then I placed one between each of those for a total of 8 stems.
STEP THREE:
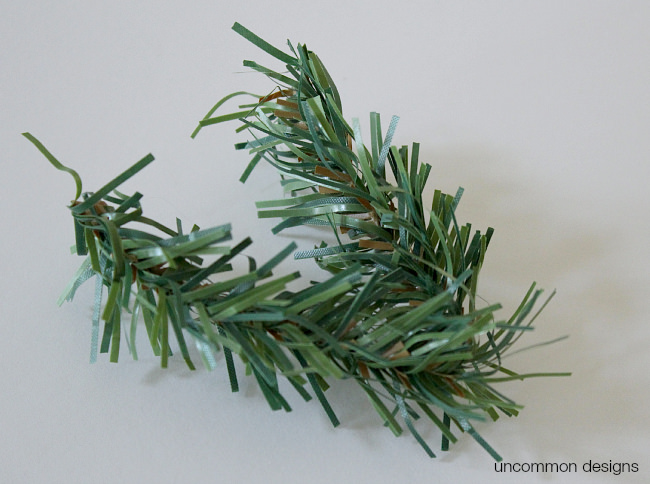
Now that all the points of the snowflake are attached, it it time for the center. Take the 2 remaining garland ties and cut them in half. Fold each half in half again, to form 4 little “v” shapes.
STEP FOUR:
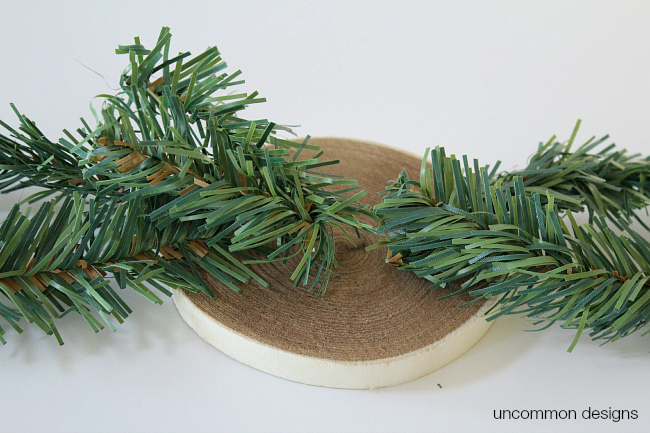
Attach all four of the little “v” shapes to the center of the wooden disc using the glue gun. Once they are all attached, you can open them up or close them up a bit depending on what you like.
That is it!
The design possibilities are endless for these. I chose to create a wreath out of my little snowflake, but wouldn’t a set of these be adorable hanging in a large window?
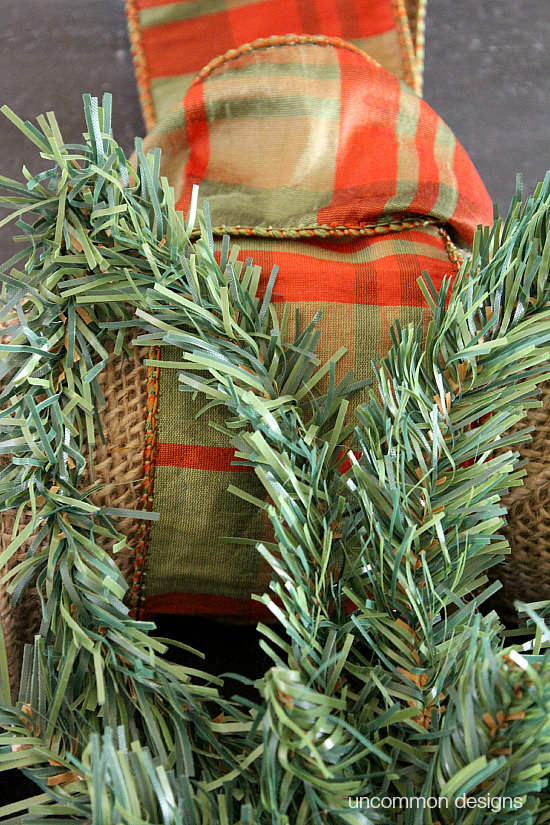
I love the pointed ends of this snowflake, it almost looks like a star. I think a grouping of these large and small would be an amazing Christmas accent to your home decor.
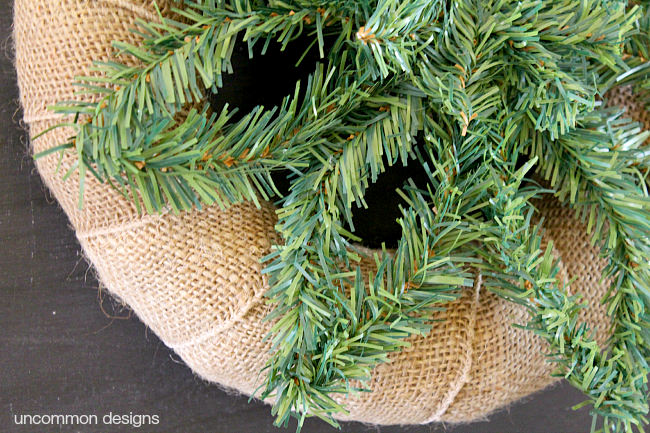
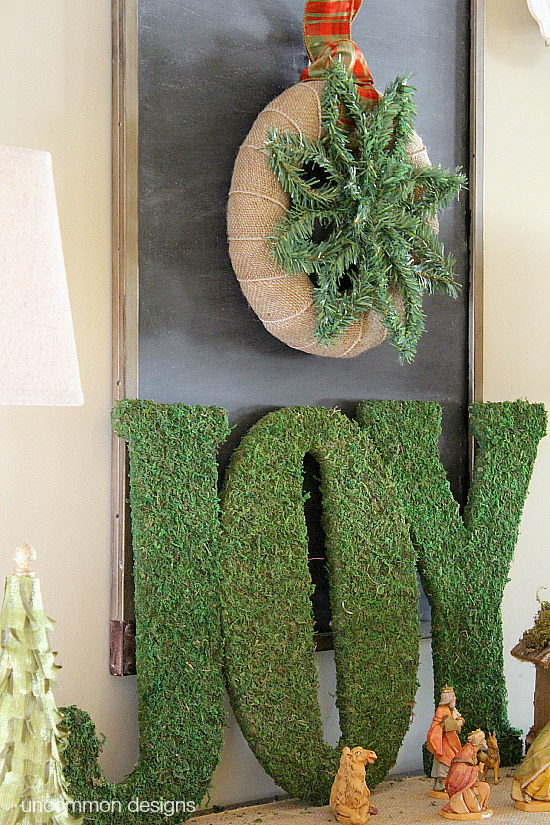
I attached the snowflake to a wrapped burlap wreath form and placed it on my chalkboard in my foyer. I even dusted the chalkboard a bit to add a little “snowy” feel to it.
So, have you been inspired to create a snowflake that never melts?
Be sure to visit the Yahoo! Diy site for even more inspiration.
Trish Flake
Latest posts by Trish Flake (see all)
- Easy Leopard Painted Pumpkin - October 18, 2021
- Embroidered Swedish Dishcloths - May 3, 2020
- Easter Egg Decorating Party - March 21, 2020
Gorgeous! I love the combination of textures, especially the birch disk.
Thanks so much. I do love the textures.
Oh I just LOVE this!! You girls are so clever!
Thank you Kristi. I do love a little snowflake!
What a cute craft! I love when things turn out simpler than they look.
I know right?! Seriously in love!
So pretty! I haven’t ever see the garland ties. I need some! Genius way to use them. Thanks for the idea.
Thanks friend!!
Love this! I love that it is a green snowflake. Completely non traditional, classy, and looks great with the rest of your decor. Very pretty!
Gorgeous!
This is super cute, Bonnie! Love it!