This post is part of a social shopper marketing insight campaign with Pollinate Media Group® and All You, but all my opinions are my own. #lifeforless #pmedia http://cmp.ly/3/8vNxcO
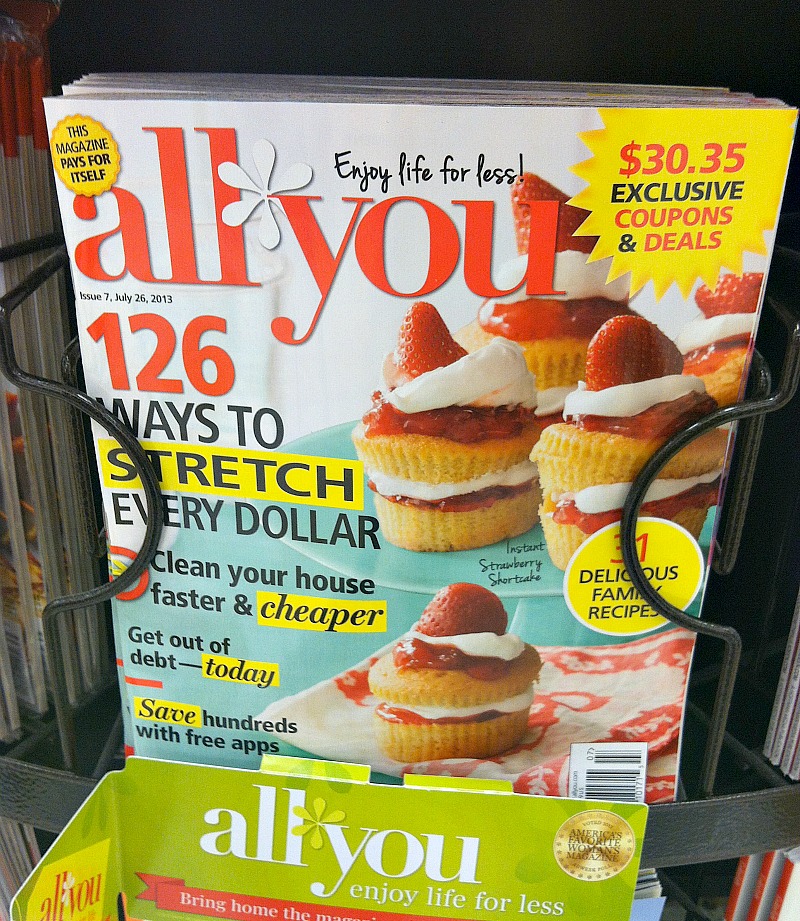
I was in my local Bi-Lo grocery store doing my weekly shopping, and picked up the new July All You Magazine . I really love All You Magazine and have been a reader for quite a while, both the articles and coupons are a hit with me. The cover of the July issue caught my eye immediately, can you say yum…
All You is a wonderful magazine that is packed full of great money saving ideas, articles, and coupons. You can find budget friendly ideas for recipes, DIY and home decor, fashion and beauty, financial tips, and lots of money saving coupons. All You Magazine really covers it all.
For us busy, and budget minded mommas..it is a great source of ideas,tips, and savings!
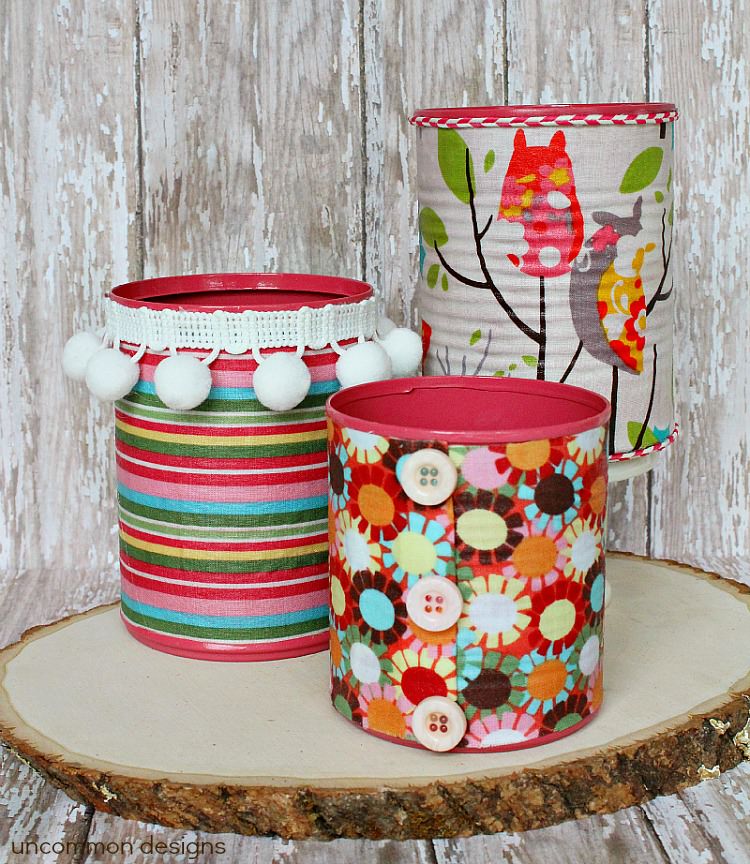
This month in the All You Magazine they have a brand new section …Take This Make That Craft Challenge. So that is where my idea for my Fabric Covered Aluminum Can Organizers came from. We are freshening up my teenage daughter’s room but do not want to spend a lot of money, and I knew these would be perfect for her desk area. The challenge was to use cans…3 steps and $5 dollars.
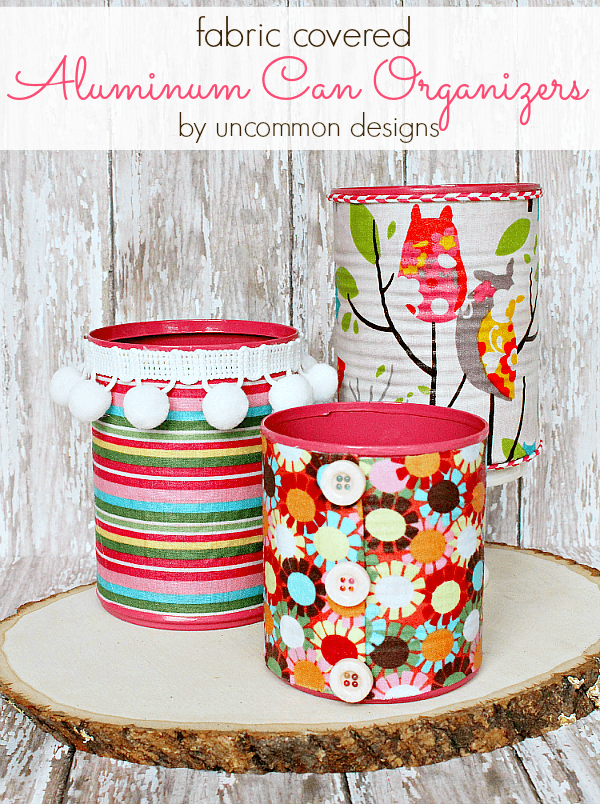
So here is what I did to create the Fabric Covered Aluminum Can Organizers…
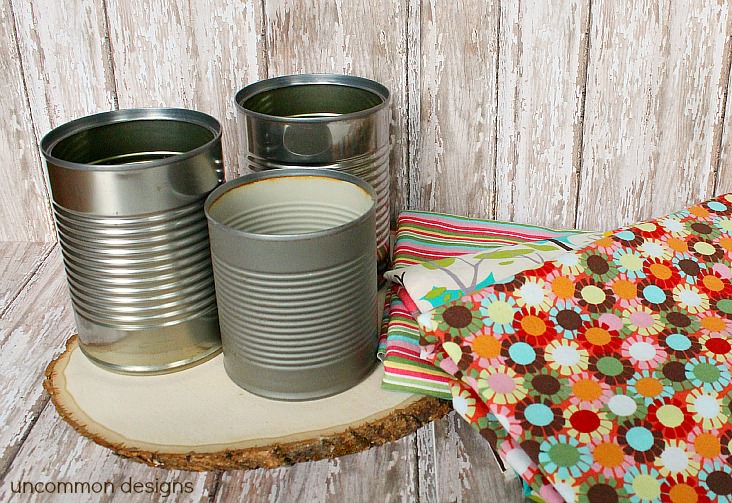
Gather Supplies…
*******
3 Aluminum Cans { had these on hand }
3 Fabric Choices { had these on hand~ only need a small amount, even scraps }
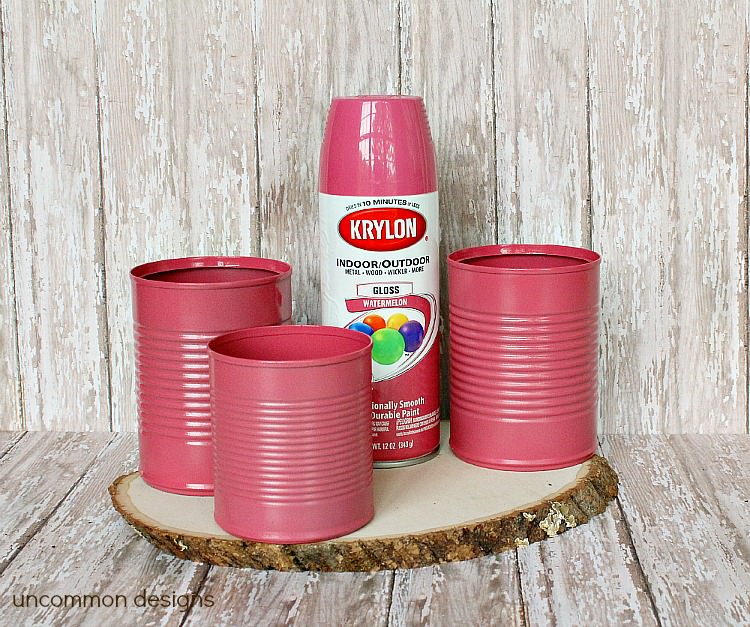
Spray Paint of Choice {I used Krylon Gloss in Watermelon }
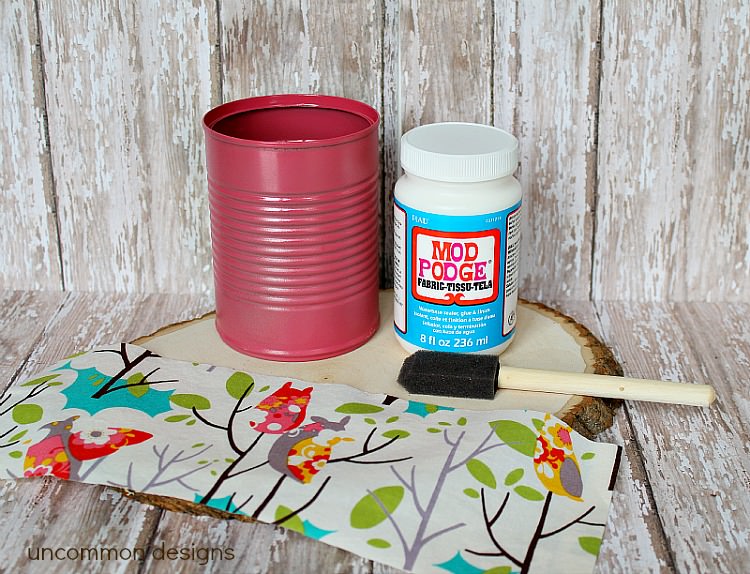
Fabric Mod Podge { $4 }
Misc. embellishments {had on hand }
*******
Step 1:
Spray paint the cans inside and out in your color of choice.
Step 2:
Cut fabric to fit around can. { you can calculate this by the height of the can and the diameter of the can plus about 1/2 an inch in diameter for overlap} Apply Fabric Mod Podge to back of fabric and place around can. Allow to dry about 15 minutes and then apply a coat of Fabric Mod Podge to the front of the fabric on the can. Allow it to dry fully.
Step 3:
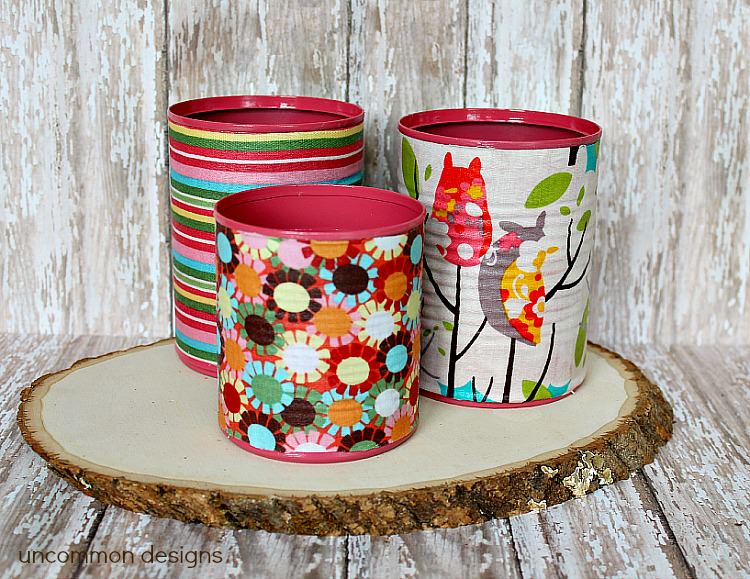
Embellish your fabric covered cans as you wish! My daughter picked out some leftover buttons, pom pom fringe, and baker’s twine. We simply glued them on.
She loved how they turned out! I loved that we spent around $4 for all of them. What a great project inspired by the Craft Challenge in the All You Magazine and such a money saving option. I see more of these in our future. Perfect, colorful organization for lots of areas in our home…
So what would you make with tin cans? The possibilities are endless and the budget is oh so friendly thanks to the fabulous inspiration from All You Magazine.
Click here to subscribe to All You Magazine!
Do you love using fabric in your home projects? You will also love these ideas…
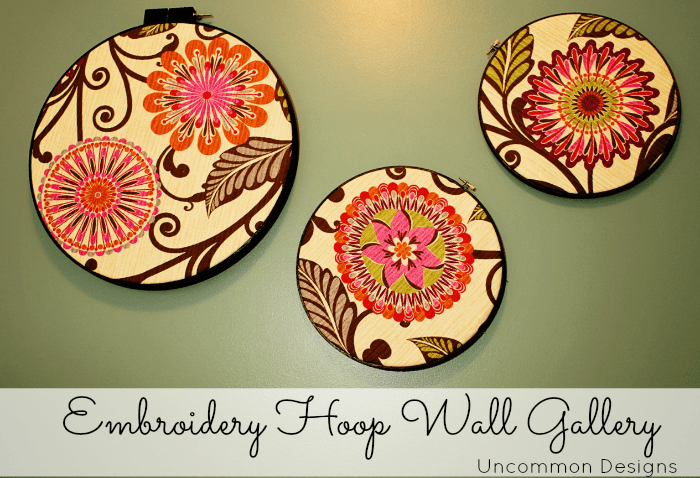
DIY Art using Embroidery Hoops and Fabric
*This post contained affiliate links of products that we use… and love!
Trish Flake
Latest posts by Trish Flake (see all)
- Easy Leopard Painted Pumpkin - October 18, 2021
- Embroidered Swedish Dishcloths - May 3, 2020
- Easter Egg Decorating Party - March 21, 2020

how cute are these cans. May have to make a few for my craft room. Happy 4th!!
Uncommon and Amazing as usual.
I bow to your power ;).
Thank you for sharing. I always wanted to do something with those cans, now I know WHAT I HAVE TO DO :D.
Teres
Those are seriously adorable! I’m working on a little art station for my daughter and will definitely have to make some of these for her supplies! 🙂
Vanessa
These are too cute! I always loving using stuff from around the house : )
How CUTE are these! They totally look like they came out of All You Magazine! So fun!
wow, those are so stinkin’ cute. love that owl fabric!!!
I love reusing things – and this is such a lovely way to do it! Thank you for the wonderful idea!
I absolutely love this! Great job! and thank you so much for sharing it:) I have done some tin can up cycles as storage containers before but never thought to spray paint the insides first! Great tip!
These are super adorable! Using mod podge was such a good idea, I bet your daughter loves these!
Jenna
My grandma used to make these, down to the trim. It really brings back memories!
Oh my gosh, I just LOVE this idea! This is something the kids and I can do this summer! These would be great to organize all of their art supplies (paintbrushes, crayons, markers, special drawing pencils) and their hair accessories!
this is a lovely and cute idea to make! great way to reduce, reuse and recycle. Thank you for sharing.
So cute! Pinned ’em 🙂
<3 Christina @ I Gotta Create!
These are surprisingly cute cans for a recycled item. I found the term “aluminum can” a little confusing as these look like standard steel cans. Aluminum cans are what soda and beer come in; they’re lightweight and easy to squeeze. If you’re able to attach a magnet to a can, it’s steel, not aluminum. They used to be coated with tin, so traditionally they were called tin cans, and that’s still a pretty common term. Whatever you call them, your photo is a great inspiration for a cheap organizer.
Thank you so much for sharing this marvellous idea for storing my office supplies in my newly reorganized home office. As a quilter, I have so many fabrics and just not enough opportunity to use all of the extra bits. This will be a super fun project to display some of my favourites fabrics. Can’t wait to get started!
These are adorable! Did you need to do something to the inside of the can rim so that it isn’t sharp?
Do the cans! How easy is that? Thanks!
This is nice and yet so easy. Loved your post, especially those hanging embroidery hoops!