I am so excited to share with you a sweet little ornament you can create for your family tree or as a gift for a special someone. This Mason Jar Lid Christmas Ornament is just adorable…
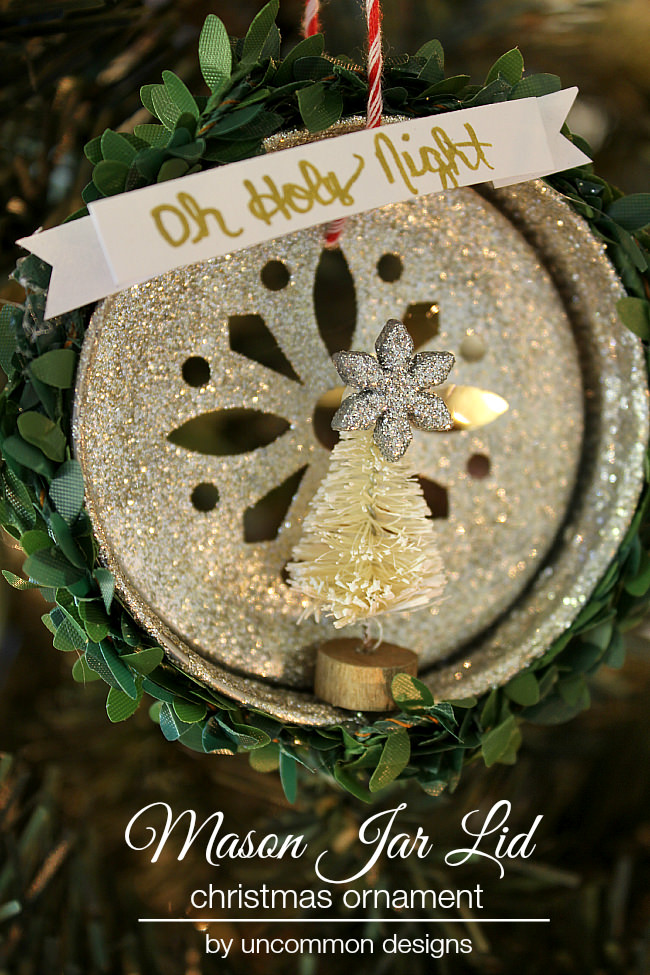
I just love the combination of the glitter and the vintage looking bottle brush tree. I also like to incorporate a bit of nature, like this green garland, into some of my ornaments, like my Mini Pine Cone Kissing Ball Ornament and my Deer Head Christmas Ornament. So let me show you how to craft your own little ornament…
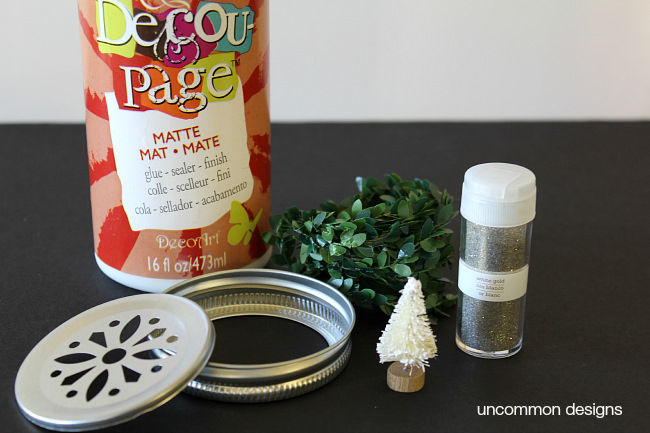
SUPPLIES NEEDED:
________________________________________
1. Matte Decou-Page from DecoArt
2. Mason Jar Lid Rim and Insert.
3. Mini Cream Bottle Brush Tree
5. Green Mini Garland.
6. Red and White Baker’s Twine
7. Mini Star or Snowflake in silver or gold.
8. Glue gun and gluesticks
9. Cream Cardstock
10. Gold Pen
11. Clear Acrylic Spray Sealer { optional }
________________________________________
STEP ONE:
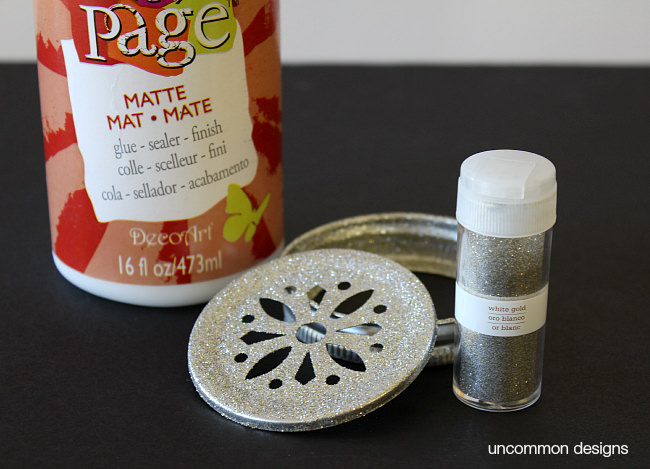
Using a small foam paint brush, apply a layer of decou-page to the mason jar insert and around the inside of the rim lid. Sprinkle the fine glitter over them and allow to dry. Once dry, I like to spray a bit of clear acrylic spray sealer over the glitter to hold it in place. If you love glitter as much as we do, then our Vintage Glass Glitter Reindeer Ornament is a must see.
STEP TWO:
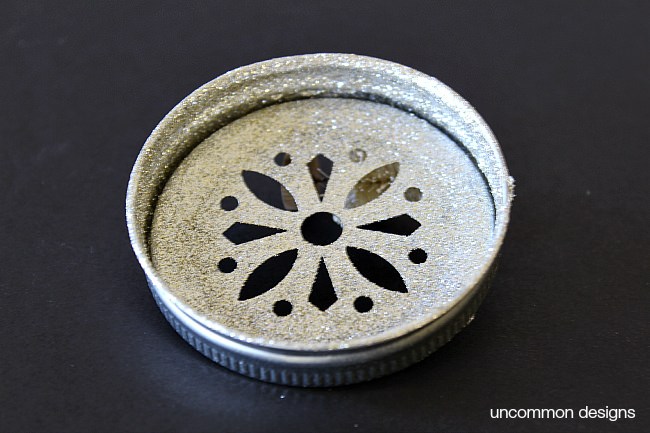
Using the glue gun, attach the mason jar insert inside the mason jar rim. Press down along the edges of the insert to make sure it adheres well.
STEP THREE:
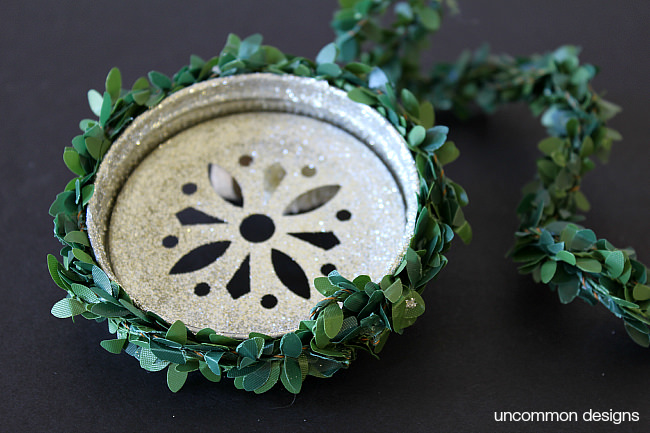
Add the mini garland around the outer edge of the mason jar lid with the hot glue gun. I doubled up the garland to get a bit of a fuller look.
STEP FOUR:
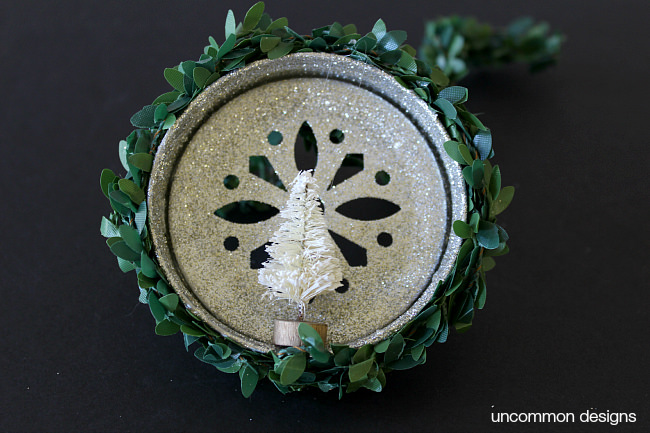
Glue the little mini bottle brush tree onto the lip of the mason jar lid. Look how sweet this is going to be. All sparkly and vintage!
STEP FIVE:
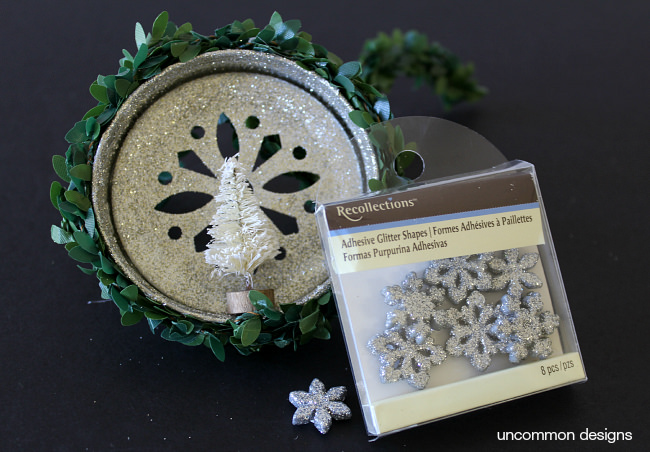
Use a simple star or select a mini glittered snowflake to add to the top of your tree. A perfect little accent to the bottle brush tree.
STEP SIX:
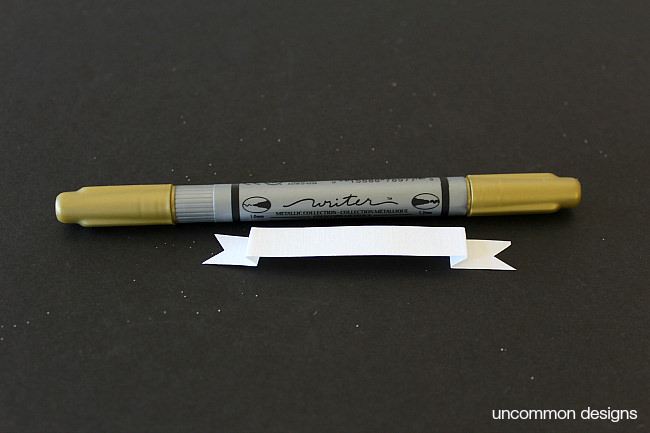
Create a simple banner out of cream cardstock. Simply cut a strip and fold the ends over to create a little pleat on each end. Notch the ends like a ribbon. Use a gold pen to write “Oh Holy Night” or whatever you wish on the banner. Attach the banner at a slight angle from side to side on the lid.
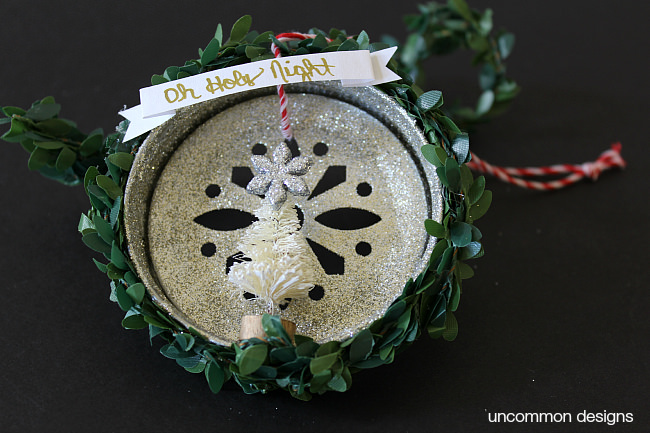
Sweet right? I had a hard time deciding what to write, but my anniversary is in December and this song has a special memory for me from my wedding. So it was the perfect accent. The final step is to add a bit of red and white baker’s twine to use as the hanger. I think the little pop of red makes this beautiful ornament stand out on the tree.
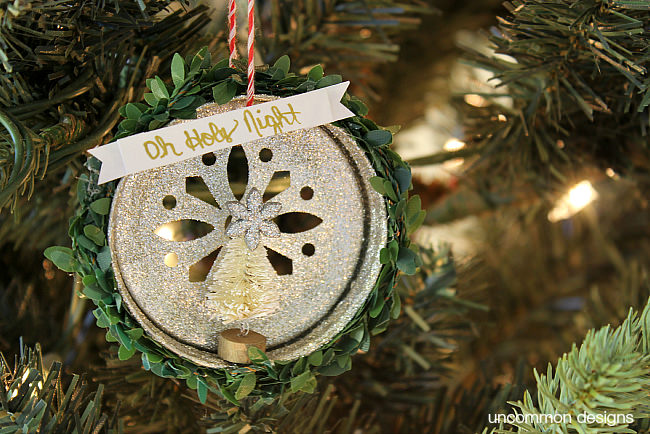
The way the lights shine though the back of this Christmas ornament is stunning. It just makes me smile.
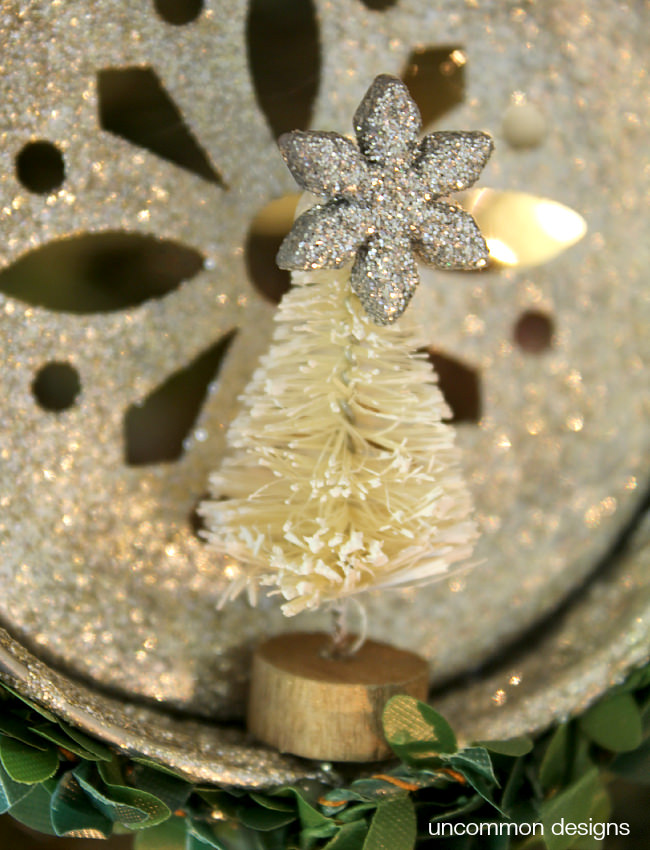
Simple and sweet! We love making homemade Christmas Ornaments each year and we hope that we have inspired you to create some for your own tree.
For a bit more Christmas inspiration, check out how we created these amazing JOY Letters in Light…
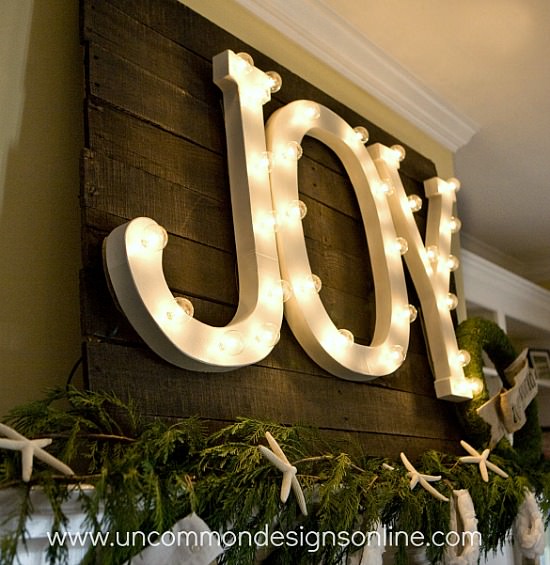
Enjoy!
*this post contains affiliate links
Trish Flake
Latest posts by Trish Flake (see all)
- Easy Leopard Painted Pumpkin - October 18, 2021
- Embroidered Swedish Dishcloths - May 3, 2020
- Easter Egg Decorating Party - March 21, 2020
Leave a Reply