Simple Holly Christmas Ornament was written as a part of the DecoArt Core Blogging Team. All opinions and craftiness are our own.
I admit it…I am all about traditions. I love the things that bring a surge of memories to me during the holidays. We have traditions in our home, and every now and then add a few new ones. To me, holly greenery is one of those traditions. My mom used it to decorate our home when I was a child. The green leaves and red berries are a memory of the Christmas season for me. So, for our family tree, my son and I created a Simple Holly Christmas Ornament to celebrate those memories of childhood.
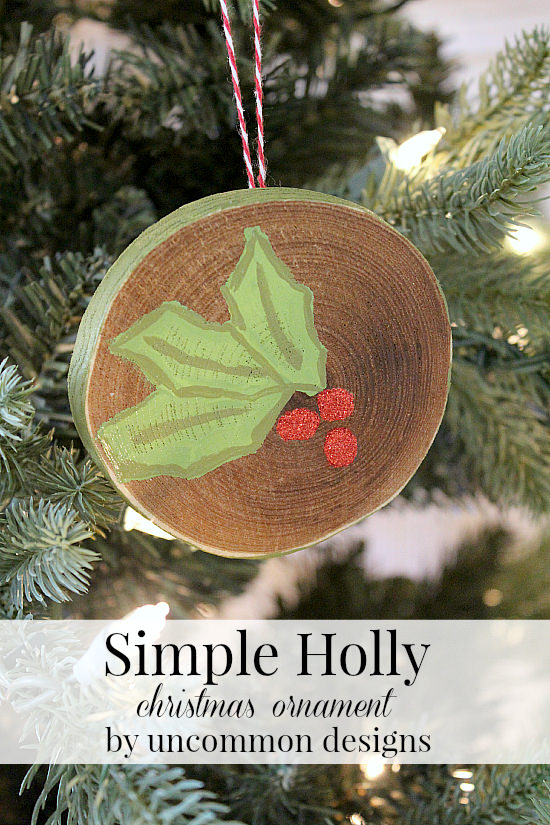
Green with a touch of red, sparkly glitter. Perfect! My son helped to create this special ornament. I enjoy getting my children involved in making ornaments for our family tree. They then feel extra special when hanging them year after year.
So let’s get started!
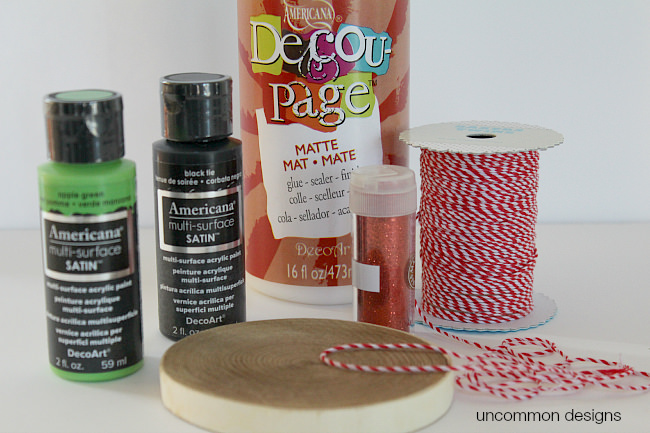
SUPPLIES NEEDED:
1. Americana Multi-Surface Satin in Apple Green
2. Americana Multi-Surface Satin in Black Tie
3. 3 inch Wooden Birch Disc
4. Red Fine Glitter
6. Red and Whie Baker’s Twine
7. Pencil
8. Hot Glue Gun and Gluesticks
9. Small Paint Brush
10. Clear Acrylic Spray Sealer { optional }
_______________________________________________
STEP ONE:
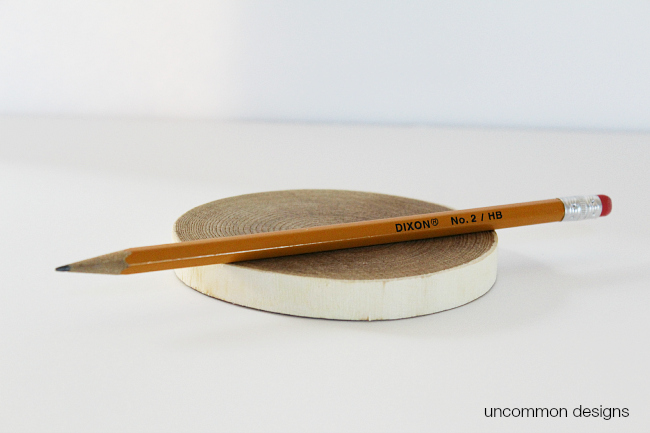
I simply drew 3 holly leaves off to one side on the birch disc. You can search on the internet to find an image to copy or use as a guide. Do not push down extremely hard with the pencil, this will prevent permanent lines.
STEP TWO:
Once I drew the leaf, my son used a small paint brush to paint them in with the Apple Green Multi-Surface Satin paint. Once that was dry, we mixed a bit of the Black Tie Multi-Surface Satin paint with a bit of the Apple Green to create our own, darker paint color. He then used a very small paint brush to outline each holly leaf, and add a little vein line in the middle…
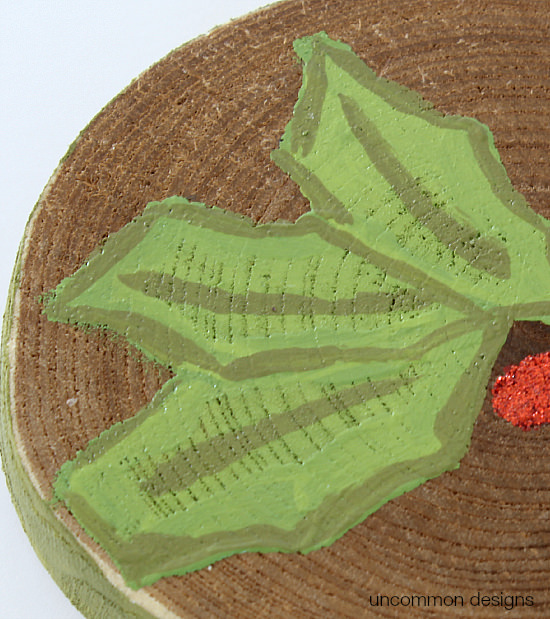
Remember, it does not have to be perfect. Making it together is the best part. He even decided that the edge of the birch disc needed a little color, so we painted that too with the darker color. Allow it all to dry fully.
STEP THREE:
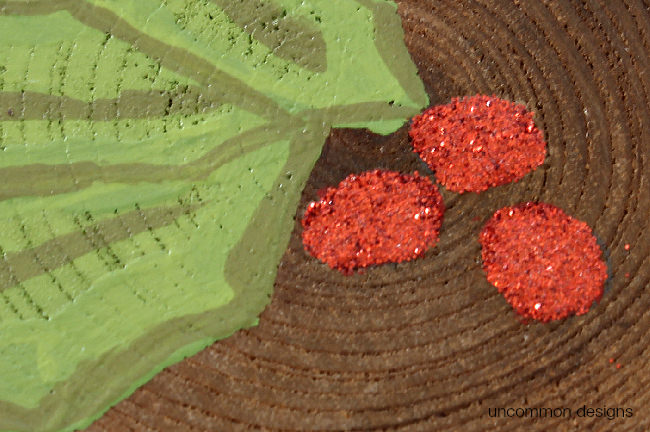
Now, take the Americana Decou-Page and paint a few little circles with it for the berries. Make sure to put a heavy coat of decou-page on the disc. Then, while it is still wet, sprinkle the fine red glitter onto the decou-page. Allow it to dry fully and then shake and brush the excess glitter off.
** Optional: At this point, I sprayed the entire ornament with a clear acrylic spray to seal the paint and glitter **
STEP FOUR:
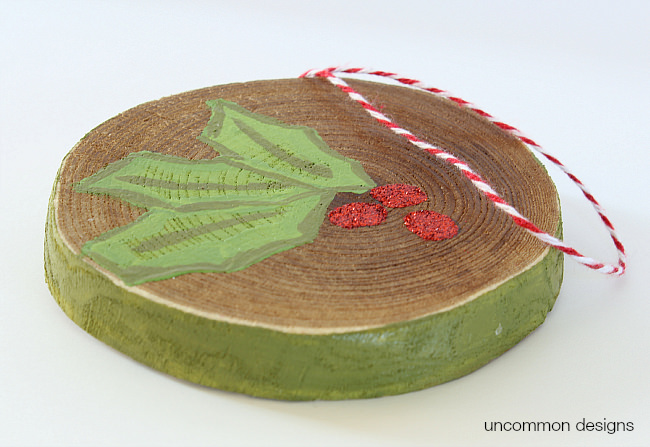
Use your hot glue gun to attach a loop of red and white baker’s twine to the back of the holly leaf ornament. We made a 3-4 inch loop to allow enough room to hang this adorable ornament on our tree.
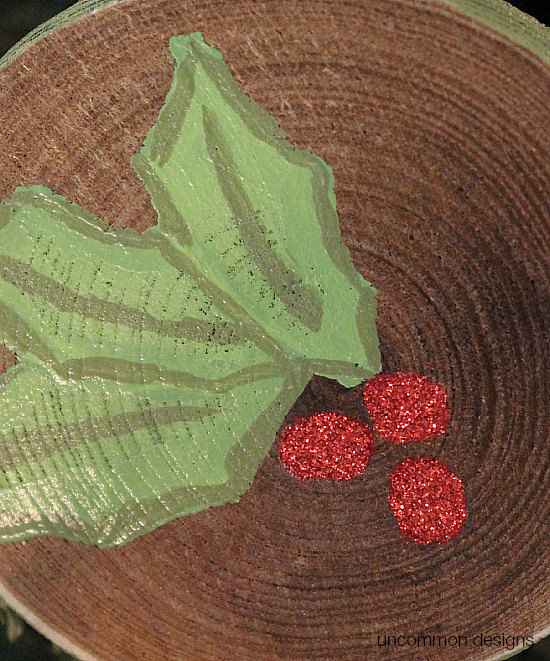
That is it! We love the sparkles of the red glitter when the lights of the Christmas tree catch it. Red and green are a Christmas classic that our family never gets tired of.
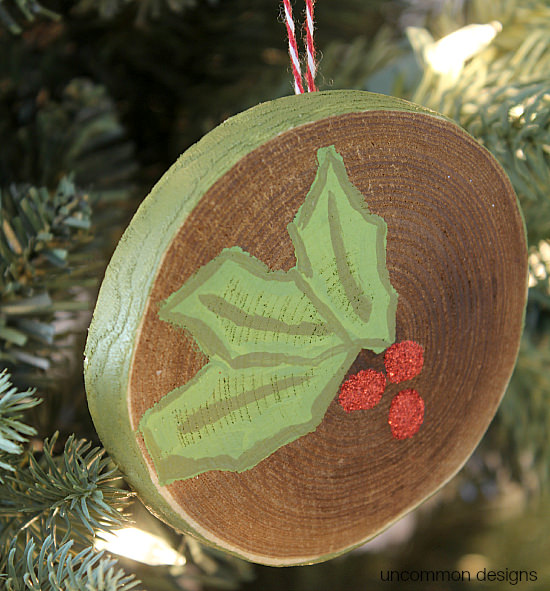
So now the tradition of my mother using holly to decorate our home is forever a part of our Christmas tree.
We hope that you enjoy your holiday season and create some special memories together with friends and family!
Trish Flake
Latest posts by Trish Flake (see all)
- Easy Leopard Painted Pumpkin - October 18, 2021
- Embroidered Swedish Dishcloths - May 3, 2020
- Easter Egg Decorating Party - March 21, 2020
Leave a Reply