Today is another One Crafty Summer Monday! Are you ready for a gorgeous project from a sweet talented friend? Take it away Amber with with a beautiful distressed photo plaque!
Hi friends! I am Kimber from The Pinning Mama. I am so excited to be over at Uncommon Designs today. I almost feel like I am on vacation back to one of my favorite places, hanging out with Bonnie and Trish in South Carolina! Unfortunately, no vacation for me today, but I am enjoying reliving my family’s beach summer beach trip as I made this easy distressed photo plaque.
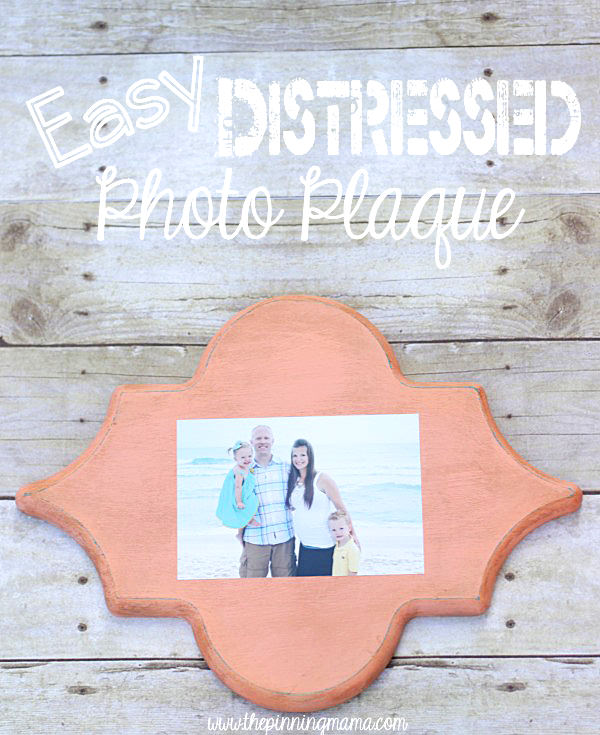
I always love to take lots of pictures but I am as guilty as the next gal at never getting them off my computer. I have made a little resolution lately though, to be better and get those beautiful pictures out on display! Putting together a photo plaque is quick, easy, unique, super cute and even less expensive than most traditional frames!
What you need for this project:
- Wood plaque
- Americana Decor Chalky Finish Paint in two colors
- Americana Decor Dark Creme Wax
- Modge Podge
- Fine Grit Sand paper
- Paint brushes
- Rag
- Photo
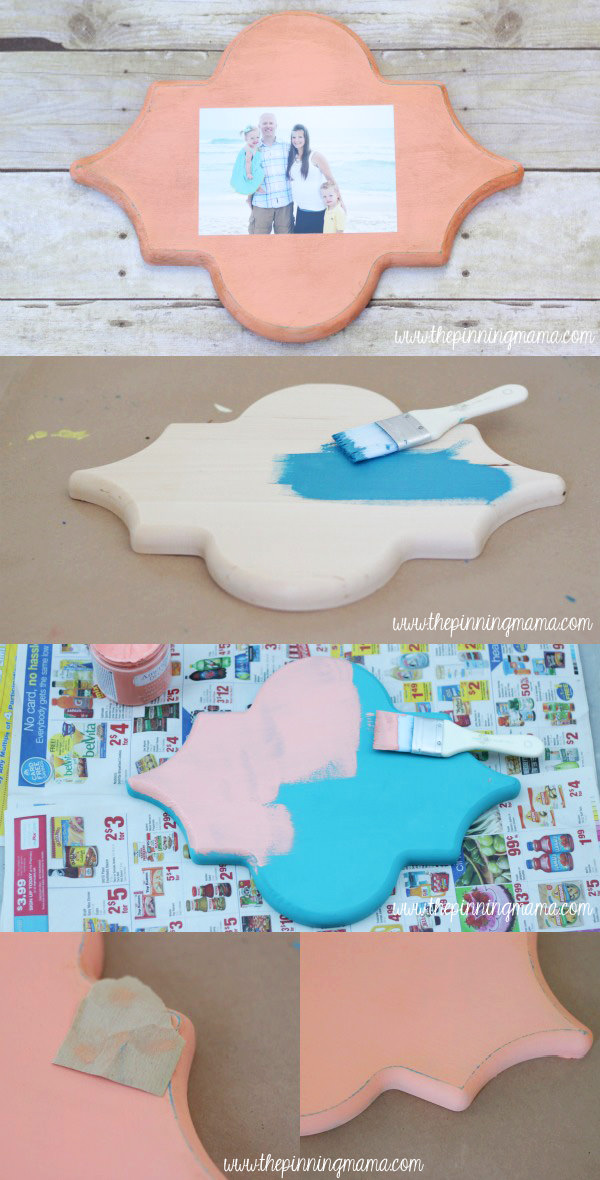
I started out with an unfinished wooden plaque I got at Joann on sale for around $2.50. It makes a super affordable way to create a little more ornate frame on a budget!
To create the beautiful finish on the frame I used Americana Decor Chalky Finish Paint in treasure and smitten. Paint a layer of the paint you want to be the accent first. Let it dry thoroughly. If it isn’t completely covered repeat with a second coat, although it only took one for me.
Next paint your top color right over the base coat. I used one fairly thick coat to cover the entire board. Again, let the paint dry thoroughly.
Once it is dry, use a very fine grit sand paper to go around any edges on your plaque just enough to take off the top coat of paint and allow the base coat to show through. You have to be a little bit careful doing this because if you use a sandpaper that is too rough, or sand too much with the fine grit paper you can remove both coats of paint and the raw wood will show through, which isn’t exactly the look you want.
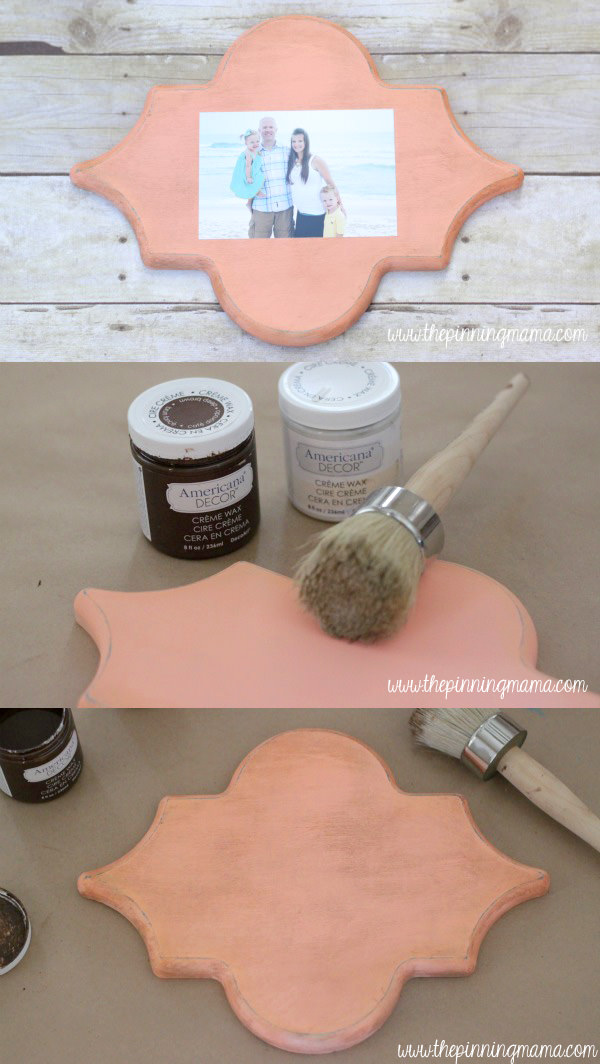
Now that your distressing is done, use a large round waxing brush to apply the dark creme wax over the entire front of the plaque in circular motions. I found to keep the finish pretty light, you want to use a very small amount of wax on the brush and work quickly. Once it is evenly coated I quickly used a dry cotton rag to buff it off. Not much actually is removed in that step, but it does soften the effect a bit. Let the wax dry.
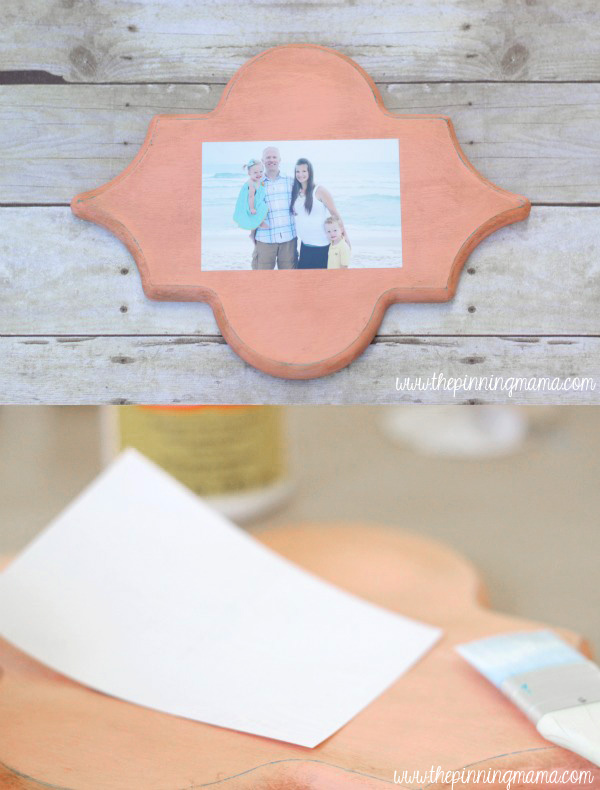
The last step is to attach your picture to the plaque. I used a thin layer of Modge Podge applied to the back of the photo and then flip the picture over and center it right in the middle of the plaque. I left the plaque finished just like this so that I would be able to peel off the photo and replace it if I decided I wanted to change it out, however if you want a really durable and sturdy finish, then you can finish your photo plaque by painting a generous layer of matte Modge Podge over the entire surface of the plaque and photo like I did with these photo blocks.
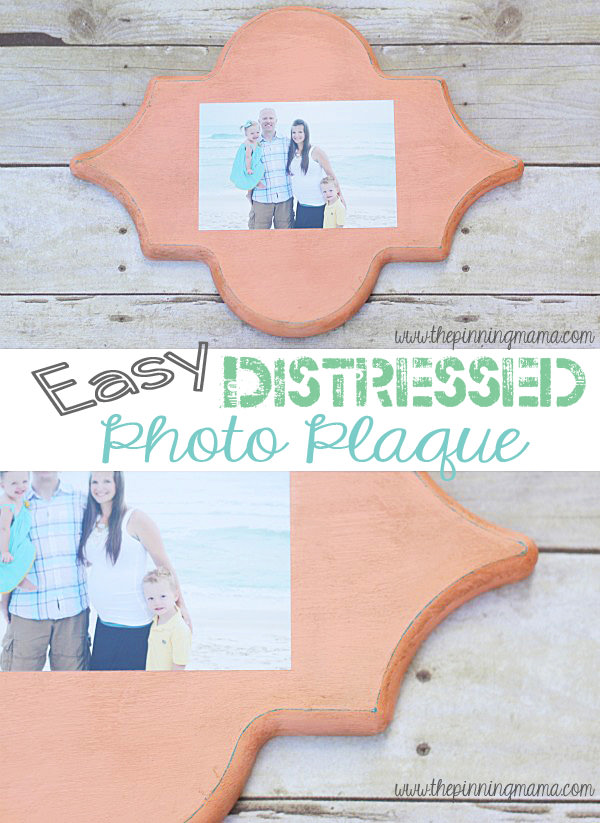
Once it is all dry, you have a a beautiful distressed photo frame that takes less than 30 minutes plus dry time to make! I loved being here today and hope you will stop by and visit me at The Pinning Mama to see more crafts and family friendly recipes. Or join us on Facebook and Pinterest to get updates on what’s new!
Trish Flake
Latest posts by Trish Flake (see all)
- Easy Leopard Painted Pumpkin - October 18, 2021
- Embroidered Swedish Dishcloths - May 3, 2020
- Easter Egg Decorating Party - March 21, 2020
Kimber I adore the color you did this in. Very pretty and will look great on the wall!
love this project