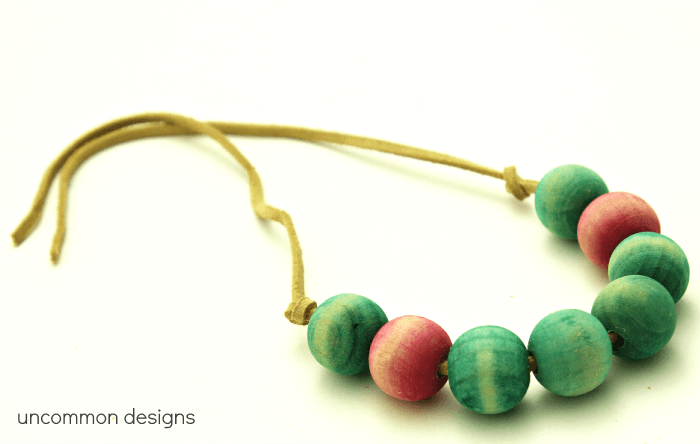
Do you remember my dip dyed candlesticks from a few weeks ago? Well, I am at it again and this time I am here to show you how to make a dyed wooden bead necklace… or two!
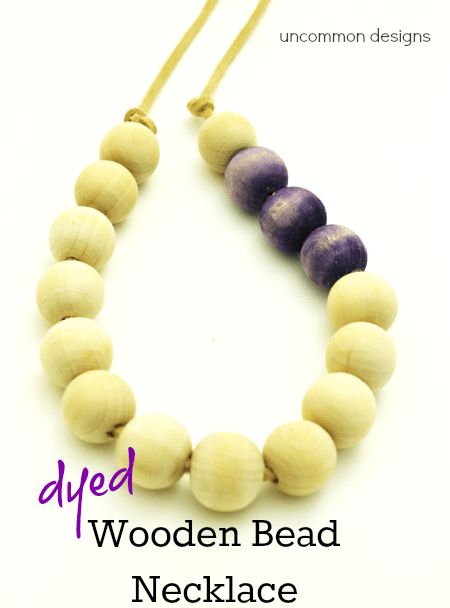
These necklaces could not get any easier to make. They are perfect if you have been dying t-shirts and have a bunch of dye left over, too! Let’s learn how to make these cuties…
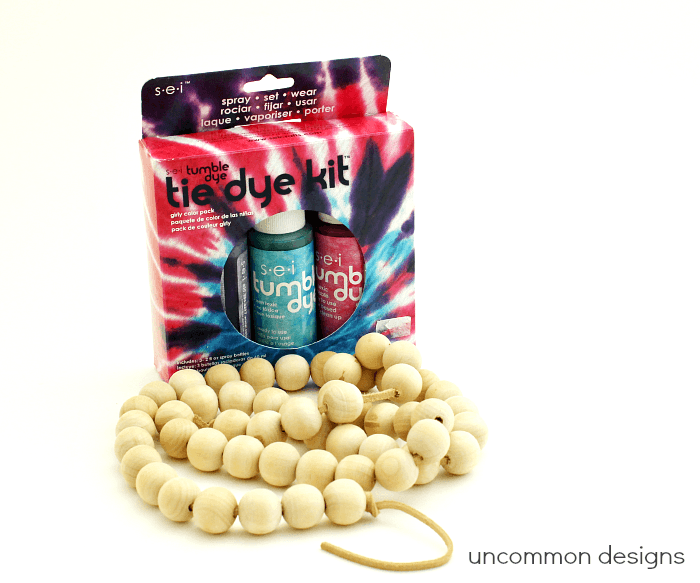
Supplies Needed:
- unfinished wooden beads
- leather or sueded cording
- tie dye
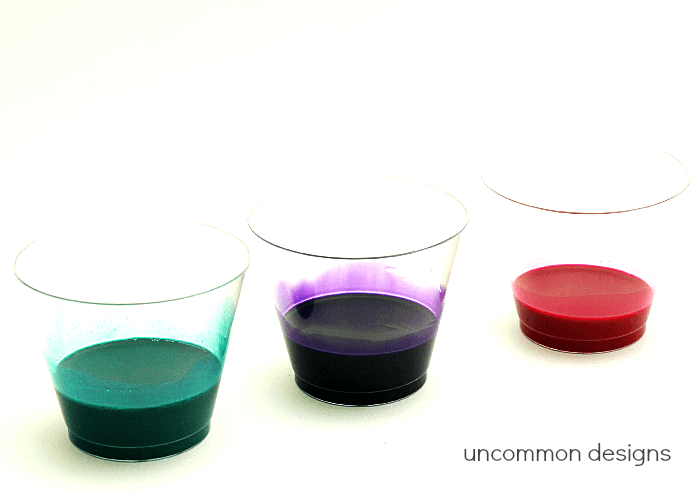
Step One. Mix your tie dye according to package directions. I had some premixed die from another project, so I just dumped what I had left into a plastic cup.
Step Two. Submerge your wooden beads into the dye mixture. Let them sit for as long as you’d like. The longer they sit, the more rich the color. I wanted mine to be a little faded, so it didn’t take long. I removed them from the dye and let them air dry.
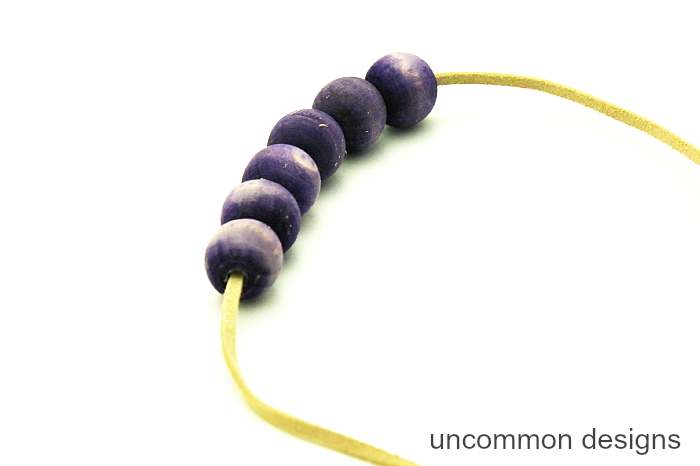
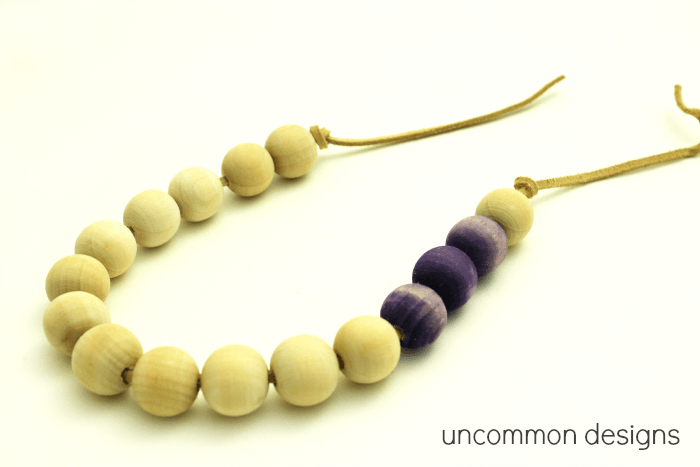
Step Three. Once dry, string your beads on the cording. My cording did shed a little when pulling it through the holes, but I just blew it a little and it was gone. You can do as many or as few as you want and in any color combination. The possibilities are endless!
Step Four. The final step is to tie a knot beside the last bead on each side. This will prevent all of the beads from falling off. That’s it… all done!
I love an easy craft that takes no time at all to make. In fact, this is a featured project for Craft Lightning this week!
*Trish
Trish Flake
Latest posts by Trish Flake (see all)
- Easy Leopard Painted Pumpkin - October 18, 2021
- Embroidered Swedish Dishcloths - May 3, 2020
- Easter Egg Decorating Party - March 21, 2020


Very cute idea! Your pictures are gorgeous! Love how quick and easy this looks.
KC
I love that one with the natural and 3 purple dyed beads. I like the placement of them. Will be doing this for sure.