Hey Y’all! We decorated our tree the other night and my kids absolutely loved all the ornaments we put on our family tree. They just were amazed that I had saved all the sweet ornaments made by their little hands from preschool til now. Sigh.. I admit I got a wee bit emotional…sniff! By far our favorites were all the handmade ones. There is just something so special about creating a handmade Christmas ornament and the memories it creates.
So, we would love to show you how to create this adorable Fabric Angel Christmas Ornament…
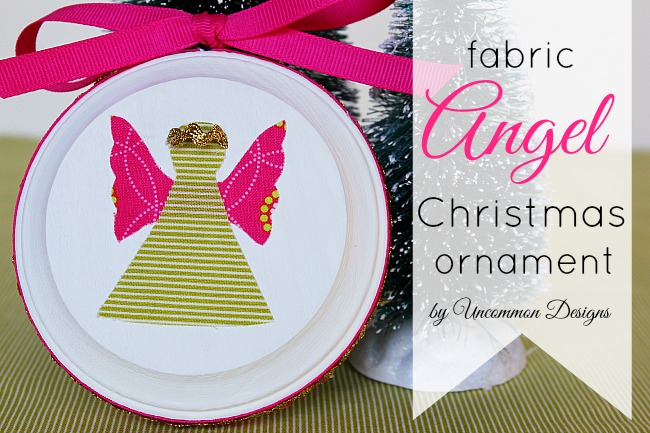
Isn’t she sweet? We are a bit of fabric hoarders lovers. So this Christmas ornament is the perfect way to use some of those favorite fabric and fabric scraps. And can I tell you how much our girls LOVE pink and green… true southern girls!
Let’s begin creating our Fabric Angel Christmas Ornament!
Supplies Needed:
- Small Wooden Disc { this one is 3 inches and came from Michaels }
- DecoArt Cottonball Multi-Surface Satin Paint
- Foam Paint Brush
- Small Screw Eye
- Fabrics of Choice
- Heat ‘n’ Bond Sheet
- Ribbon Trim of Choice
- Gold Ric Rac
- Glue Gun and Glue Sticks
Step One:
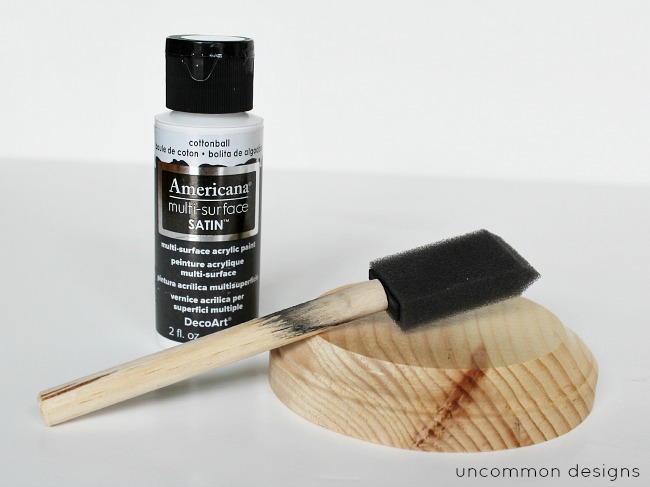
Paint the unfinished wooden disc with the DecoArt Cottonball color paint. We painted both sides with 2 coats. Allow to dry fully.
Step Two:
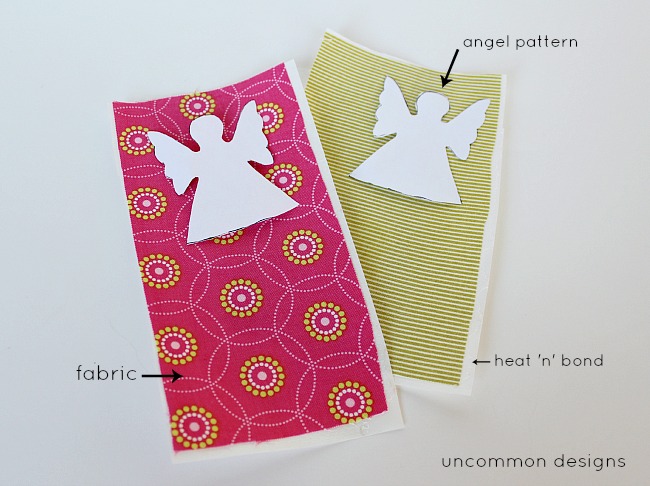
Pick your two fabrics. One will be the body of the angel and one will be the wings. Following the directions on the Heat ‘n’ Bond sheets, apply it to the back of the fabric. Do not peel off the paper layer yet. Pick the angel shape you wish to use. I found this one in one of my children’s coloring books. I simply copied it on my photo copier and reduced the size to fit the wooden disc. Make 2 copies of the correct size and then cut them both out.
Step Three:
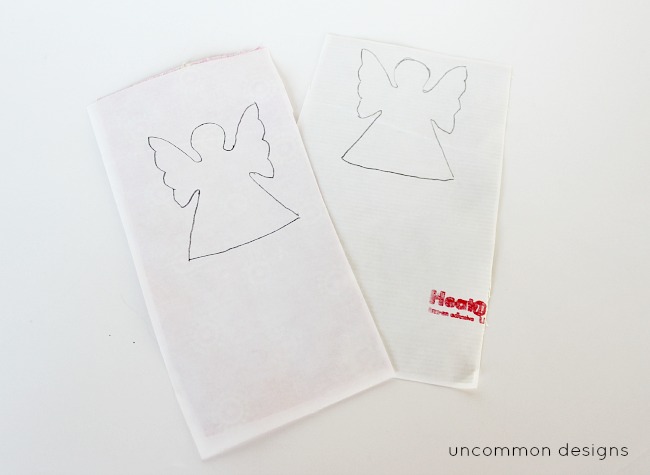
Place the angel pattern face down, and trace onto the two pieces of fabric that are backed with the Heat ‘n’ Bond. Cut out each angel.
Step Four:
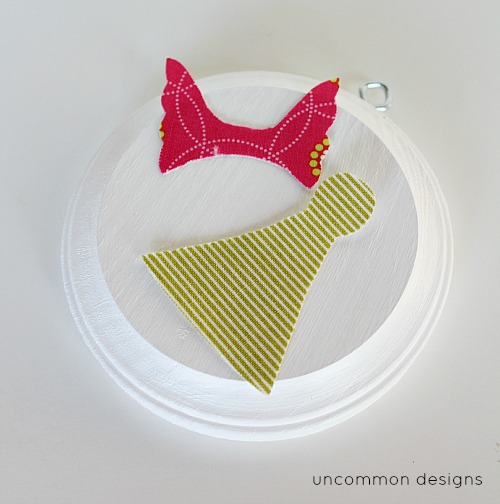
Apply the small screw eye into the top of the wooden disc. We picked the green stripe fabric for the body of our angel, so we simply cut the wing part off of the green stripe material. We selected a hot pink fabric for the angel wings, so we cut away the bottom part of the angel and the head portion, leaving the wings connected in the middle.
Step Five:
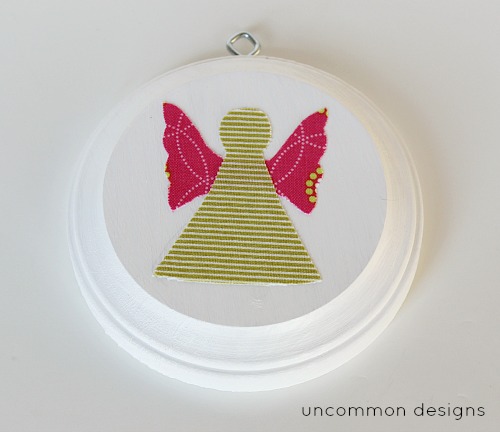
Ok, now this is the part where you may say… “Say what?” You are going to iron the fabric to the wood. First you will peel off the paper backing of the Heat ‘n’ Bond. This will leave the fabric with a shiny, flexible film on it. Next place the wings where you would like them, and layer the body of the angel on top. Now, using your iron on the settings instructed by the Heat ‘n’ Bond, quickly place the iron on top of the fabric angel and lift off. This will set the fabric in place. I then covered the fabric angel, and wood disc, with a thin cotton cloth and pressed the angel fabric again quickly with the iron. Now the Angel is attached to the disc. I had no problems with the disc messing up. I was careful to not leave the iron on the disc very long at all.
Step Six:
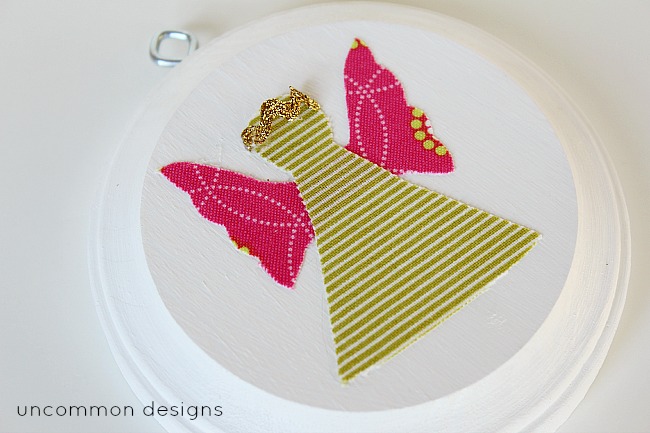
Almost done! I next attached the halo to the sweet angel. I simply cut a small piece of gold ric rac, and attached it to the top of the angel’s head. I only applied the hot glue to the outer edges of the ric rac, so that the halo would actually stand out from her head. So cute!
Step Seven:
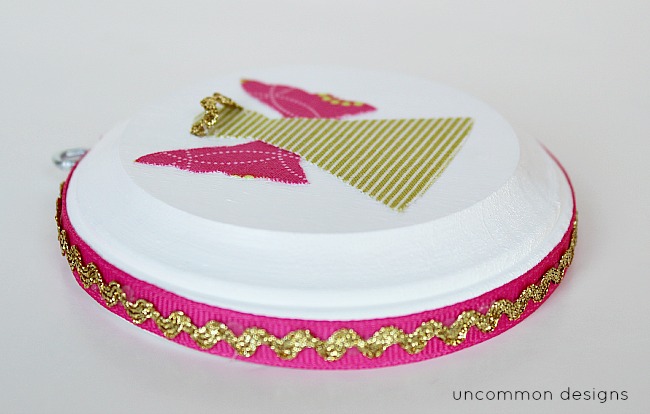
Finally, we applied hot pink grosgrain ribbon around the disc with the hot glue gun. We finished the sweet ornament off by applying gold ric rac on top of the pink ribbon with the glue gun. Tie a simple bow around the screw eye and you are done!
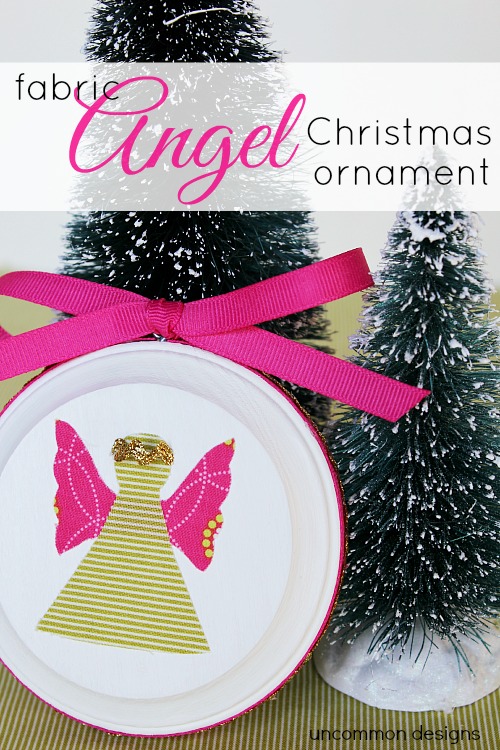
We adore how bright and festive she is. Our girls are going to love having one. The possibilities for colors and patterns are endless. If you are a crafter or enjoy sewing, you probably have most of these supplies on hand already. We think this is a great choice for using up some of those fabric scraps.
If you want to create some more handmade Christmas Ornaments, be sure and check out our..
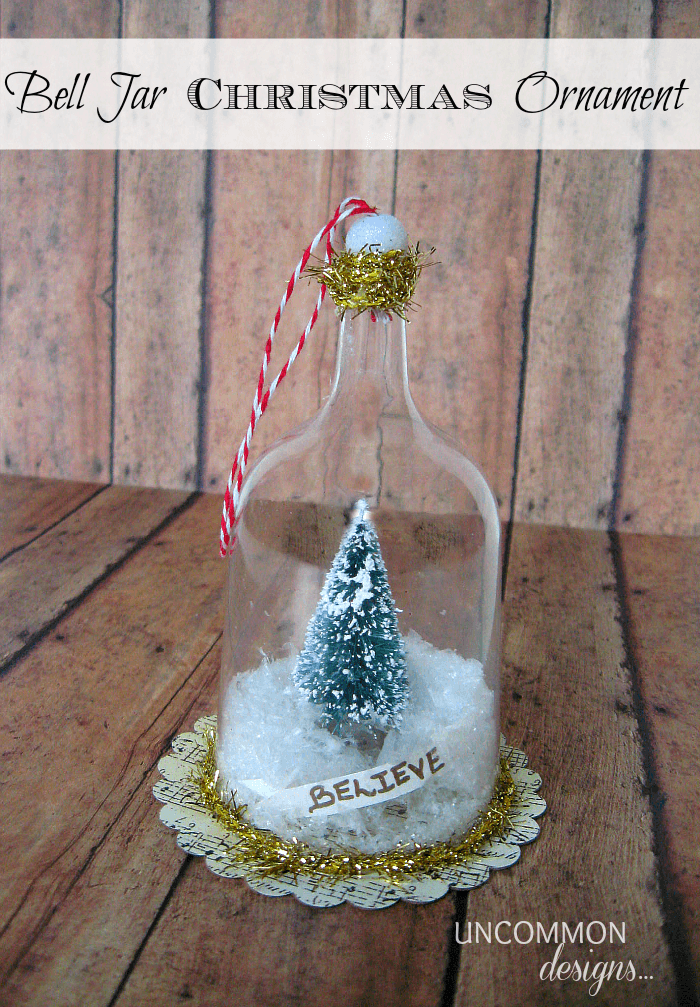
and our beautiful…
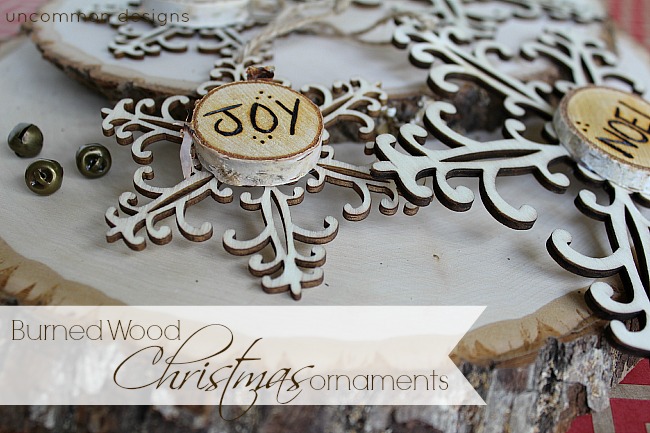
Burned Wood Christmas Ornaments
Have a wonderful day friends!
Trish Flake
Latest posts by Trish Flake (see all)
- Easy Leopard Painted Pumpkin - October 18, 2021
- Embroidered Swedish Dishcloths - May 3, 2020
- Easter Egg Decorating Party - March 21, 2020
So cute! And I love the colors you chose … so bright and fun!
SOOO cute! Love this idea! Heather