At long last, it is here… the giant tissue paper flower tutorial!
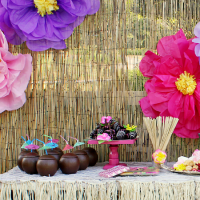
You guys were so sweet about Ann’s Luau party and you loved these tissue paper flowers. After many emails, I am delivering on my promise for the tutorial. I know I have said it before, but you would be amazed at what you can make with a little tissue paper and some floral wire. It is so inexpensive and really packs a punch for your party decor. If you take good care, you can reuse them!
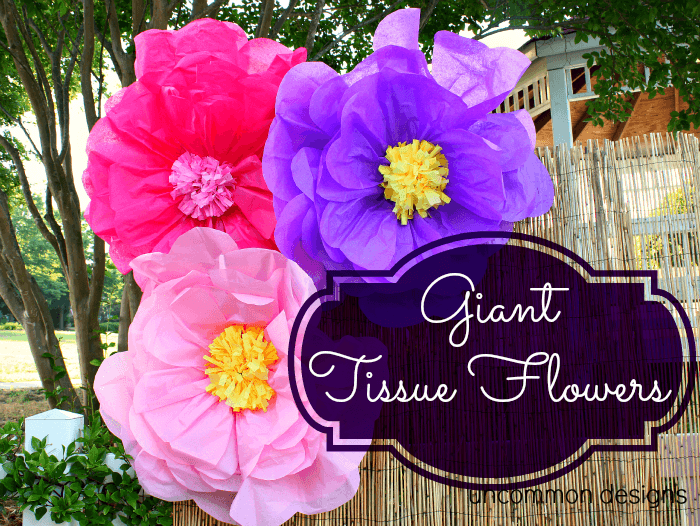
Giant Tissue Paper Flower Tutorial
Get ready for a very simple tutorial on how to fashion these giant beauties for yourself…
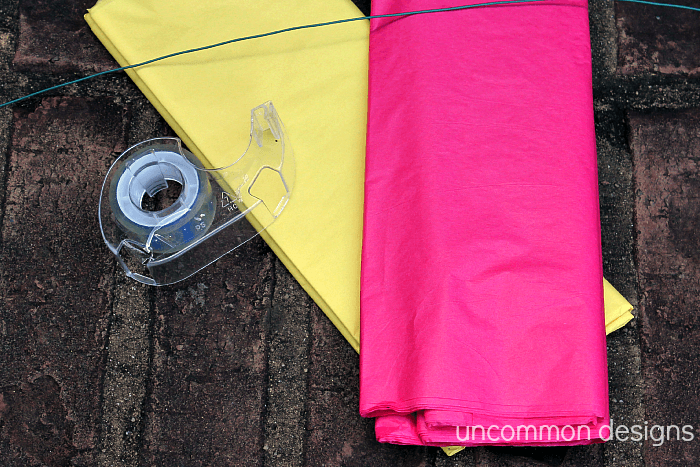
Supplies:
You will need one pack of 8-10 pieces of tissue paper in the main color and 4 sheets of tissue paper for the center color. Each flower requires one piece of floral wire and some scotch tape. It would be helpful to have a piece of posterboard on hand to make the templates, as well.
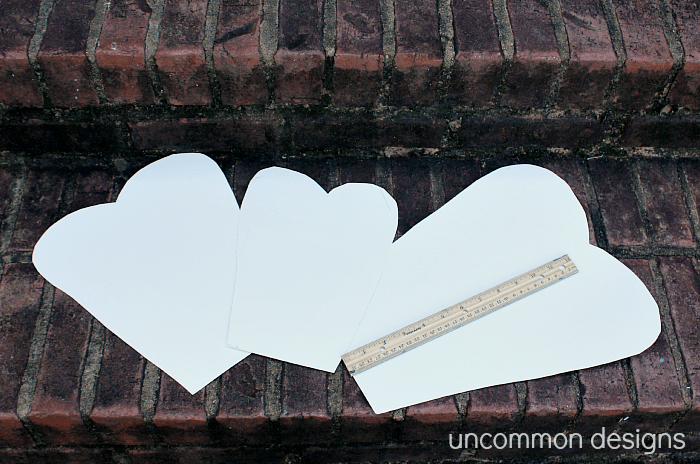
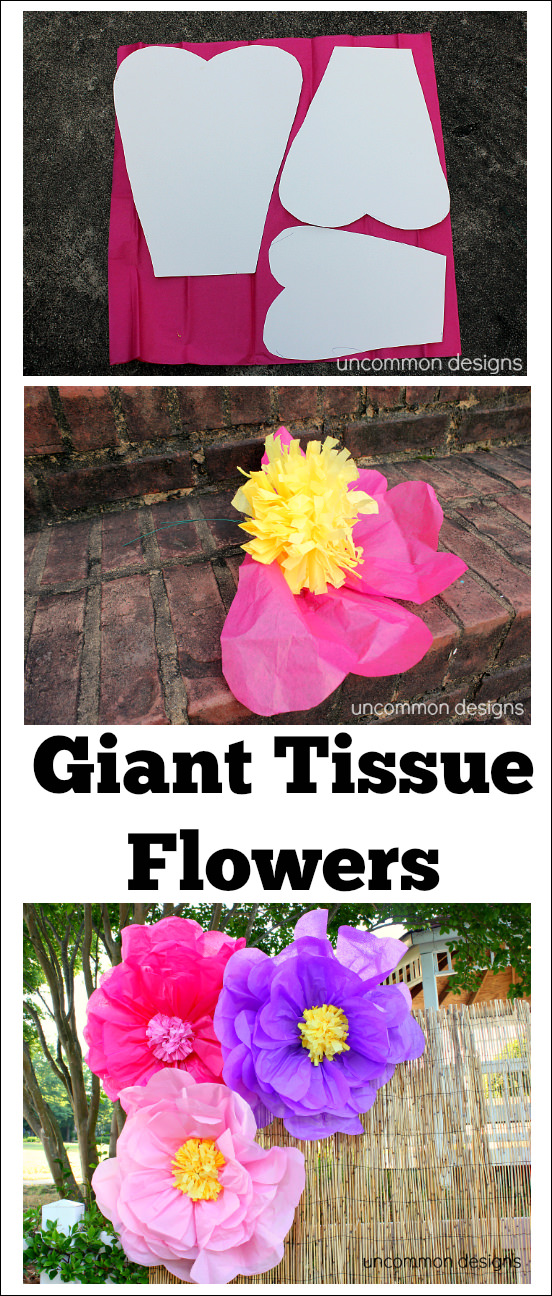
Step One. The first thing you will do is cut three petal templates out of posterboard. I made a small, medium, and large template. The largest is about 13 inches tall by 12 inches wide. Each petal gets a little smaller.
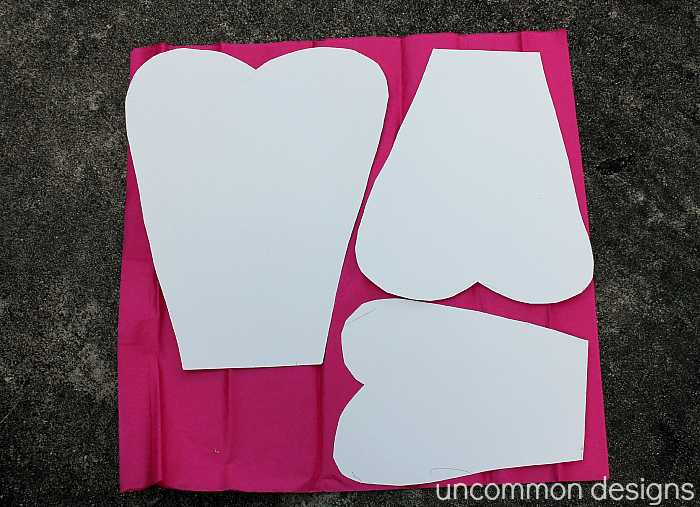
Step Two. Open up your package of tissue paper and lay it on a flat surface. Lay your templates on top and cut through all of the layers. No need to be perfect here, after all no two flower petals are alike, right?
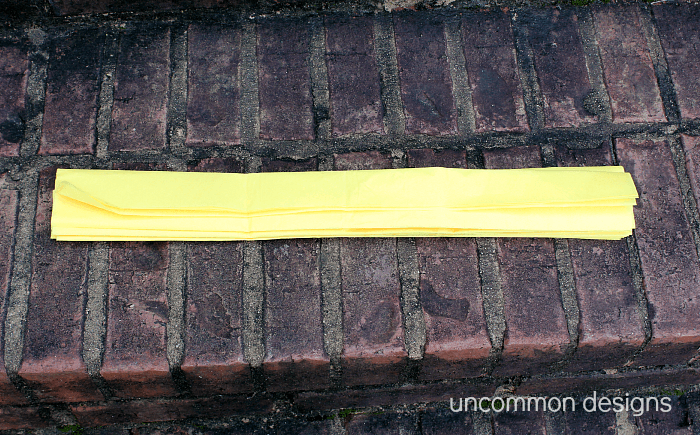
Step Three. Now you will fold up the tissue paper for the center in an accordian style. Again, it doesn’t have to be perfect. Once you complete this, you can cut this into thirds. Now you have enough for the centers of three flowers.
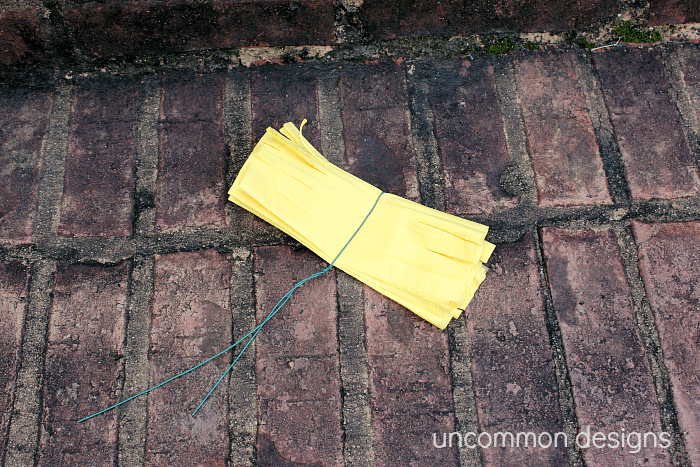
Step Four. Take your piece of floral wire and twist it around the paper like shown. You will then cut slits down the sides. Now you can pull the pieces of tissue apart, or just rub them together until you get a pretty fluffy mess.
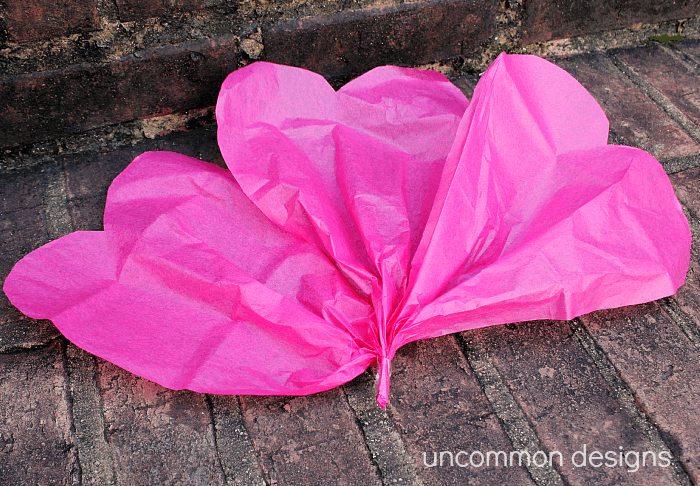
Step Five. This is where it all comes together…. Take three of your smallest petals and bunch the ends together and put a piece of tape around the bottom to secure it. Make sure that they are fanned out.
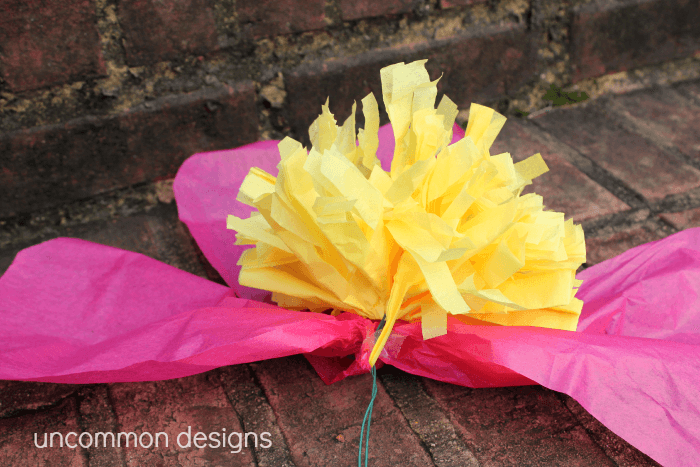
Step Six. Now you will place the petal trio right under the fluffy center and tape it around the floral wire.
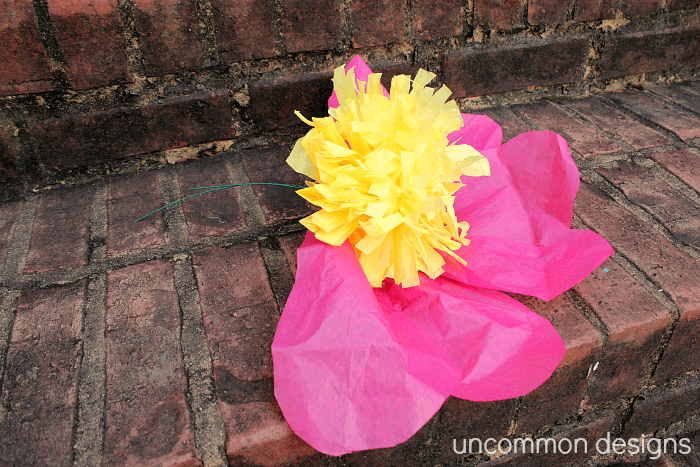
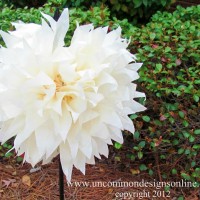
Step Seven. Now you will continue going around the flower until each layer is complete. After the small petals, do it again with the medium, and then with the large. That is it!
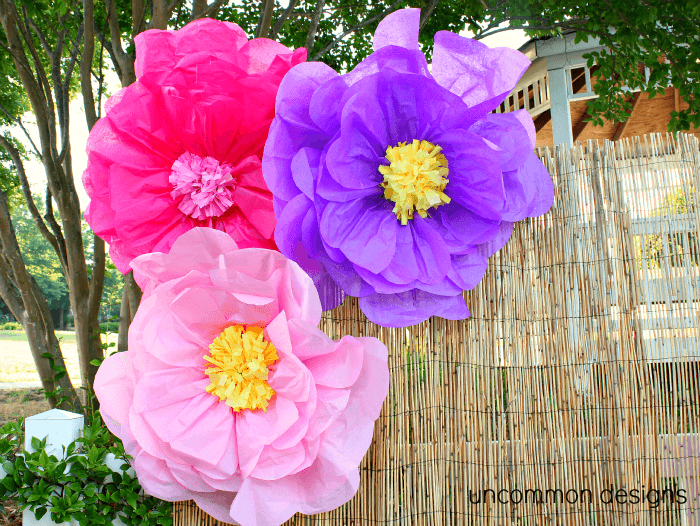
Now it is up to you to create these guys in any color combination that you can imagine… the sky is the limit!
You might like to see these amazing tutorials… Hawaiian Luau Party Decorations, How to Make Different Types of Tissue Poms, and Tissue Tassel Garland.
Thanks for stopping by today, y’all!
*Trish
___________________
Love this idea? Then subscribe to our email to get even more ideas and projects delivered straight to your inbox!
Trish Flake
Latest posts by Trish Flake (see all)
- Easy Leopard Painted Pumpkin - October 18, 2021
- Embroidered Swedish Dishcloths - May 3, 2020
- Easter Egg Decorating Party - March 21, 2020
A friend of mine pinned something really similar to this last week but I really like this style better. I’ll have to pin it and show her.
How neat and fun!
I love them! So easy and so pretty! Thanks for sharing.
They are so colorful and would make the perfect backdrop for any party!
Thanks for the tutorial. So big, bright an fun. A great decoration.
These are beautiful! I was looking at something similar to use for the backs of chairs at my sister’s bridal shower. Thanks for the tutorial. 🙂
So pretty! I featured your wonderful super sized flowers today!
Happy long weekend.
Carolyn
I made tissue paper flowers for my daughter’s Lilo & Stitch themed Luau last year. But they were nowhere like this! They were more like giant ball flowers. While pretty, these are SO much nicer. Totally pinning for the next party. Or even to decorate her room. Love it! Following you now 🙂
I always wondered how to make the huge tissue flowers….those turned out awesome!
Thank you for this design! I had to make giant hibiscus tissue paper flowers for a hawaiian themed event. I altered this design a bit by omitting the yellow paper and instead, made a smaller petal with another color. In the center of each flower I had wired on a pipe cleaner folded in half. Then I bent a simple curl at the tips of the pipe cleaner — this looked like the stamen of a hibiscus! I was pretty thrilled with the results. I wish I could send a pic but this wouldn’t let me paste the photo in.
Love these flowers. Thank you for sharing:-)
Thank you so much! I love the flowers! I’m going to do some for mothers day at my church.We are going to have a luau Party!
A fun activity and pretty results. One thing is – I’ll never understand why anyone will post a great set of instructions like this without an easy icon to PRINT it out to save !!
These are perfect for our butterfly themed party we are having in a few weeks.. I am glad I saw them before the party instead of after.. 🙂
Love your tutorial!! One question…how many pieces of tissue paper did you accordion fold for the center of the flower? I tried it with a single piece and it looked rather puny.
Hi Amy!
I just 2-3 pieces of paper. If you want to thicken it up a bit, you can even fold it over lengthwise again. Hope this helps!
Take care,
Trish and Bonnie
Thank you for showing how to make such beautiful flowers. I’d like to use these as tall centerpieces for an event for my daughter. Any ideas of how to get them to stand up on a table? I can put them on a rod and set them in a glass vase with sand but that seems so boring. Looking for better looking yet inexpensive ideas.
Hi there! I think it would be hard to use these flower to stand freely. The are not very stiff, but you can add another layer of petals out of posterboard maybe? Hope that helps!
Take care,
Trish
I searched and searched for the perfect tissue paper flowers for my Hawaiian Luau and fortunately I stumbled across your site. Thank you. These are so beautiful! And your images inspired me to purchase some reed fencing as a backdrop. I found 6ftx16ft for $19.99/panel at KMart, Home Depot carries it too @$23.95/per panel. I’ll post pics when I’m all done, party is not until July 4, 2015. Thanks again!
These are adorable! I am planning on decorating my daughters room in an Alice In Wonderland theme and these would be perfect! Thanks for the tutorial.
These are really nice for tissue paper flowers. I’m a huge sucker for any kind of handmade flower!
What size of tissue paper did you use? It looks to be the smaller 20×20 size that can be purchased from the dollar stores.
Cute! How did attach them to the back drop?