Disclosure: We are members of the DecoArt Core Blogging team and received compensation and supplies for this adorable project, but all opinions are 100% our own.
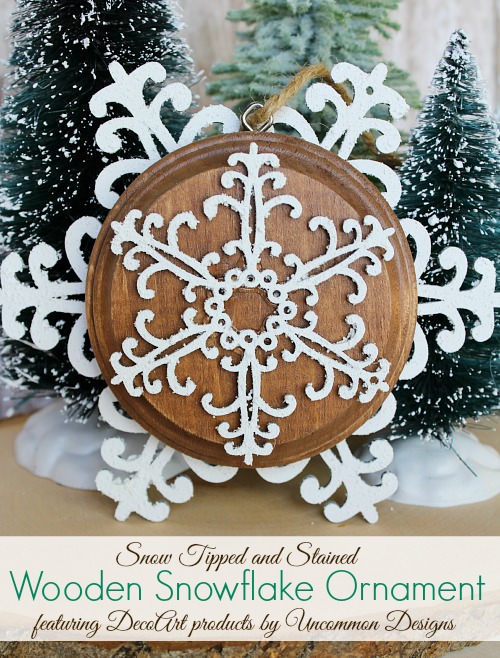
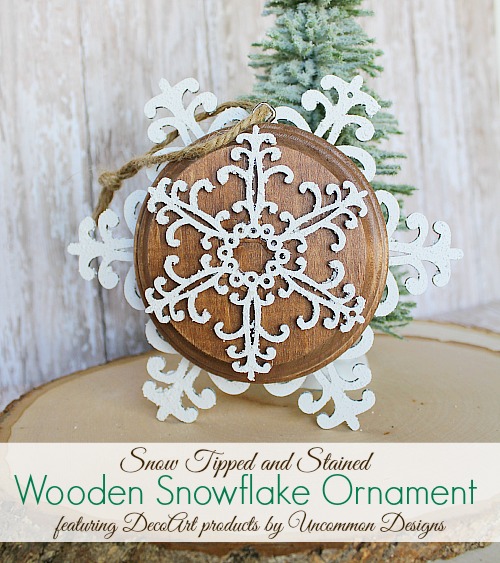
Are you getting ready for the Christmas decorating to begin? We are in the midst of it all at my home. It helps to plan a Christmas party for the first Friday in December, so all will be decorated by Friday at my house. This year, I have been making a few new ornaments to add to my family tree. I love neutral colors and textures, and that holds true in my Christmas decorating as well. Today I am going to show you how to create these simple, inexpensive, and beautiful Snow Tipped and Stained Wooden Snowflake Ornaments…
Supplies Needed for Snow Tipped and Stained Wooden Snowflake Ornaments:
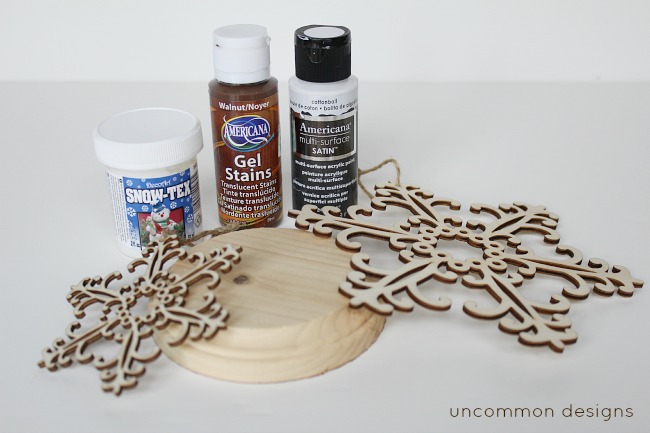
- Small unfinished wooden disc { this one is 3 inches from Michaels }
- 1 Small unfinished wooden Snowflake { this one is from Michaels }
- 1 Medium unfinished wooden Snowflake { also from Michaels }
- Snow-Tex by DecoArt
- DecoArt Multi Surface Satin Paint in Cottonball
- DecoArt Gel Stain in Walnut
- DecoArt DuraClear Varnish
- Small Screw Eye
- Glue gun and glue sticks
- Jute Twine
- Foam paint brush
Step One:
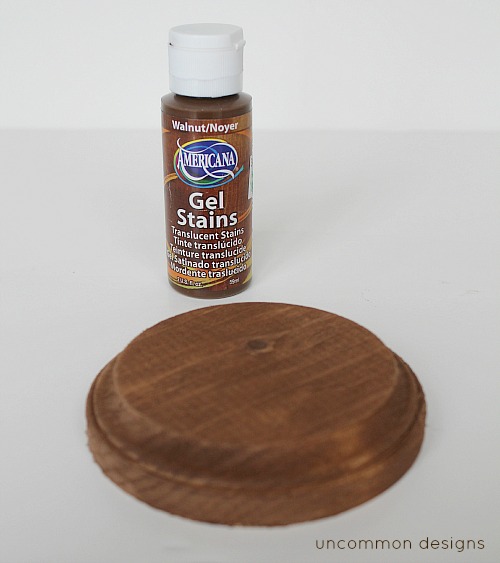
Using the foam paint brush, apply the gel stain to the unfinished wooden disc. Rub gently with a cotton cloth to remove any excess gel stain. Allow to dry fully.
Step Two:
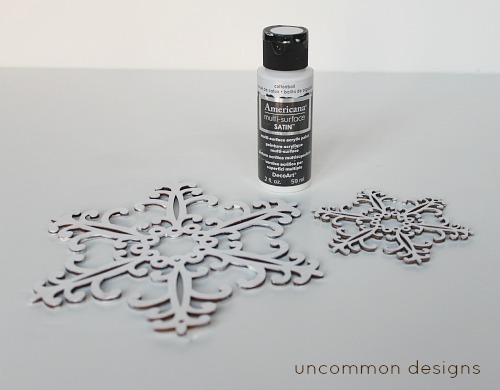
Paint the wooden snowflakes with the Cottonball DecoArt Multi Surface Satin paint. Apply to both sides and allow to dry fully.
Step Three:

Apply 2 coats of the DuraClear satin varnish to the stained wooden disc. This really brings out the grain and gives the stain a simple shine but not too glossy. Perfect for the light to catch on the Christmas tree. Allow to dry fully.
Step Four:
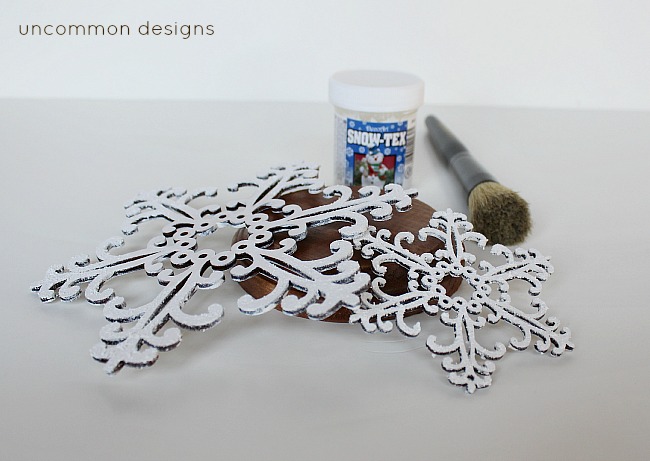
Using a stencil brush, apply the DecoArt Snow-Tex to the front side of the small snowflake. Apply the Snow-Tex to the outer tips of the larger snowflake. I did not put any Snow-Tex on the center of the larger snowflake because the stained disc will be applied there. Follow the directions on the Snow-Tex and allow to dry fully.
Step Five:
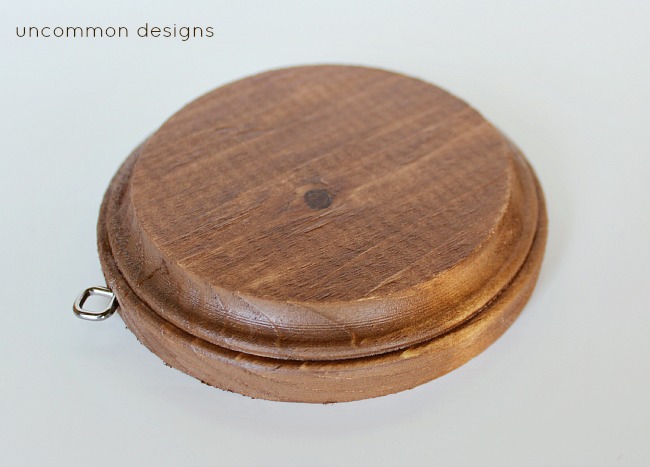
Place a screw eye in the top of the wooden disc by simply screwing it into the rim of the disc.
Step Six:
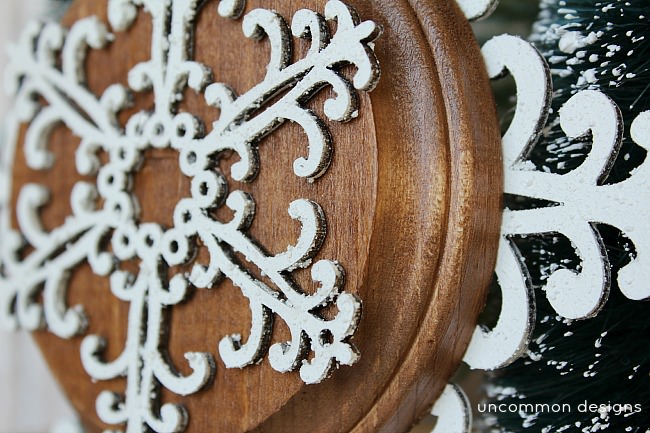
Use the glue gun to attache the small snowflake to the front of the wooden disc. Then use the glue gun to attach the disc to the larger snowflake. Tie a small loop of jute twine through the screw eye.
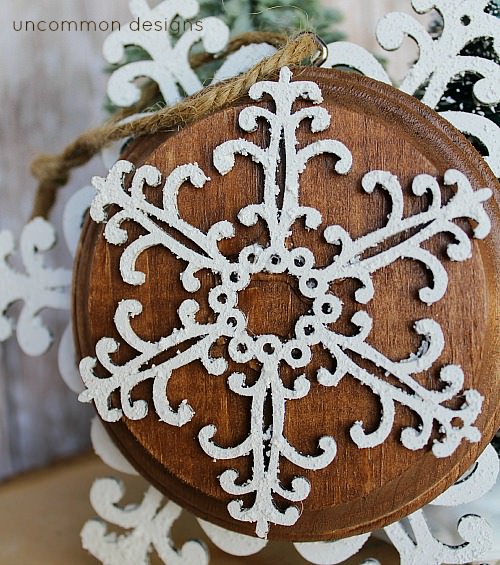
I just love the scale of this ornament. It is larger than most and makes such a beautiful statement. You could add a few of these to your tree or even in a garland over the fireplace or down a staircase. These mixed with my Burned Wood Snowflake Ornaments will compliment each other so well.
We are thrilled to be a part of the DecoArt Core Bloggers and our other members are also showcasing ornaments today with DecoArt products. Stop by each of them to see some amazing ornament tutorials…
Trish Flake
Latest posts by Trish Flake (see all)
- Easy Leopard Painted Pumpkin - October 18, 2021
- Embroidered Swedish Dishcloths - May 3, 2020
- Easter Egg Decorating Party - March 21, 2020
That is a beautiful ornament. ~ Lisa
SO pretty! I love it! Snowflakes are such classics. I’m always drawn to them 🙂