Hi Uncommon Design readers, it is Megan again from Megan Brooke Handmade. I’m excited to be back again today to share another fun diy wedding project. We’ve covered a fun way to make your own save the dates and how to make your own wedding cake toppers. Today I’m sharing a creative way to display your table numbers at your reception.
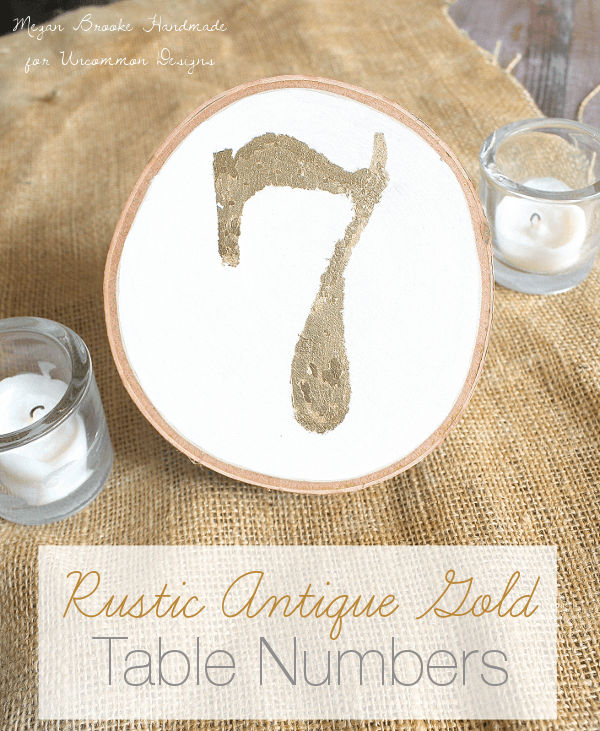
If you’ve decided to do assigned seating at your reception, table numbers are the easiest way for guests to find their assigned table. With gold being a huge trend this year, I thought it would be fun to incorporate this color in a unique way in the table numbers themselves. So today I’m showing you how you can make these rustic wedding table numbers in antique gold
Here’s the supplies you will need to start with.
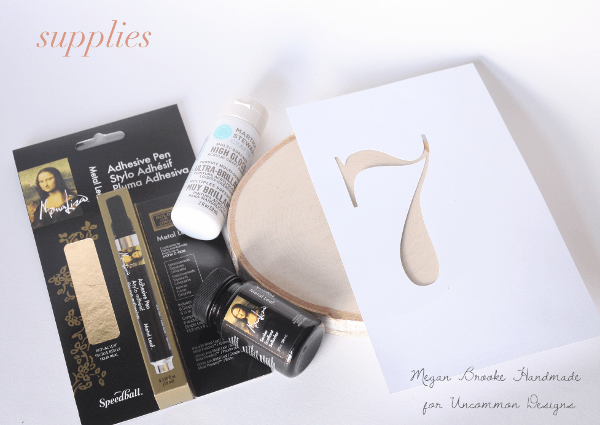
Stencil
Small round piece of wood {this particular piece was found at Michaels}
Gold Leaf Adhesive Pen
Gold Leaf Sealant
White Paint
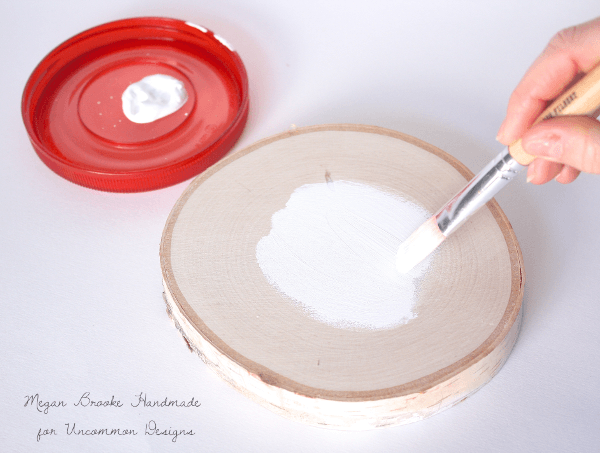
The first thing you will do is paint the surface of your wood white.
Next, you will take your number stencil and place it in the center of your wood. Using the gold leaf adhesive pen, begin coloring in the stencil with the adhesive liquid. You will need to press down the pen tip a few times before the liquid reaches the tip.
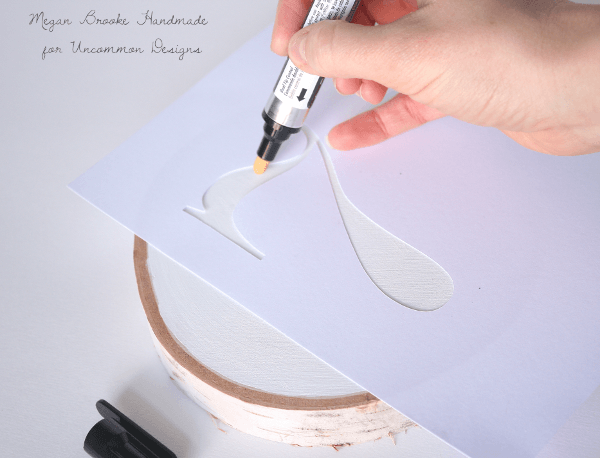
Let the adhesive liquid dry for 5-10 minutes. Once it’s dried to a light blue color, place a sheet of your gold leaf paper face down on the surface. Be sure to press down and rub the sheet up and down a few times to make sure the gold leaf sticks to the adhesive.
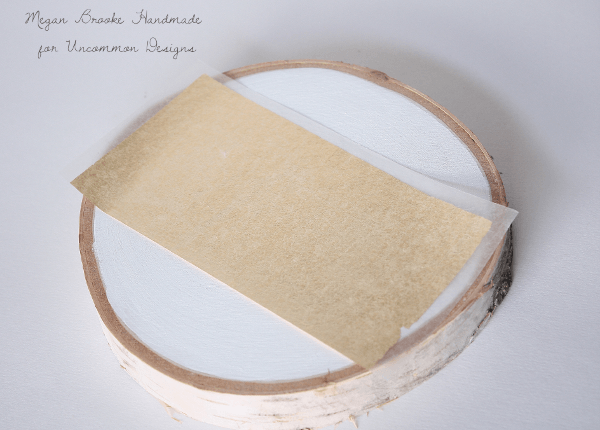
Next, you’ll gently lift up your gold leaf sheet. More of the gold leaf material will be on your surface than where the actual adhesive was. Using a small soft brush, slowly begin to wipe off the excess gold leaf material. As you can see, on my first try, there were a few bald spots after I did some brushing.
I repeated the process a few times until the majority of the number was filled with gold.
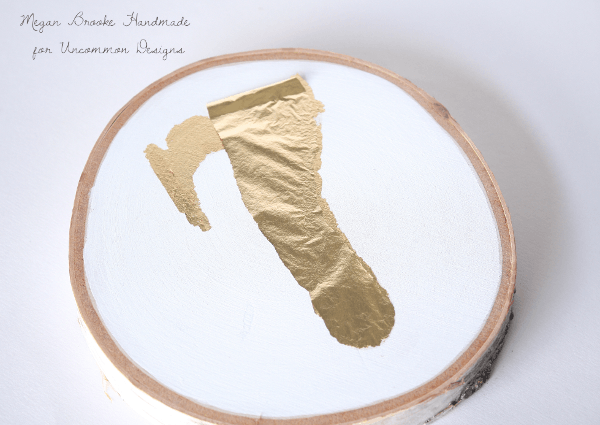
Word of advice: gold leaf is extremely delicate and can be difficult to work with. It’s a process that requires patience and delicate hands. When it didn’t turn out exactly like I wanted the first try, I kept adding more layers of leafing in the various bald spots. The finished product looked antiqued and aged, which was perfect for the rustic look I was going for. If you desire a completely smooth and perfect surface/number, using gold metallic paint might be a better alternative for you.
Once your are done with the gold leafing, be sure to add a light coat of the sealant to protect the gold from flaking and chipping.

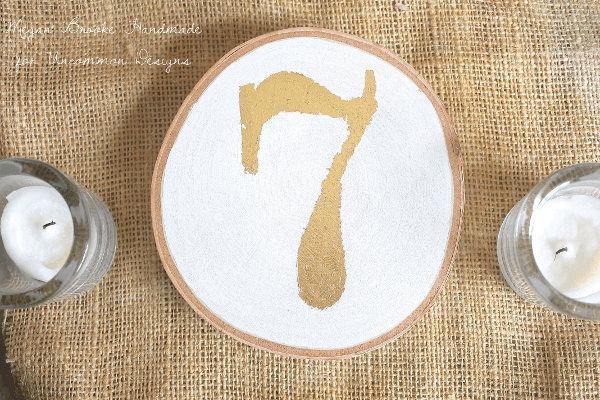
The finished result is a great combination of rustic and glam. Perfect for a rustic or outdoor wedding.
For more wedding related ideas like how to turn all that inspiration you’ve been pinning into a reality, I would love for you to visit me over at Megan Brooke Handmade. You can also follow Megan Brooke Handmade on Pinterest, Twitter, Facebook and Google +.
Trish Flake
Latest posts by Trish Flake (see all)
- Easy Leopard Painted Pumpkin - October 18, 2021
- Embroidered Swedish Dishcloths - May 3, 2020
- Easter Egg Decorating Party - March 21, 2020


Love it! The gold leafing is perfect. Fun tone on tour with you!
I love this idea guys! My daughter is getting married next year and she’s having her wedding in the mountains so these would be perfect! Her wedding theme is Peacock feathers so I’ll paint the numbers accordingly. Thanks for the inspiration!
What a beautiful way to display table numbers, love the gold.
How long did you work on that?
That the lines aren’t perfectly “done” actually looks great and suits the overall look.