Hey Y’all!
We are excited to be a part of the Craft Month A to Z series with Crafting in the Rain!
H is for Home || Organize and Decorate Everything
I is for Ink Effects || Uncommon Designs
J is for Jar soap dispenser || My Craftily Ever After
K is for Kite cards || Our Thrifty Ideas
L is for Leather necklace || Crafting in the Rain
M is for Monogram || Lolly Jane
Our letter is “I” and so our craft project was created using DecoArt Ink Effects. If you have never used this product, sit back, you are in for a treat!
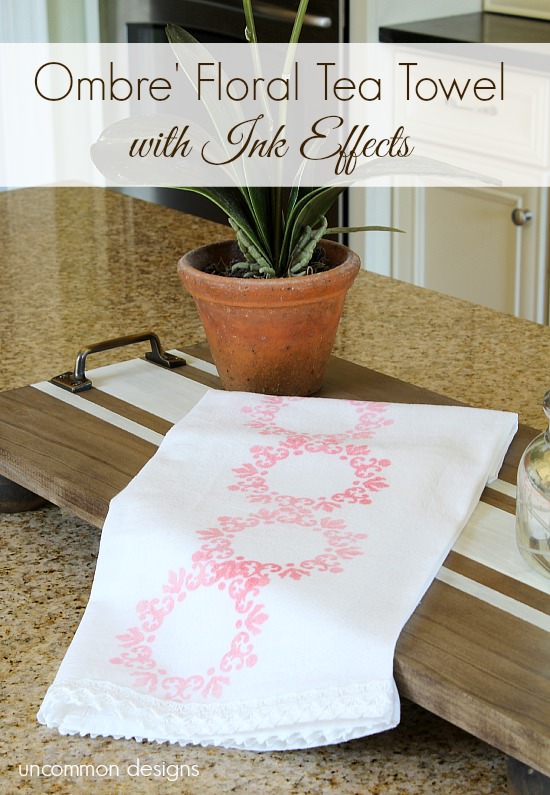
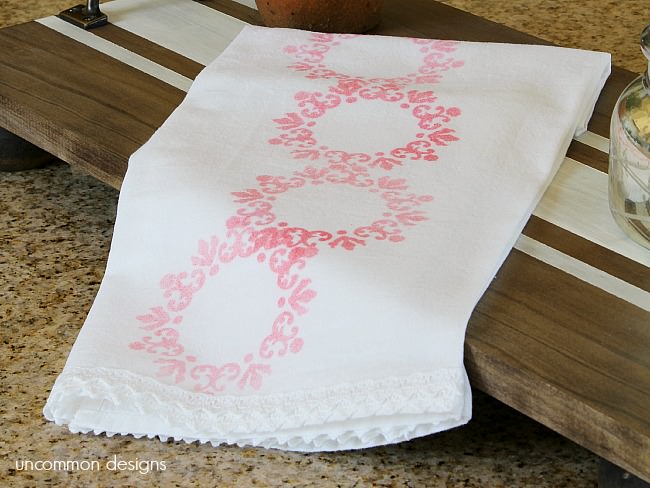
I tell ya, I love creating a custom piece for my home. This sweet little tea towel is a wonderful spring accent for my home. Ink effects allows you to choose your colors and design…and here is the best part…you really do not have to be an artist to get a great look for your diy project.
Sit back and let me share with you how to create your own Ombre’ Floral Tea Towel…
Supplies Needed:
1. Cotton Flour Sack Towel 2. Ink Effects in color of choice 3. Ink Effects Fabric Basecoat 4. Makeup Sponge 5. Stencil or Design of choice 6. Plain printer paper 7. IronStep One:
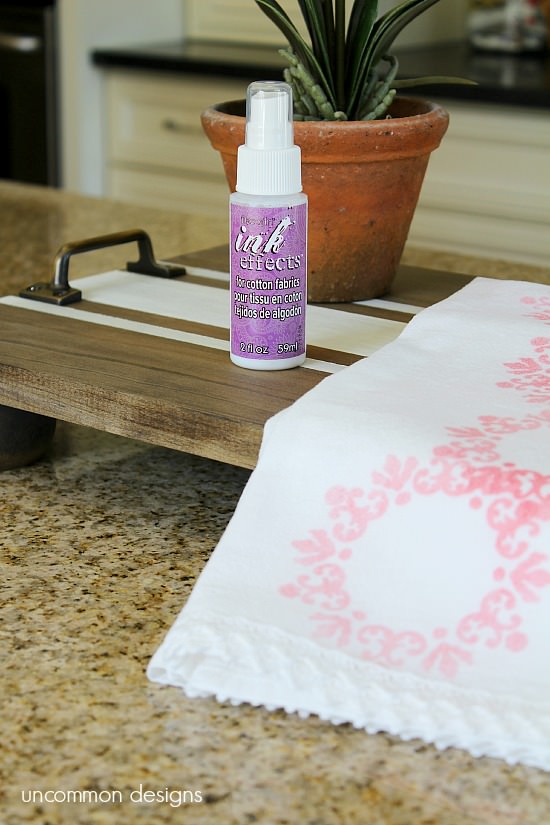
Wash and dry the cotton flour sack towel. Next, follow the directions on the Ink Effects Fabric Basecoat for treating the cotton towel. Ink Effects can be used on a number of different fabrics, but for cotton fabrics, this basecoat is required to allow the ink to absorb and adhere to the cotton fibers.
Step Two:
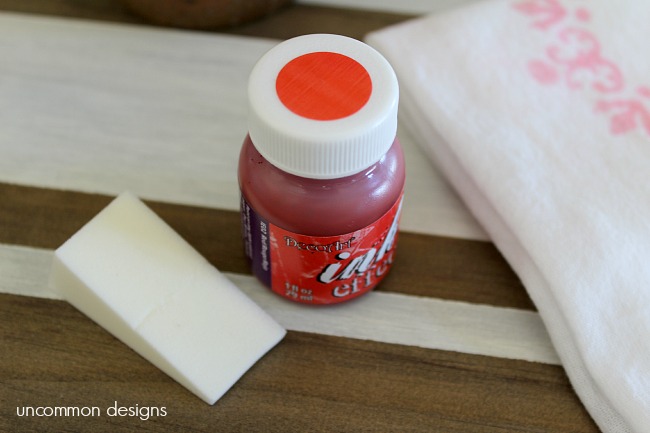
Now the fun part! Select the color of the Ink Effects you would like to use. Each bottle has a sticker on top, use that as an indicator of the color. It will NOT be that color in the bottle! So pick your color by referring to the bottle sticker color. Also grab a makeup sponge or something similar to use. { I tried using a foam paintbrush for this project and it was not dense enough }
Step Three:
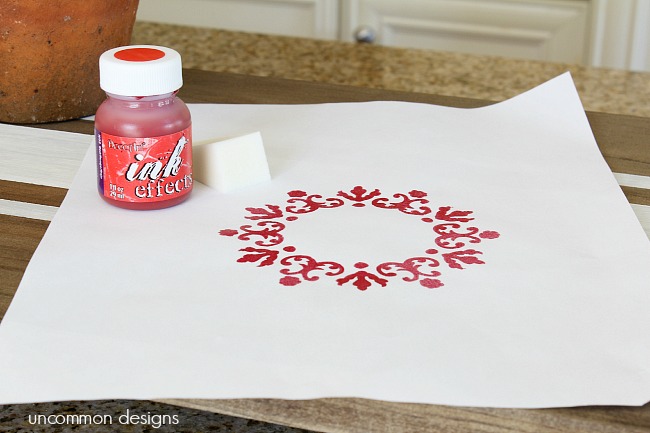
Ok…now this is going to sound really unusual but so cool! You will simply place your stencil on the printer paper. Keep in mind the final design on the towel will be a mirror image of the design on the paper. Now gently use the sponge to tap the Ink Effects onto the paper, just like you would stencil with paint. Do not try to get too much on the paper or it will bleed. Remove the stencil and you will have a design on the paper as I have above. Then paper will need to dry 45minutes. The DecoArt site has a LOT of helpful Ink Effects Videos to help you out and give you other ideas of free hand painting and using images that you paint over. So incredibly cool!
Step Four:
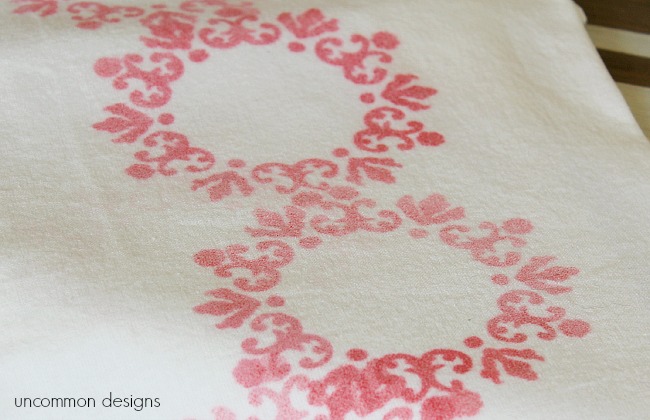
Ok…so….this is gonna sound crazy but it works. Following the directions on the Ink Effects, I simply flipped the paper over on the towel and ironed the paper { I placed 2 pieces of paper over the painted one to prevent the iron from touching the fabric at all } the amount of time suggested. When I lifted the paper off of the towel, I had a beautiful design…amazing! To achieve my ombre’ effect, each time I ironed the painted paper, I subtracted a little iron time. But wait! Yes, I used the same painted piece of paper for all four designs on my towel. Yep! You can transfer the design more than once.
Step Five:
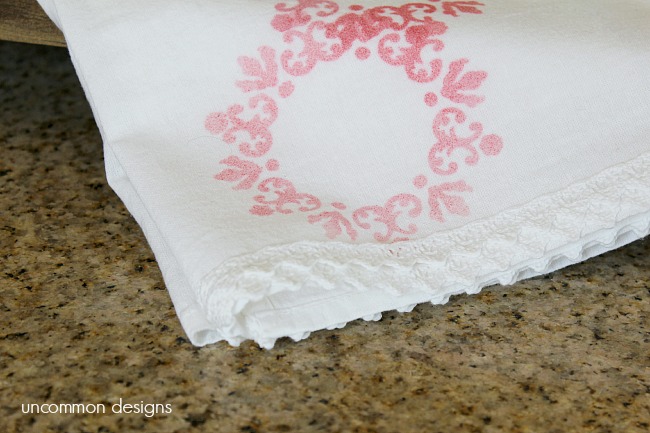
Now if you have been around Uncommon Designs a bit, you know that I just can not leave a project without a finishing touch. Yes, guilty as charged! So for this tea towel, I felt like it needed a little bit of trim on the bottom. So delicate to go along with the almost watercolor ink.
Here is what I did, and I made it no-sew for ya!
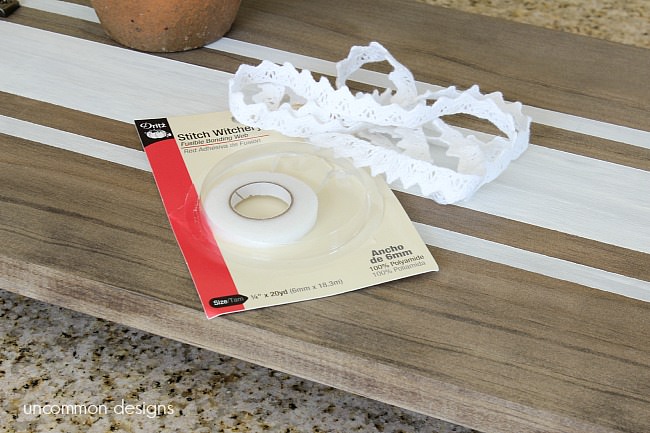
I simply picked up some:
1. Crochet lace trim 2. 1/4 inch Stitch WitcheryFollowing the directions on the stitch witchery, I added the crochet lace trim to the bottom of the tea towel. That’s it! No sewing machine needed! I love the completed look the trim gives the towel. I am all about details!
I am seriously hooked on these Ink Effects, I see a few more projects for my home coming up. I will be sure to share them with you when I am done!
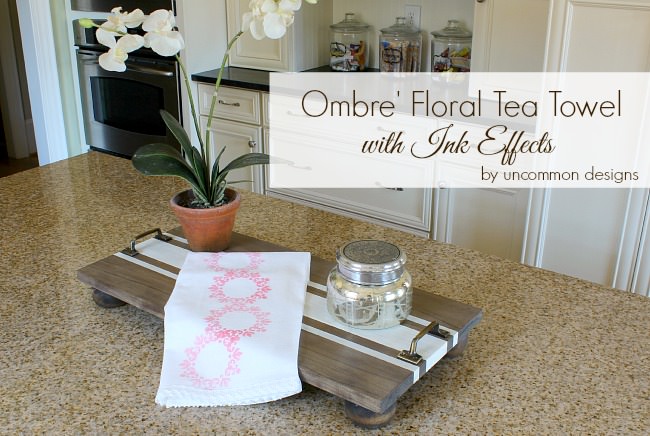
psst…I would love for you to check out the Ticking Stripe Wooden Tray too! One of my favorite diy projects this year.
this post contains affiliate linksTrish Flake
Latest posts by Trish Flake (see all)
- Easy Leopard Painted Pumpkin - October 18, 2021
- Embroidered Swedish Dishcloths - May 3, 2020
- Easter Egg Decorating Party - March 21, 2020

Oh my Trish & Bonnie, this looks like such fun – I’m definitely going to try this!
So pretty! I’ve been inspired to get my Ink Effects back out again. Plus, that stitch witchery is one of the best tips out there 🙂
I just bought some plain flour sack towels. This would be a fun project to try on them!
Love the tea towel project. Never done that before. I do all kinds of crafting, but never that. I’m not a big sewing fan; but ended up putting myself on the burner when I moved in with my sweetheart. I got rid of all the old blinds in the house–put up curtains that I had, and now I’m having to make curtains for the back porch that is ALL windows!! Yikes! I think I might cheat some using the stitch witchery. Haha! Thanks for sharing your DIY project.
That’s so pretty, it sounds like a fun technique to try too.
I love the ombre effect! I’m definitely going to try this! 🙂
I’d like to invite you to share this at the Farmhouse Friday link party, which is live right now! 🙂 When you link up, I will share it with a direct link back to your post on all my social media, including on the DIY Farmhouse Style Facebook group, which at this writing has 154k+ members. I hope to see you there! 🙂
Michelle @ The Painted Hinge
http://www.thepaintedhinge.com