Have I told you lately how much I love fall? Yea, it’s my favorite, but don’t tell summer…it will be our little secret. Summer is fun, but it is so hot here and by the end of it, my family is ready for a bit of a change. And is it just me, or do you tend to let a few things around the house go during the busy months of summer? We do, so with the beginning of fall, our family does a bit of fall cleaning up around the outside of our home.
My project for this week was my very sad little window box…
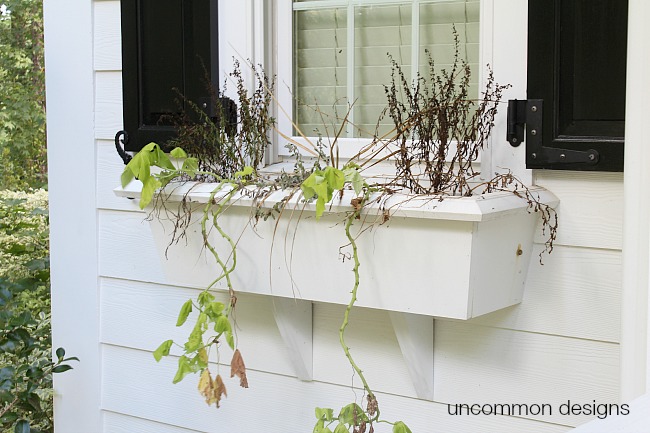
I know, it is pitiful but hang in there with me. It gets so incredibly hot here in late July and August and we are so busy, that watering seems to get forgotten and my poor little plants take a beating. But, by the end of this post, you will know all my tricks to creating a beautiful fall window box including cleaning it up so that it shines again!
But it did start the spring beautiful…
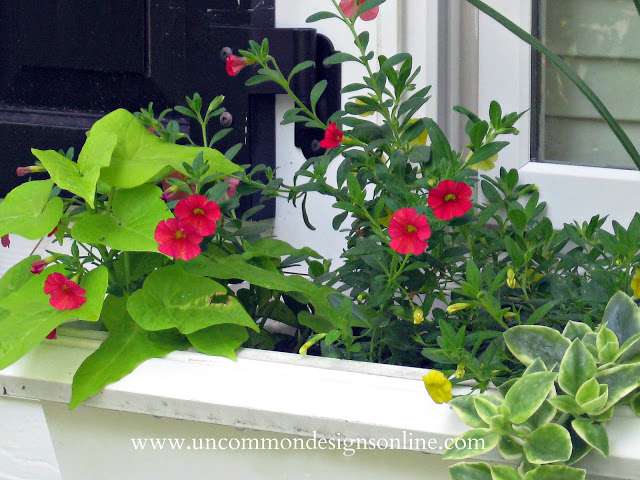
I wish it would last longer but alas..summer in the south just does not favor flowers in hot July and August no matter how much you water.
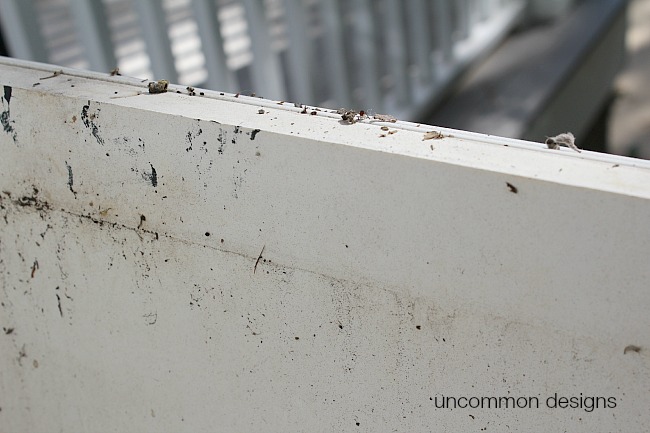
See how yucky it gets during those hot summer months with the added rain? This little window box needed a good cleaning to shine like the beauty it is.
I was able to clean up my window box in very little time and move on to planting it for fall. I typically like to use Magic Erasers for Outdoors to clean up around the outside of our home. They really get the job done. My window boxes are permanently attached to our house and have holes in the bottom for drainage, but I still plant my flowers in a plastic window box liner rather than in the box directly.
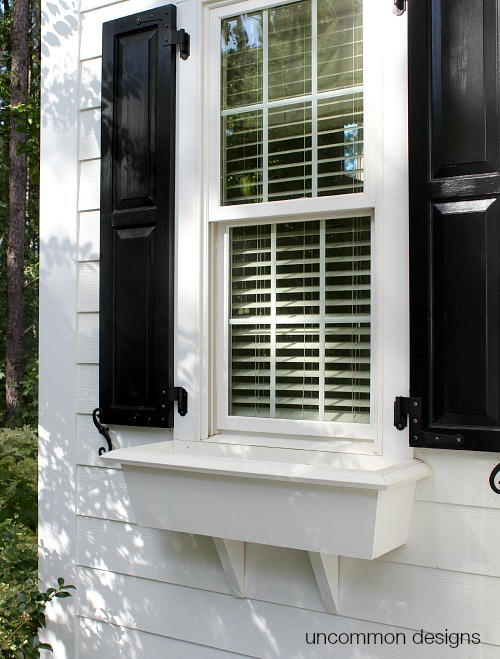
So here we are after a cleaning. No more dirt and grime and ready for some fall planting. Starting with a super clean surface just makes everything look so much brighter and fresh.
So let’s get started planting a fall window box…
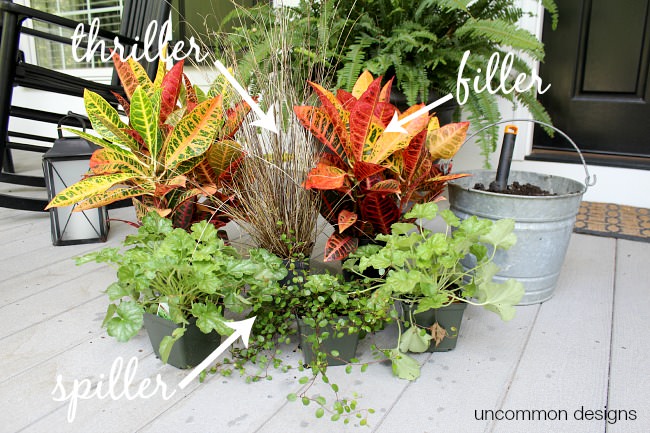
I always approach my window box planting with the same concept…
- Thiller
- Filler
- Spiller
- Thriller: I chose a plant with height and uniqueness for the THRILLER. It may be the shape of the plant or the color of it that draws me to it. I love to use tall grasses in my window boxes. They can be green, variegated, red, or even brown.
- Filler: Next I choose plants with larger width and color for the FILLERS. Depending on the size of your window box, you may need 2 or three. Pick a seasonal fall plant or flower for your area. Some will only make it until the first frost or freeze of the season.
- Spiller: Then finally I always select a few fun plants or flowers for my SPILLERS. These are the plants that will eventually “spill” over the sides of the window box giving it that relaxed look. You can use vines or plants that will fall over the edge of the window box and continue to grow.
The plants you choose will depend on where you live and the climate. Don’t forget to take into account the amount of sun your window box will get and at what time of the day. I always use perennials due to the fact that we have very distinct seasons here and the plants and flowers almost never make it from the hot season until the cool one and vice versa.
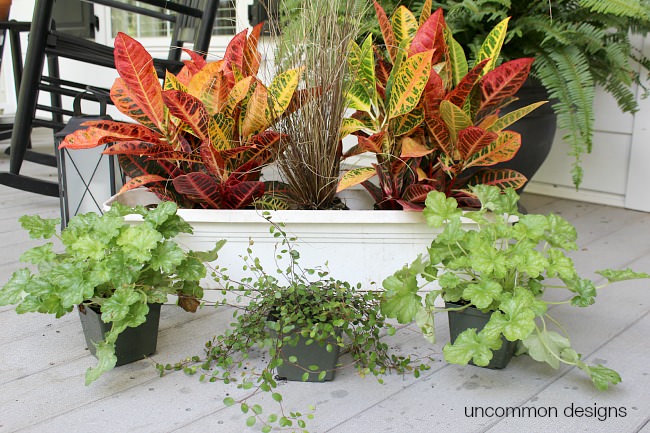
I plant the Thriller and Fillers first, in good potting soil recommended for containers. One hint for you…select plants of different sized leaves and/or flowers for more visual interest. I love the different shades of green in these Spillers. A variety of textures also makes the window box more appealing.
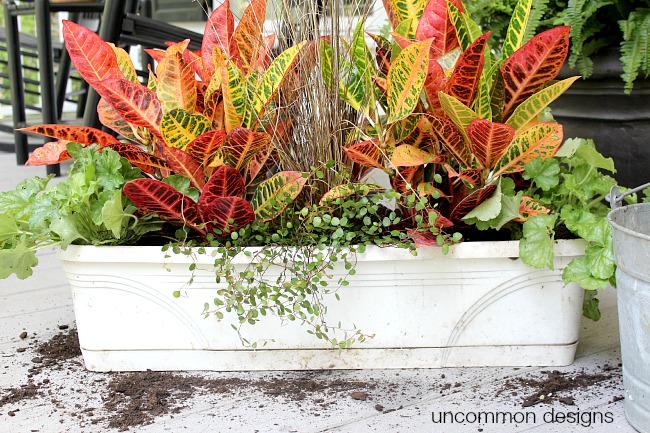
Now plant those final Spillers. Keep in mind they need a little space and time to grow in fully. Fill in the window box liner with potting soil around each plant. Yes, you will spill a bit getting all of them filled in. But it is so worth it.
A final cleanup of the outside of the window box liner and we are done. All ready to put in the fall spruced up window box.
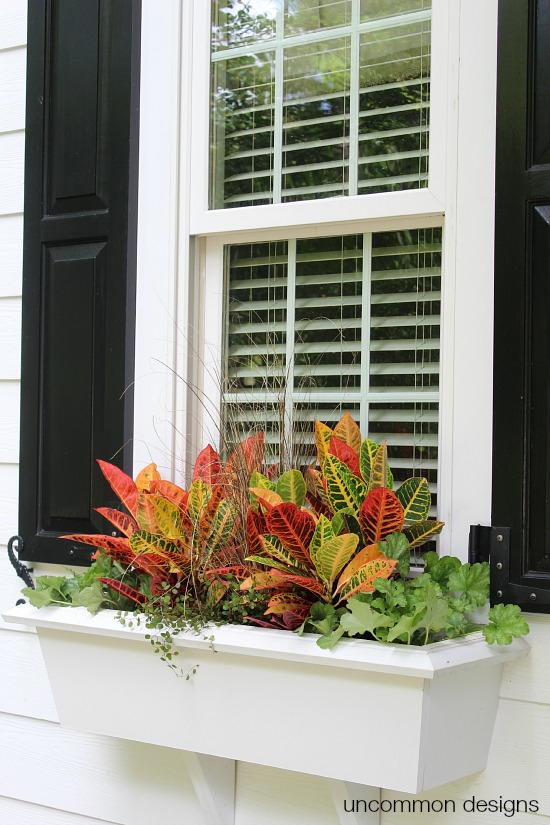
See, I told you if you stayed with me, we would have a fabulous final project. The window box is fresh, bright, and clean. Over the next few weeks it will all fill in and the spillers will do exactly what they are supposed to…spill over the edges of the window box. The plants are the perfect colors to welcome the fall season.
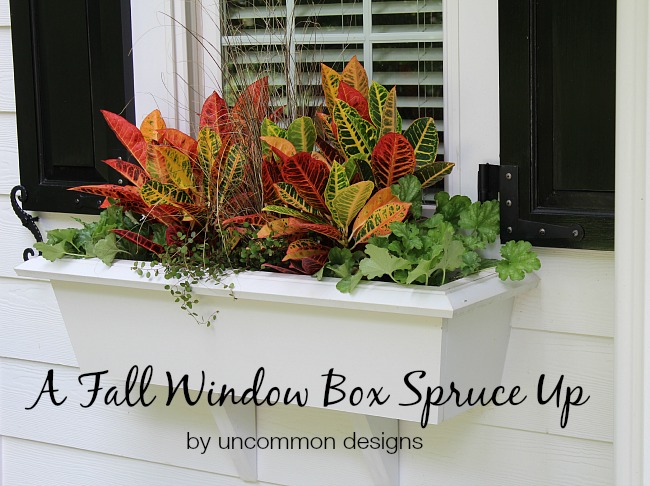
I adore the colors and textures of the fall season. Now I just have to clean up a few more areas around the outside of my home.
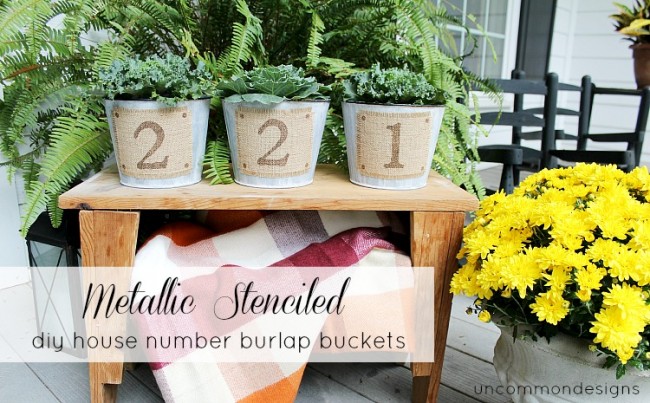
Need a fun way to display your house numbers? Try these fun DIY House Number Buckets…
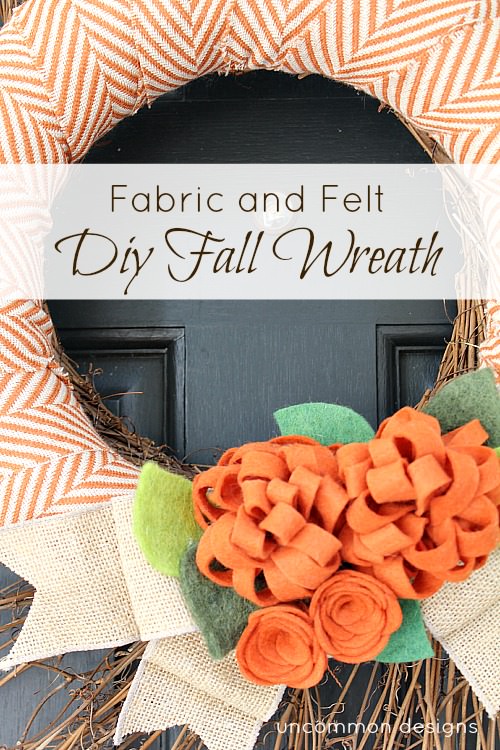
Or maybe you just need a new Fall Wreath? This one is one of my favorites…
So how are you getting your home ready to ring in the fall season?
Trish Flake
Latest posts by Trish Flake (see all)
- Easy Leopard Painted Pumpkin - October 18, 2021
- Embroidered Swedish Dishcloths - May 3, 2020
- Easter Egg Decorating Party - March 21, 2020
Gorgeous, I wish I had window boxes!
I used to work in the Nursery Dept. at the Rohnert Park Home Depot (Sonoma County, CA)…now I run all the store’s workshops and classes (less lifting….sometimes). All the nurseries carry your “filler” this time of year, which is Croton…absolutely gorgeous fall color for the porch or indoor decorating, no question about it. But I always told my customers not to expect it to last too long. Croton grow in the wild in Indonesia, so consider them “temp” plants and plan accordingly. P.S. I’ve already bought one for my front porch!!!
I , too, use the “thriller, filler, spiller” theory. However, since my boxes end up looking like yours near the end of the season, I claim to also add the “killer” !!
I really love these window boxes and just talked my husband into building some for me! What type of wood did you use?
These are actually made of hardiplank which is what our siding is. They were built when our home was being built. They are almost 11 years old and no issues. We do have drainage holes in the bottom even though I put a plastic liner in them.