This time of year just seems to fly by!
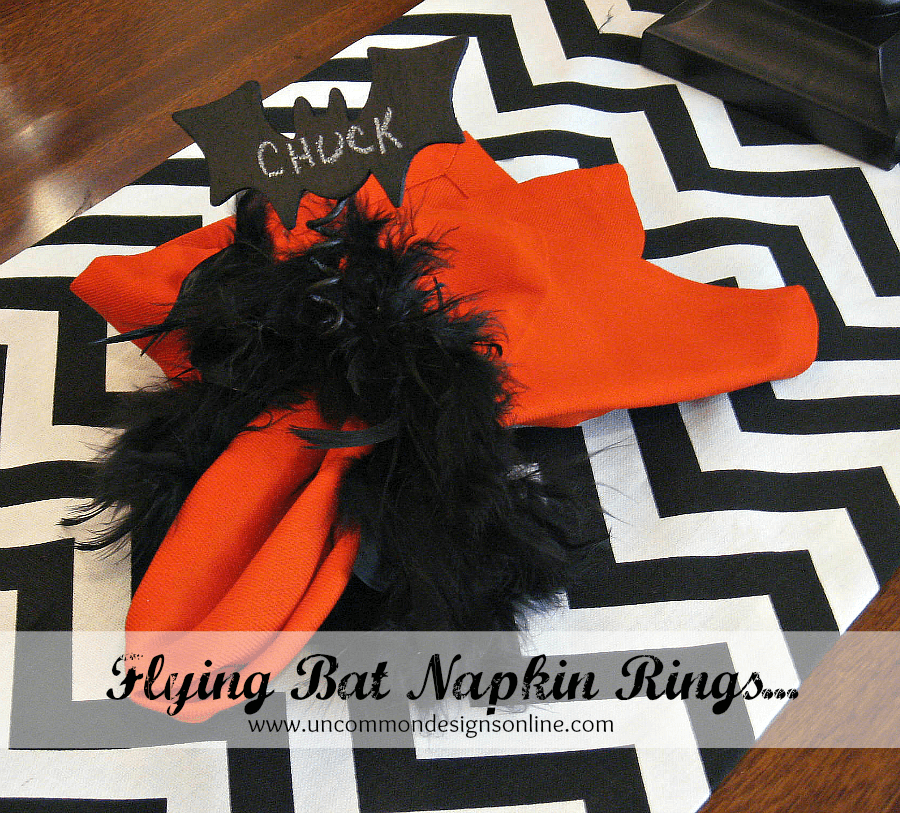
Speaking of “flying”, today we would LOVE to show you a very simple and quick tutorial for “Flying Bat” napkin rings…
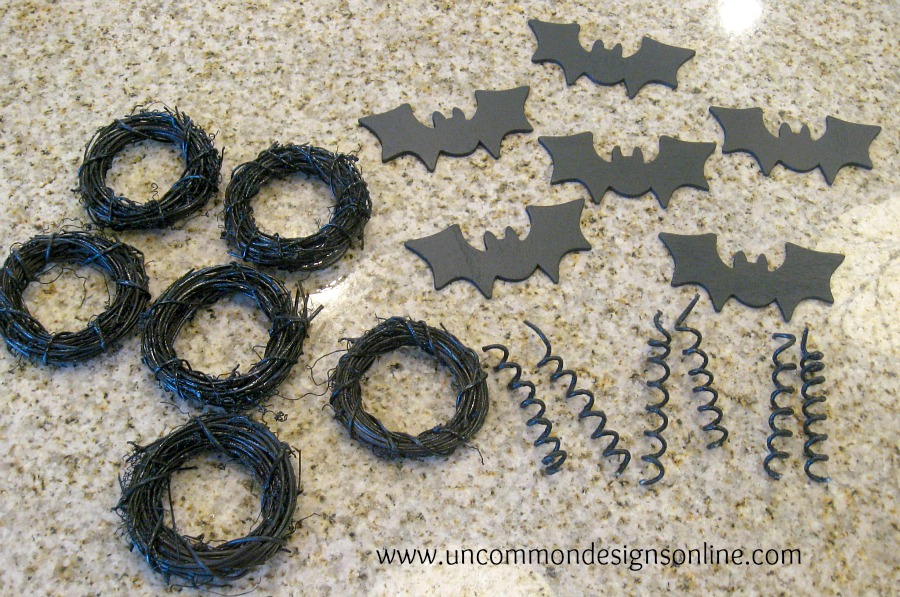
Here are the supplies you will need to create these Flying Bat Napkin Rings…
wooden bat cut-outs (mine came from Michaels)
heavy gauge floral wire (yep..Michaels)
smalls grapevine wreaths ( I got a set of 6 in the Christmas craft section in Hobby Lobby)
black feather boas (these were in the Halloween section of Hobby Lobby)
black spray paint
black chalkboard paint
That’s it!! Oh, except for your trusty glue gun!!
Now, let’s get started!!
Spray paint your grapevine wreaths and floral wire black. Next, spray paint your bat cutouts with the black chalkboard paint. Twist the floral wire around a pencil to form spirals!
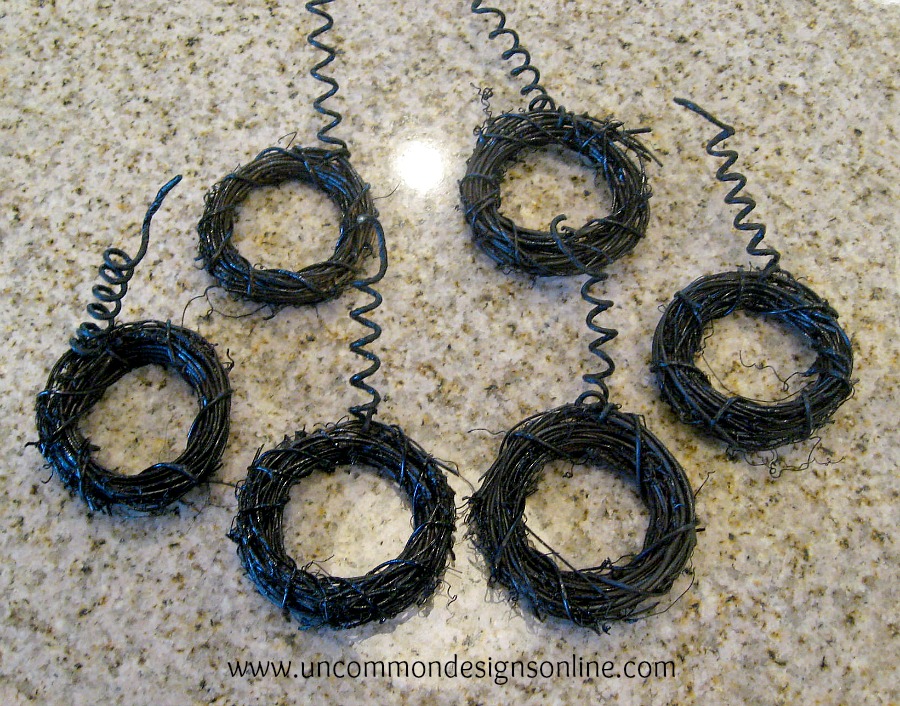
Attach the spiraled floral wire to the wreaths, by weaving it through and pinching it closed. Make sure the wire is where you want the “top” of the napkin ring to be! Flatten out the top portion of the wire where you are about to attach the bat!
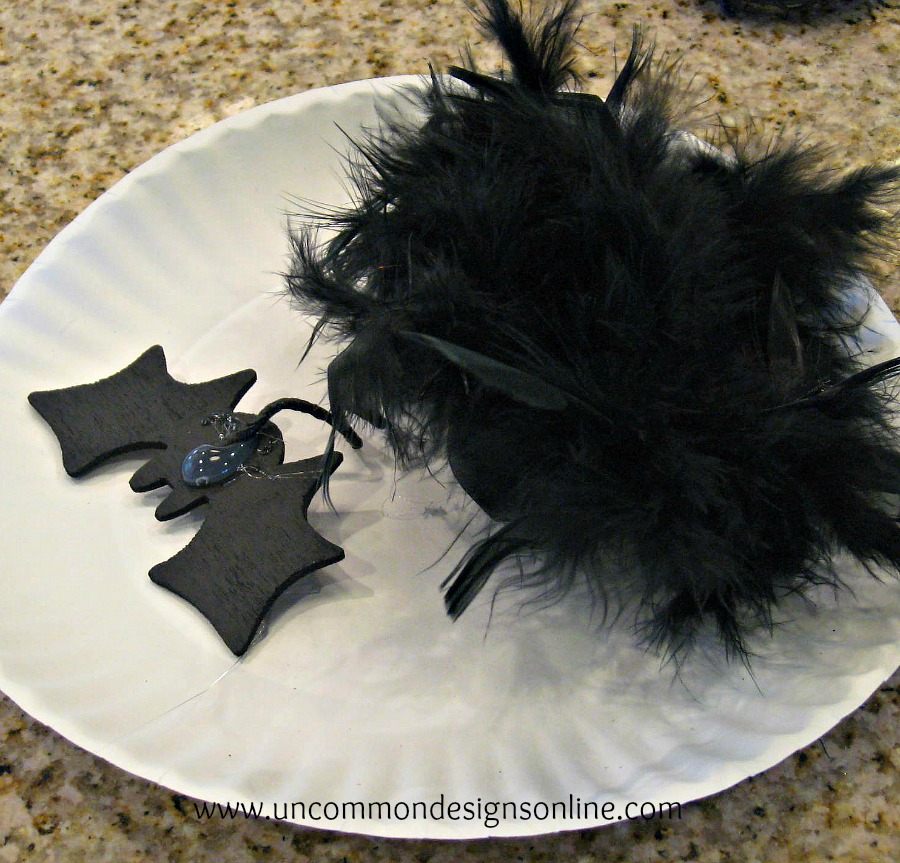
Ok..now take that feather boa off from around your neck, and cut a length long enough to be glued around the grapevine wreath. Be prepared to sneeze!! I used two boas for this project! Simply glue it around the wreath with your glue gun!
Finally, attach your bat to the floral wire with your trusty glue gun!! I know I use A LOT of glue…no judging !!
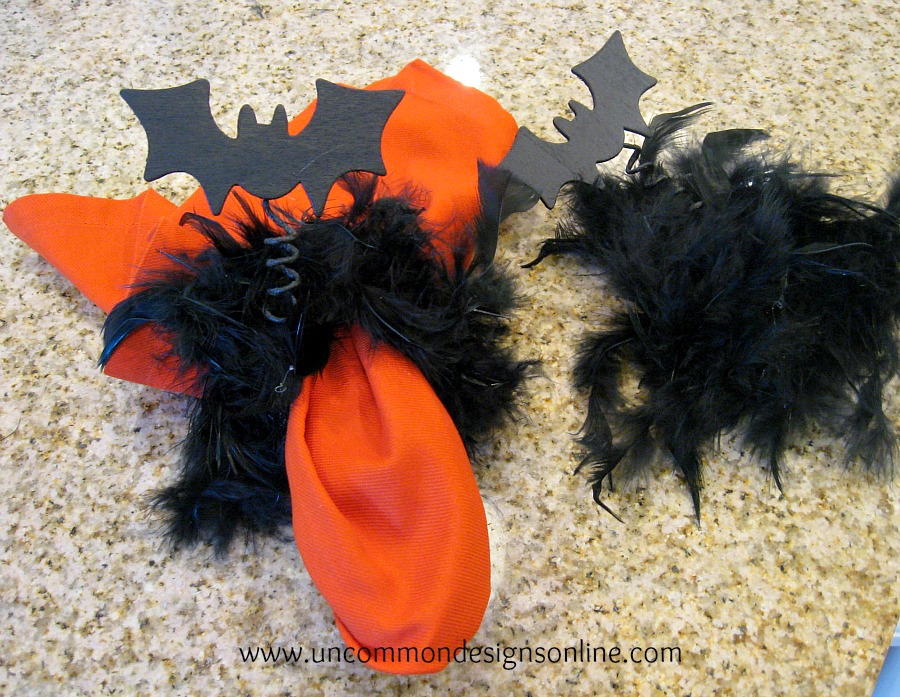
So..here is what the final product looks like with and without a napkin in it!! SOOO CUTE!!
Simply write on the bats with chalk to create your place cards and your dinner party is all set!!
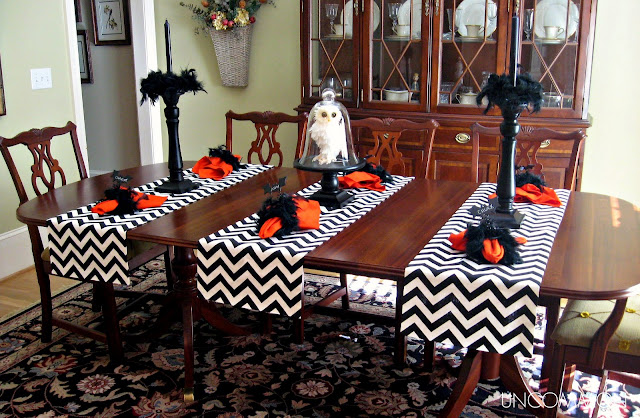
Love how the table all came together!!
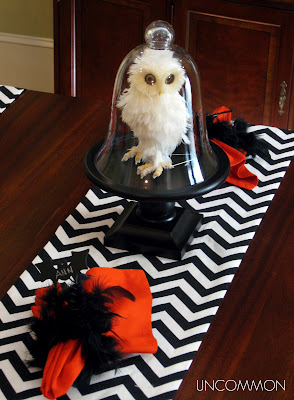
My spooky little white owl is the perfect contrast to the black and orange!
So…who is ready for Halloween? Be sure and check out our Spider Web Wreath and our Silhouette Pumpkins!


What a fun idea! Now I want to make some of these.
Those are so adorable! You ladies are so creative!!
Ah you are the nicest Megan!! Thanks so much!!
I love these! So creative. I would have never thought of it in a million years. Where did you get the idea for these? We’d love for you to come by and link up at Whimsically Homemade’s Mixer Monday Link Party!
http://whimsicallyhomemade.blogspot.com/2012/10/mixer-monday-link-up-6.html
Thank you so much!!!
Oh, my gosh–everything is SO cute. Really great look and a great tutorial. Fun!
Shannon »
Thanks so much!! Can you tell we love Halloween or what?! Enjoy your week!!
Those would look amazing on my spider tablecloth!! LOVE the chevron – now that’s a chic Halloween!
Kelly
You are too sweet kelly! and I LOVE your spider tablecloth!!!! Bonnie
Kelly @ Eclectically Vintage » Thanks girl!! It would look fabulous with your tablecloth! Have a good one!!
I love everything about these! Thanks for coming to party with us at Whimsy Wednesday!
Kelly,
Smart! School {House}
http://www.smartschoolhouse.com
Ah..thanks so much!!
I know it’s supposed to be spooky, but that is still a gorgeous table decor setting! The owl in the glass does creep me out some, so it’s effective enough in that way. LOL
Laura @ House Of Joyful Noise »
Thanks a bunch!!
So…. AWESOME!!!!! Very very cool!! Love the tablescape too!! Want to come and do mine… please?!
Thanks so much for sharing this at The DIY Dreamer.. From Dream To Reality!
Christine »
Thanks Christine!! I’ll be right over!!
What a beautiful table, I adore the napkins rings!
Thanks so much Crystal!! They are really fun!!
I love the tablescape! Where did you find the chevron runners? Thanks!!