Hey Y’all! If you caught my Fall Home Tour a few weeks ago, I promised to be back with some tutorials to create a few of my fall home decor items that I featured in the tour. I have loved having our home all festive for these weeks of fall! Today, I am sharing how to create one of my absolute favorite diy projects ever…
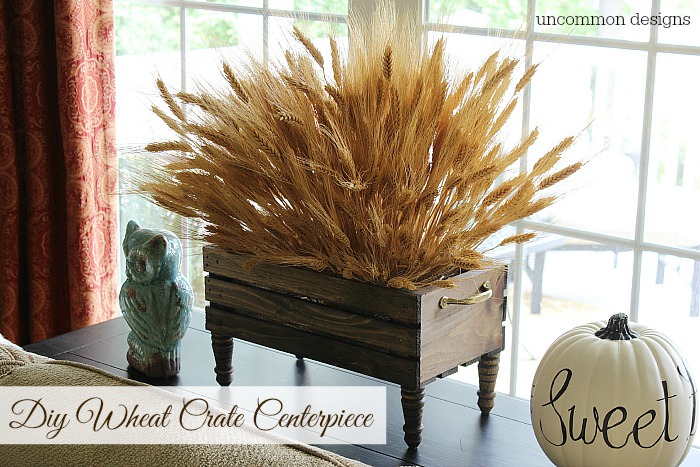
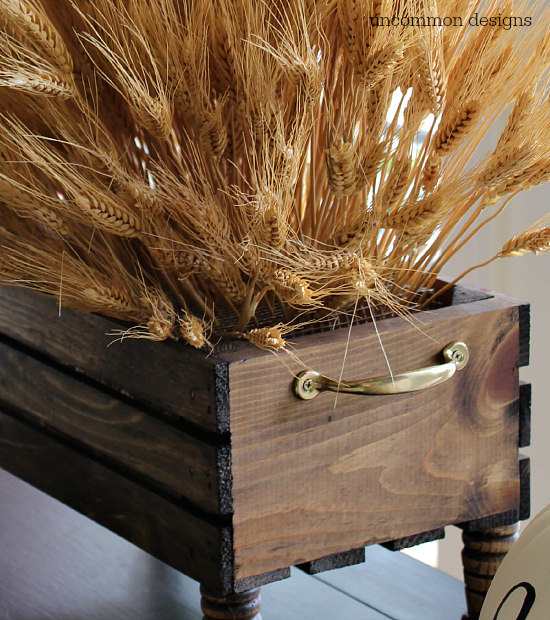
This DIY Wheat Crate Centerpiece turned out absolutely amazing and I could not be happier. I promise, it is not as involved as it appears and the uses for this little beauty year round are endless! I can already see some spring flowers or Easter eggs nestled in the crate. Perhaps a few snow covered vintage trees for Christmas.
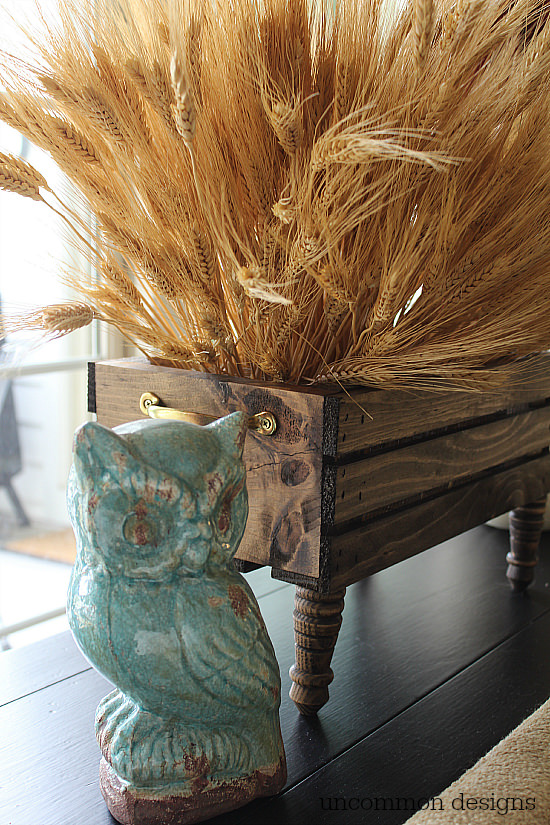
Right now, my trusty little aqua owl is keeping it company. My cat seriously thinks we have built her a fun place to hang out under…she is a mess!
So, do you want to create your own? Of course you do! Let’s get started…
________________________
Supplies Needed:
1. Unfinished Wooden Crate : Mine is 16 x 8.5 x 5.5 and came from Michaels
2. Minwax Dark Walnut Stain { or color of choice }
3. 2 Drawer Pulls of Choice : These are Antique Brass from Home Depot
{ Here is my secret: Go to the screen door supply section of your big box hardware store. That is where you will find these that are cheaper and screw in from the top. }
4. 4 Screw In Furniture Legs : These are 3 3/4 inches tall and came from Lowes
5. Wire Mesh with small openings : From Home Depot
6. Dried Wheat
7. Optional: tin snips or scissors to cut wire
________________________
Step One: Stain your crate and the 4 legs in your stain color of choice and allow to dry fully. You can see how I stained my DIY Vintage Crates as part of our Summer Reading Station. Dark Walnut is just my favorite stain color.
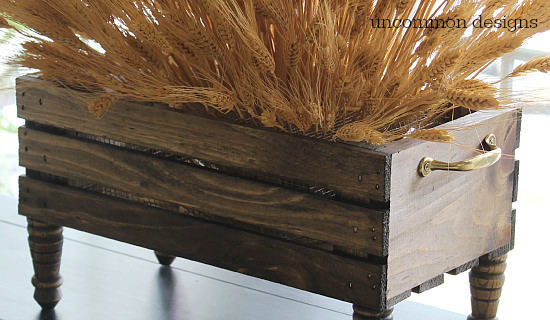
Step Two: Attach the legs to the bottom of the stained crate. I attached them exactly the same way I added the little legs to my DIY Ticking Stripe Wooden Server Tray. Spend some time looking around your town to see who sells some of these unique furniture parts and pieces, they can really make a DIY project amazing.
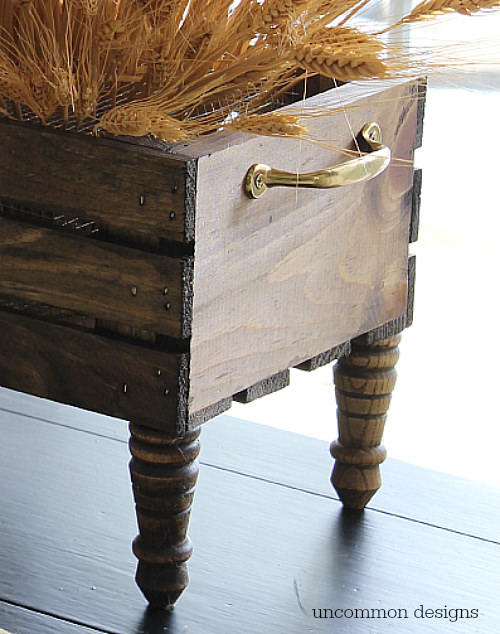
Step Three: Attach the drawer pulls to each side. I love the contrast of the antique gold and the wheat, so warm and cozy. Adding these seems like an extra step, but they really took this project up a notch. You can see how to do this HERE.
Step Four: Place a piece of cardboard in the bottom of the crate to keep the wheat from falling through. Now we are going to make a little wire mesh holder for the wheat.
Now, your box is complete and you are ready to create the wheat display.
Step Five: Cut a piece of wire mesh.
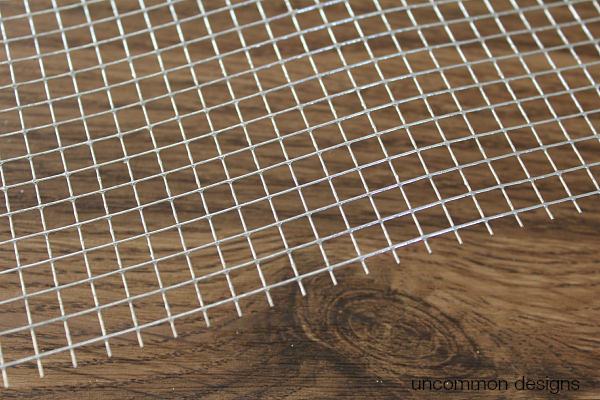
It will need to be cut in the following dimensions….
length of crate + 2 times the height of crate = length of wire mesh
width of crate + 2 times height of crate = width of wire mesh
so for mine …..
16inches + 2{5.5inches} = 27 inches in length
8.5 inches + 2{5.5inches} = 19.5 inches in width
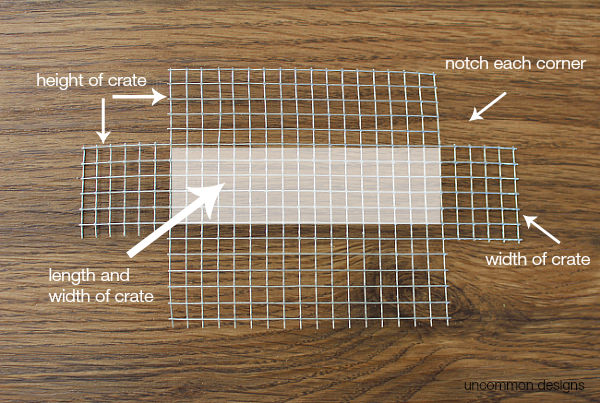
Once you have your wire mesh cut, you will need to notch each corner. Notch them the same measurement of the height of the crate. So each of my square notches are 5.5 inches by 5.5 inches.
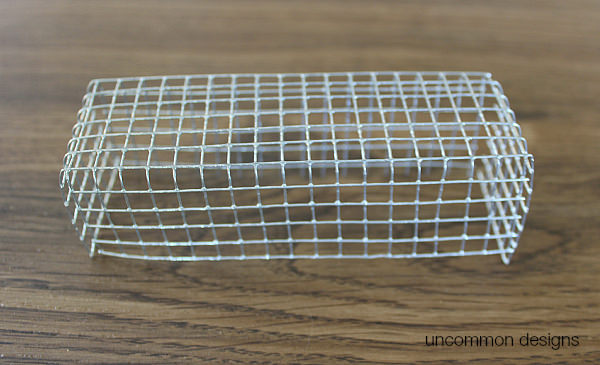
Now you will simply fold down all the sides, to form a little rectangular box with no bottom. Place the wire mesh holder down in the finished crate, on top of the cardboard piece you placed in the bottom earlier.
The wire mesh little “frog” type holder will hold the wheat upright, and allow you to create a very flowing arrangement. It is a bit tricky to get it started, so be patient. I cut my wheat stalks to the height I wanted. Start in the center towards the back a bit. You will have to hold the wheat upright until you get enough in the mesh to support itself. Once you have an area tightly filled with wheat stalks, you will be able to move outward faster and with fewer wheat stalks.
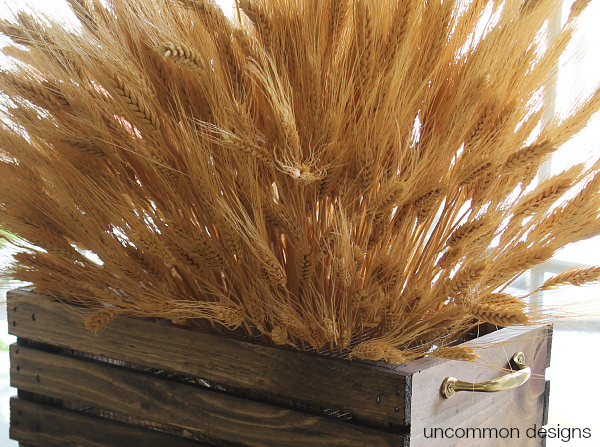
You can see the wire mesh in the box here and see how, once you get the wheat started, you do not have to fill in all the little wire squares. The exposed wire just adds to the rustic, fall character of the centerpiece. Don’t you think?
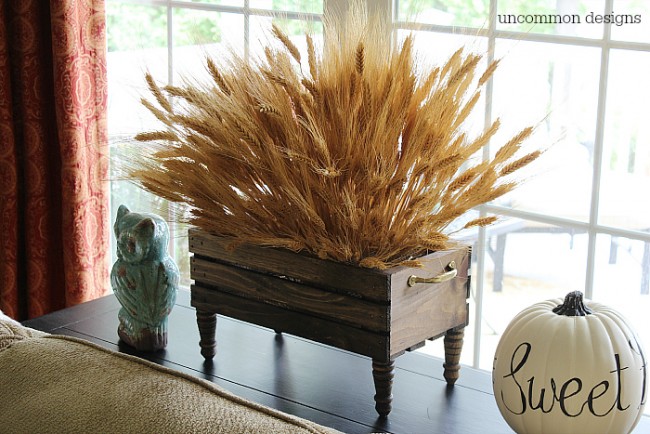
I simply adore how this diy project turned out. It is the perfect accent to my family room for fall. I enjoy bringing decor items into my home that feel like a bit of nature inside and this one is perfect!
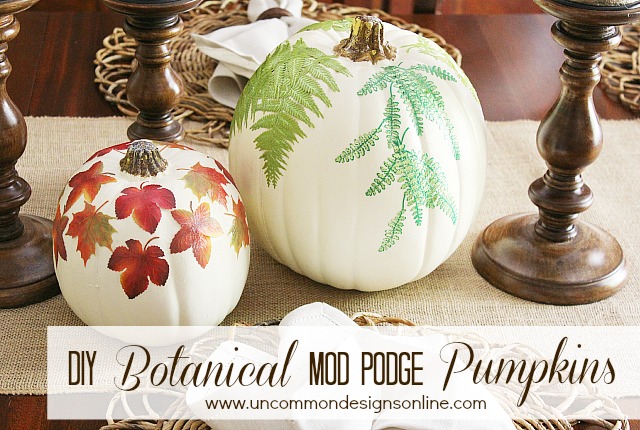
If you also enjoy botanical elements in your home, be sure to see how I created these Botanical Pumpkins last year…
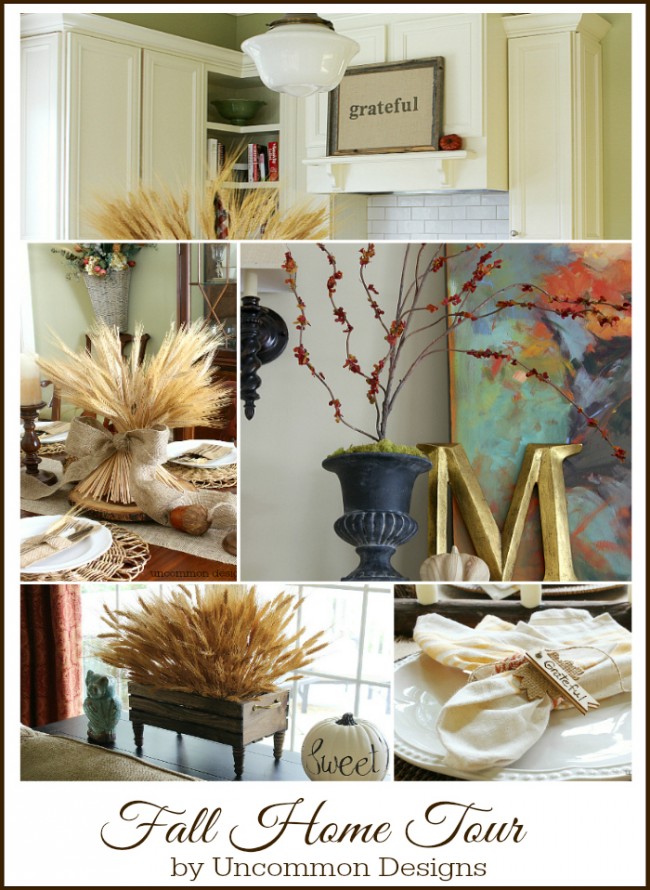
They are so simple and look absolutely amazing! For even more fall decor, be sure to visit my Fall Home Tour…
We hope you are enjoying this wonderful time of the year!
Trish Flake
Latest posts by Trish Flake (see all)
- Easy Leopard Painted Pumpkin - October 18, 2021
- Embroidered Swedish Dishcloths - May 3, 2020
- Easter Egg Decorating Party - March 21, 2020
I am not really one for fall decoratiion but this looks great! Thanks for sharing!
Greetings, Ronja Lotte
Thank you so much!
Can you possibly tell me how much wheat you used? I’m trying to determine how much to order. Thanks so much and love the idea!!
Diana,
We ordered a ton because we used it at an anniversary party for a relative. But I estimated that I had about 300 stalks in my arrangement. You could certainly do fewer and still have a great look. The stalks come in bunches of 40-60 stalks, so that would be about 5 bunches. Hope that helps! 😉
This is a great project. I do see you using it all year round.
This is just so beautiful! I choose it as one of features for Share Your Style Link Up Party. Thanks for playing along!! http://www.whitearrowshome.com/share-your-style-link-party-176/
This is so beautiful! I choose it as one of my features for Share Your Style Link Party this week! Thanks so much for linking up! http://www.whitearrowshome.com/share-your-style-link-party-176/
Have a great week!