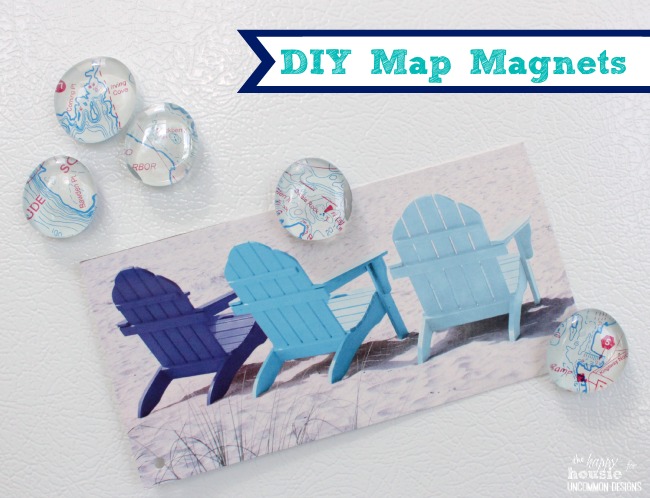
Hello readers of Uncommon Designs!! I’m Krista from The Happy Housie and I am beyond thrilled to be here today sharing my DIY Map Magnets as part of the One Crafty Summer Series.
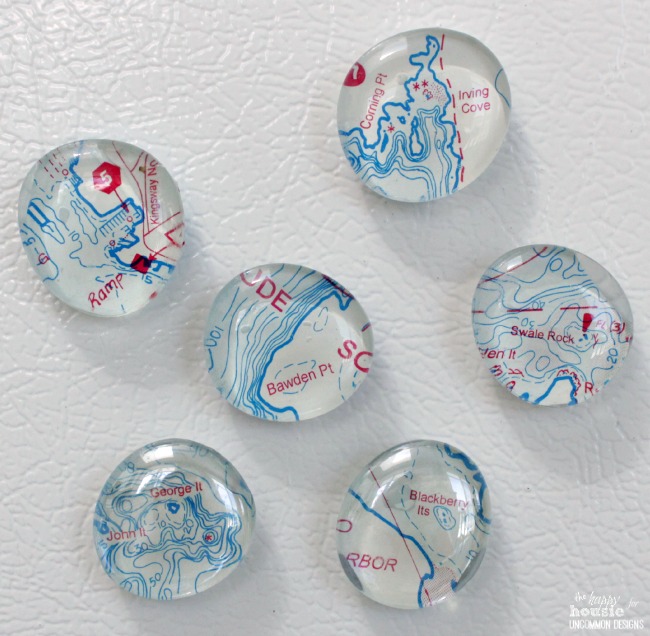
I have a quick and easy summer craft for you today that is the perfect way to repurpose those travel maps you brought home from your latest holiday and turn them into adorable and functional magnets – a great DIY momento from your holiday that you can look at all year long and remember those beautiful summer days you spent on a family vacation.
As I mentioned before, I spend most of my bloggy time over at The Happy Housie. I called my blog this because I must admit to you that I am a bit of a “housie”… (think foodie but for houses). I love all things related to houses: decorating, DIY, organizing, crafting, gardening, and more. I love sharing projects and ideas, and especially love finding old pieces and fixing them up to make them vibrant and beautiful again…like this chair project that I am sharing with you today.
To make these easy DIY Map Magnets I started out with the following materials:
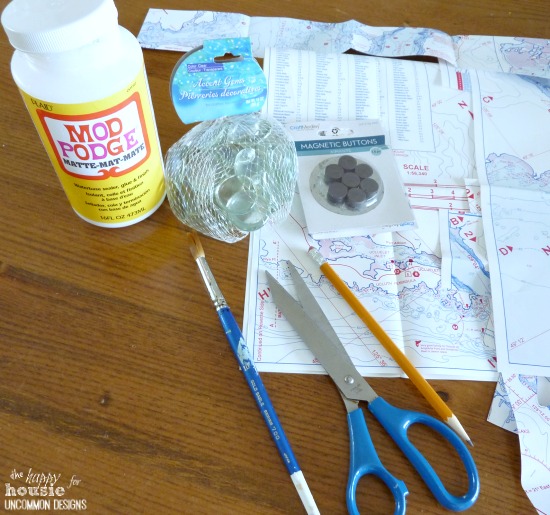
– maps (mine was a nautical chart from an area that is special to us)
– clear glass stones from the Dollar Store (in the floral/craft section) – wipe them down to remove any dirt or dust
-scissors and a pencil
– Mod Podge and a brush
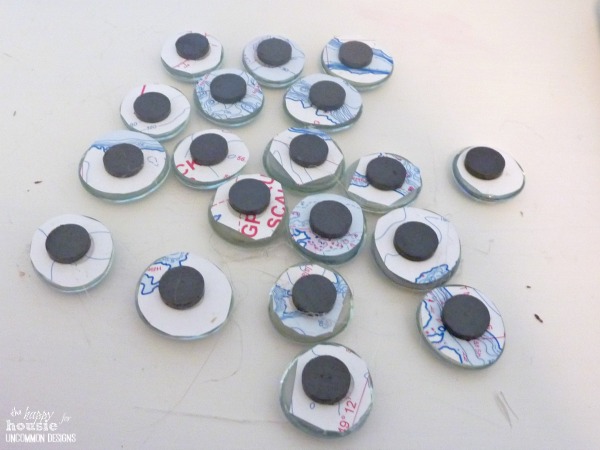
– Magnets and a glue gun or Gorilla Glue (from experience, I would recommend the Gorilla Glue as being more long lasting)
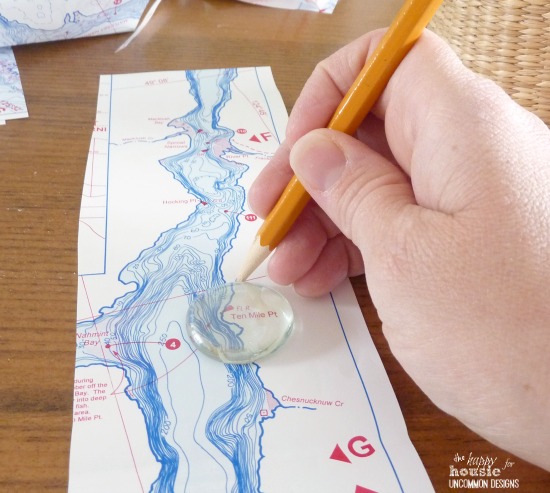
The first thing that I did was pin point some spots on the map that I wanted to highlight. I placed the glass stone on the spot and then traced around it with my pencil so I would know where to cut.
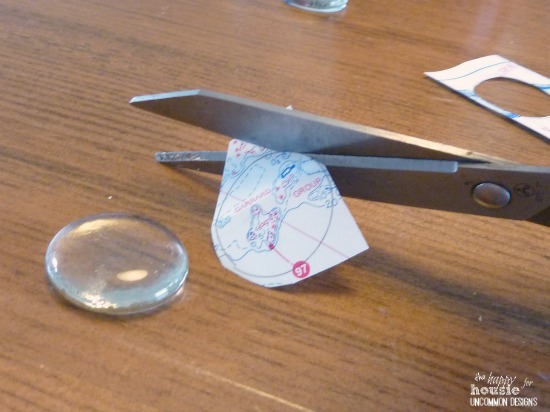
Next, I cut it out carefully…
I applied some Mod Podge to the back of the stone.
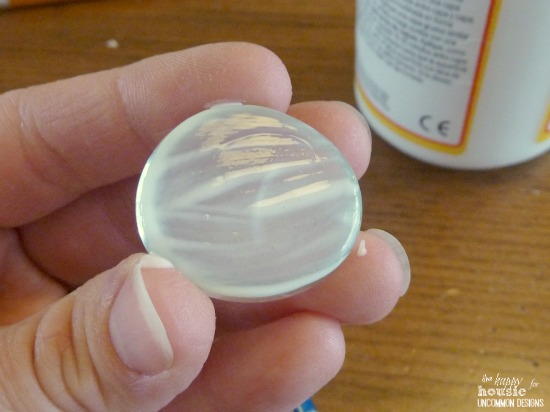
Then I pressed the map gently into place- my map was double sided. Make sure to place it down the same way that you traced it so that the edges line up and you see the part of the map that you were hoping to pin-point.
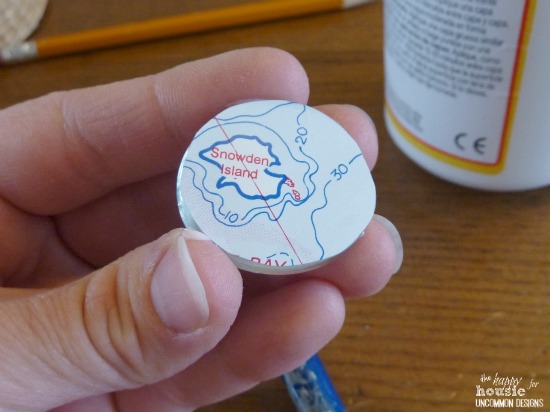
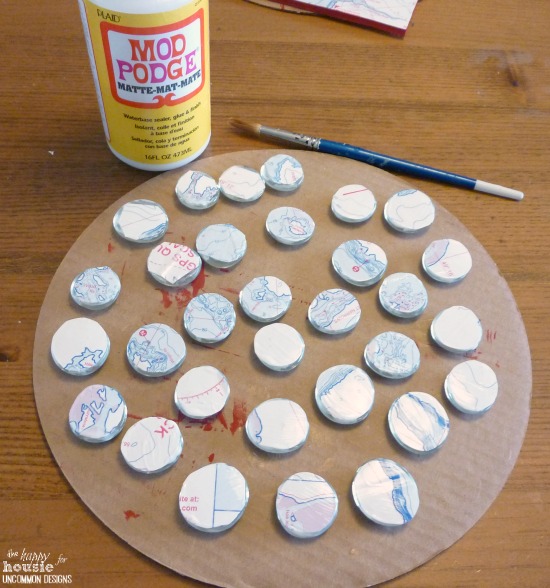
Once you have added all your map pieces, allow them to dry. I then coated the back of them with two coats of Mod Podge in order to completely seal them.
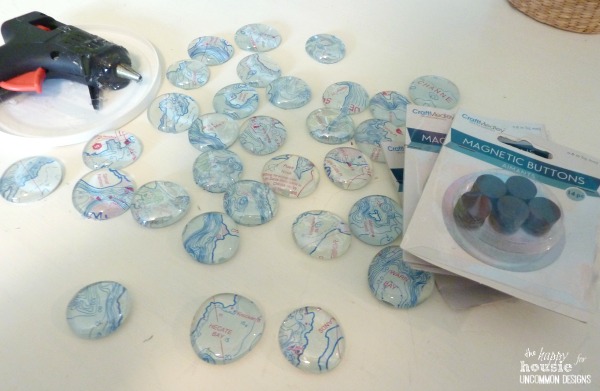
Once dry I used a glue gun to adhere my magnets. Next time I would definitely use Gorilla glue instead because I found that when my boys drop these magnets on our tile floor (which they inevitably do), the magnets often pop off. This wouldn’t be a problem with a stronger glue.
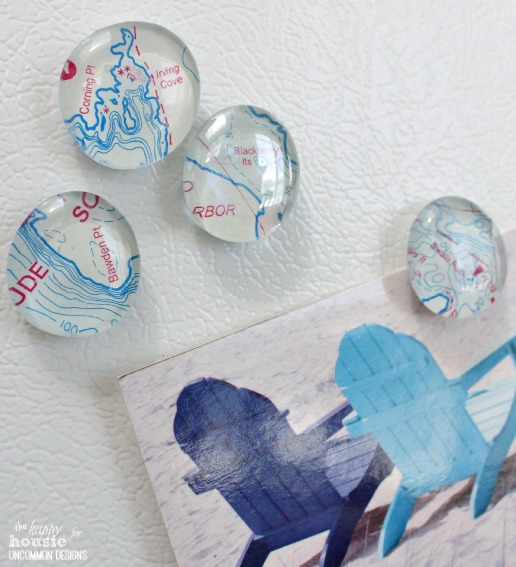
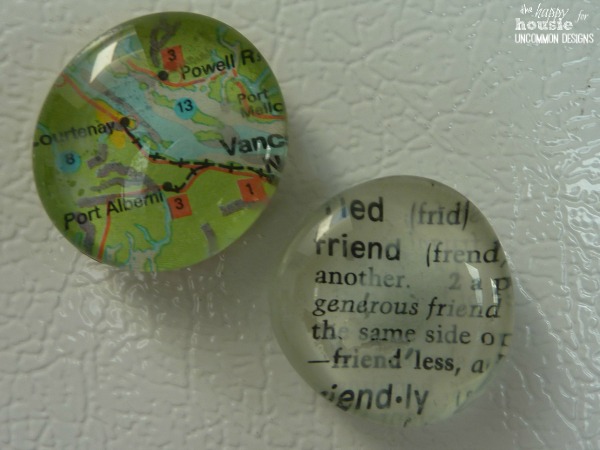
I made some other similar magnets as a little DIY gift for a friend… she lives far, far away so the map is to remind her of home, and the friend is cut out from an old dictionary I had on hand. You can be super creative with these… and they are easy and very thrifty to make!
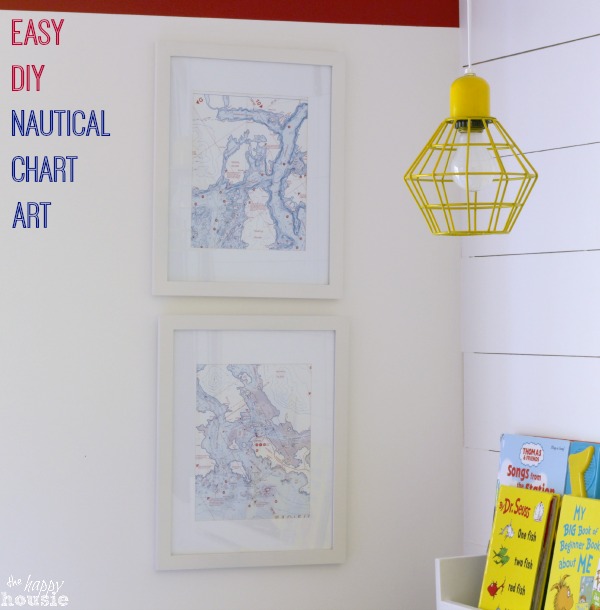
There is so much that you can do with maps or nautical charts (like the blue/red/white chart I used for these magnets). Today I am sharing how I turned them into some easy DIY Artwork for our sons’ shared bedroom space… I’d love you to come on by for a visit!
Thank you for having me here today, Bonnie and Trish, as part of One Crafty Summer!! It was great to be back:)
Thanks for reading. And remember my housie friends, HOME isn’t built in a day. Enjoy the journey.
The Happy Housie is a home décor and lifestyle blog that was named this because I must admit to you that I am a bit of a “housie”… (think foodie but for houses). I love all things related to houses: decorating, DIY, organizing, crafting, gardening, and more. I love sharing projects and ideas, and especially love finding old pieces and fixing them up to make them vibrant and beautiful again.
Trish Flake
Latest posts by Trish Flake (see all)
- Easy Leopard Painted Pumpkin - October 18, 2021
- Embroidered Swedish Dishcloths - May 3, 2020
- Easter Egg Decorating Party - March 21, 2020

Thanks for having me over here today ladies! Hope you are having a great start to the week:)
~Krista
Can I just say LOVE, LOVE, LOVE. I will have these done when I return from dollar store. Thank you so much!!!!
elaine
Thank you for this post…I love this idea, I might have to get some supplies and steal my Grandchildren for the weekend…GOD bless
These are such cute magnets, Krista!
This is such an adorable craft. I just love the map magnets. I made a bunch of the map magnets, which are very easy to make, and then I bought a 24 x 36 magnetic dry erase board and a map and used mod podge to glue the map onto the board. So now the map magnets can be put on the map board and its just the cutest idea. I made if for my nephew who loves maps and he was just thrilled with it. I am now going to make another one for my nephew’s teacher for her classroom.