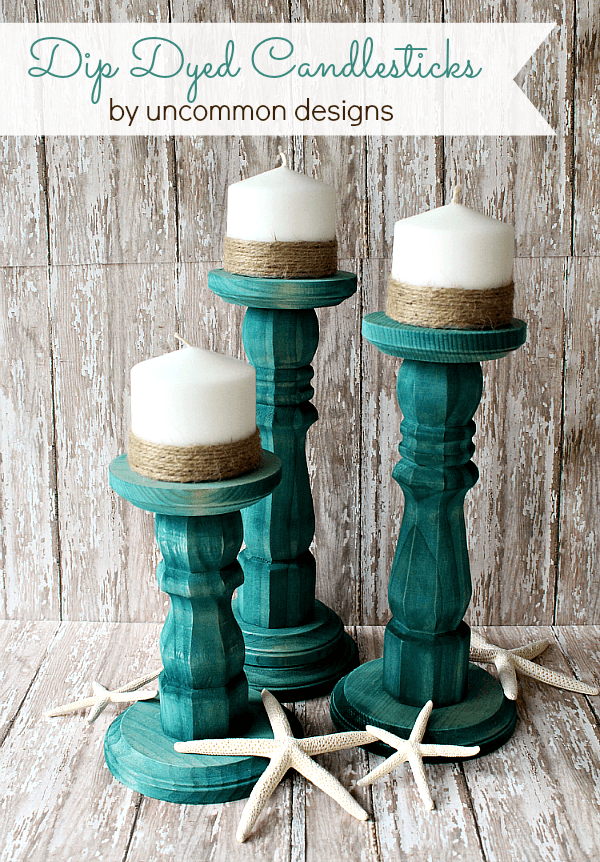
There is something about the coast that instantly puts my mind at ease and relaxes me. I love bringing it inside to remind me to settle down and enjoy the moment when I am far away from the waves. I decided to make my own dip dyed wood candlesticks to go with my starfish collection and I thought I’d share it with you guys!
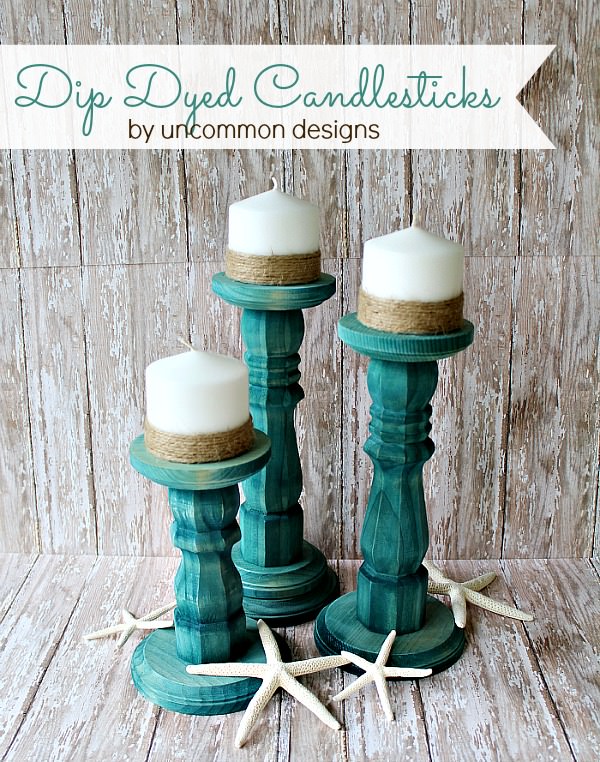
You’ll be surprised with what I used to dye the wood with… Tie Dye!!
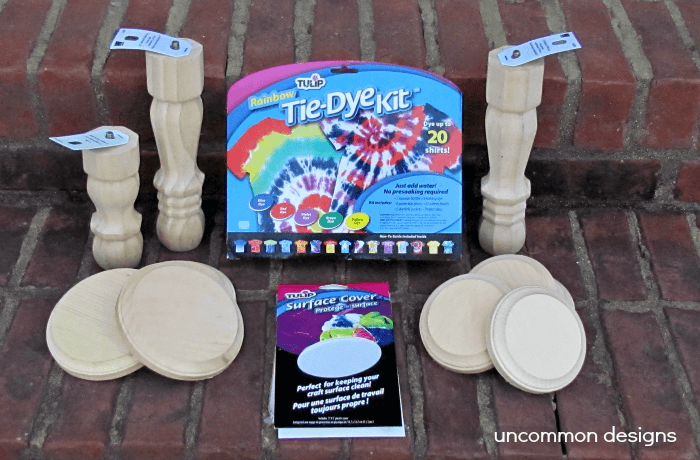
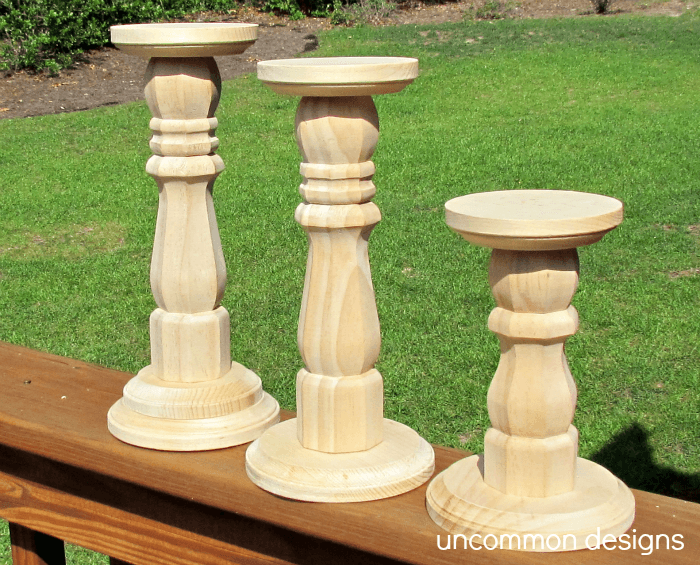
To make this beautiful set of candlesticks, I got some unfinished wood circles, table legs from the home improvement store, and a tie dye kit.
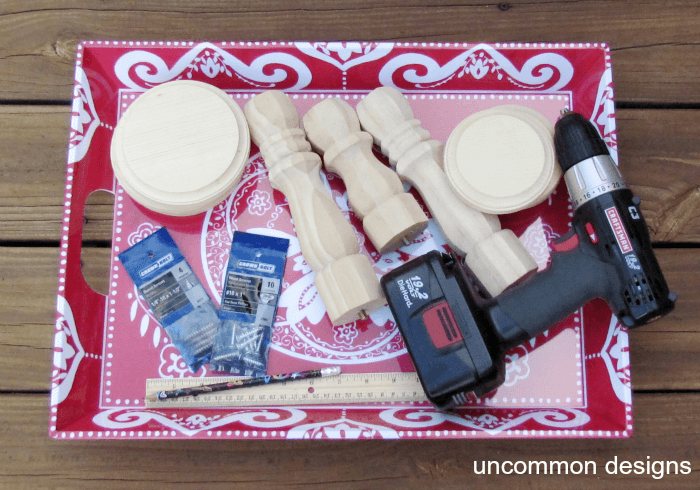
Woodworking Supplies:
To make a trio of the candlesticks you will need 3 sizes of furniture legs, 4 small wooden circles, 3 larger wooden circles, a package of 1″ wood screws and a package of 1 1/2″ double ended screws, pencil, ruler, drill bits, and a drill
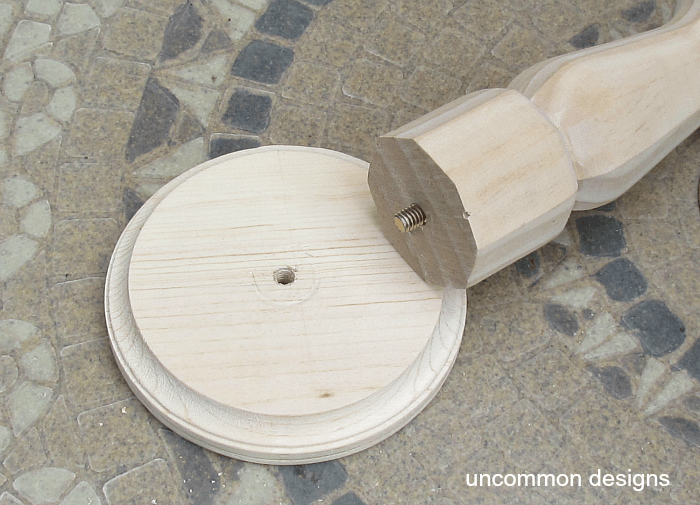
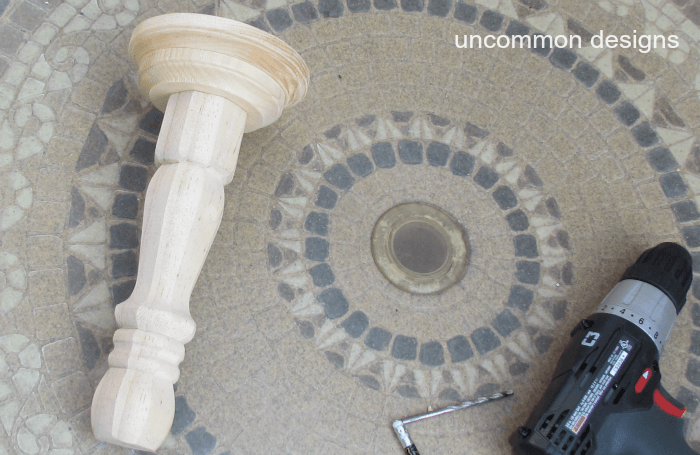
Step One. Find the center of the large circles and drill a hole that will accomodate the screws on the bottom of the furniture leg.
For the smallest candlestick, I added an additional small piece between the candlestick and the larger wooden circle.
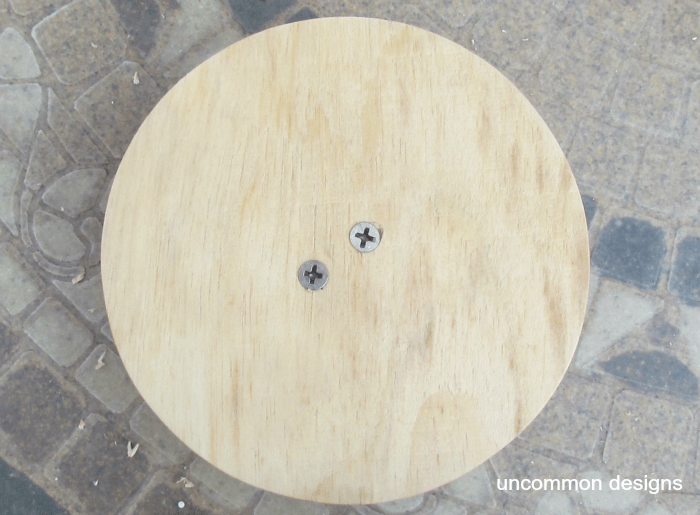
Step Two. Screw the large circle to the furniture leg.
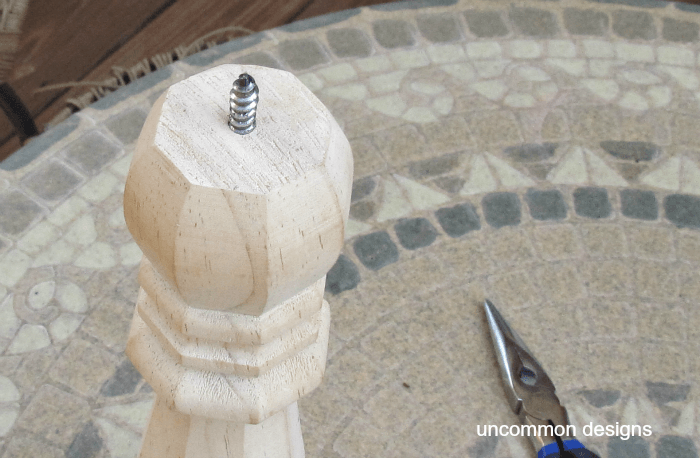
Step Three. Now you will drill a pilot hole into the top of the furniture leg in the center and into one of the smaller wooden circles. Attach the double ended screws to your drill like you would a drill bit and drill it into the top of the leg. You will now screw this to the wooden circle top.
Now your candlesticks are complete and ready to be dyed!
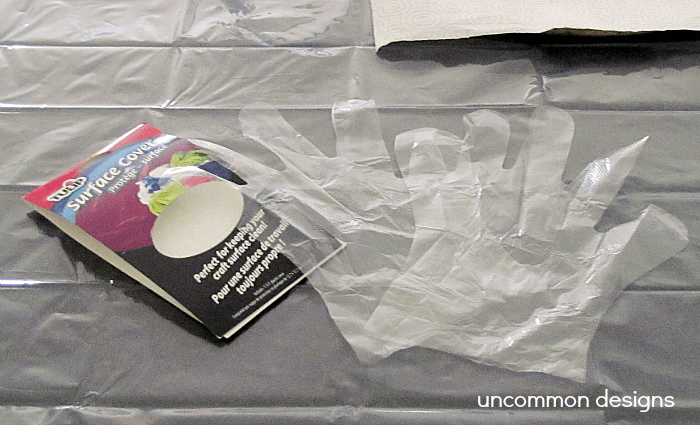
Step Four. Prepare the area with the surface cover and put plastic gloves on to protect your hands.
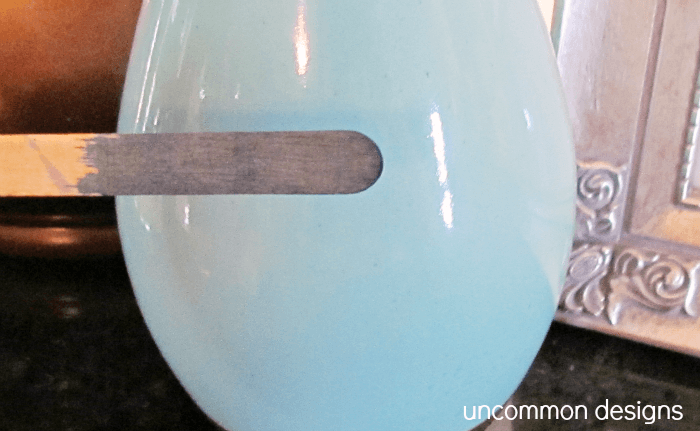
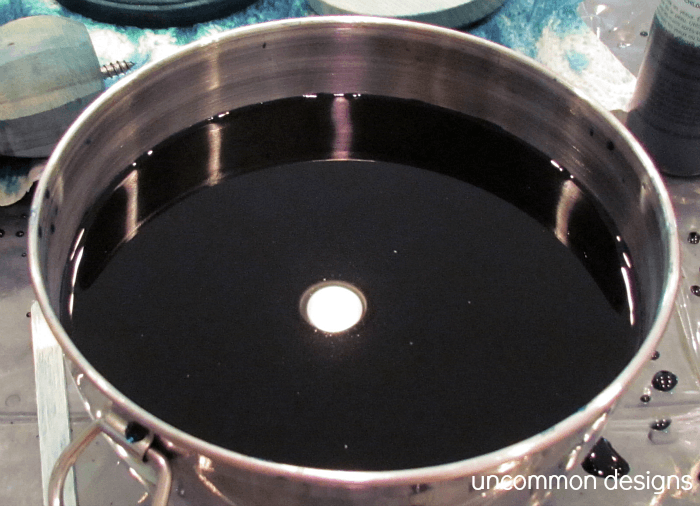
Step Five. Now you will mix your dye according to the directions on the package. I decided to mix the blue and green until it was a few shades darker than what I wanted. I used a popsicle stick to test it out.
Step Six. To dye the wood, I unscrewed the pieces of the candlesticks and dipped them into the dye until they were the desired color. Now you let them dry and put them back together!
So pretty and serene! What do you incorporate into your decor that helps calm you?
These candle sticks are the perfect accent to our Summer Beach Tablescape…
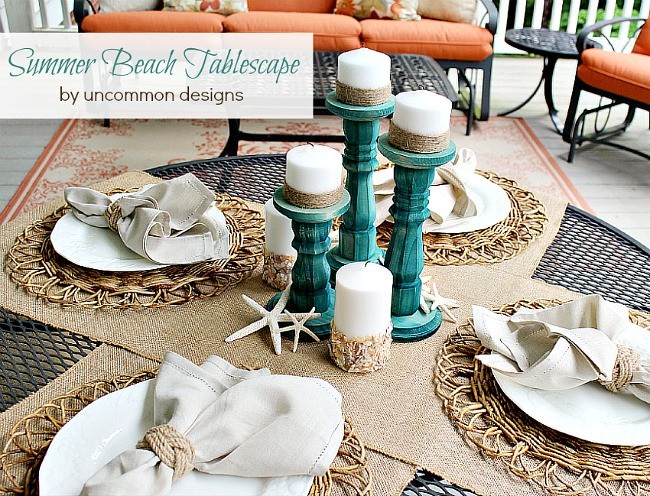
Combined with neutral touches of linen and burlap make a relaxing coastal vibe!
Trish Flake
Latest posts by Trish Flake (see all)
- Easy Leopard Painted Pumpkin - October 18, 2021
- Embroidered Swedish Dishcloths - May 3, 2020
- Easter Egg Decorating Party - March 21, 2020
Love how they turned out! Great color! I’m so glad you shared it at the Rock ‘N Share! Hope you’ll join the party again soon! Have a great holiday! Blessings, D@TheShadyPorch
Wow!!! Looks fantastic!
Hugs!
These are beachy-gorgeous, I like the addition of the fiber jute trim.
They turned out gorgeous! Great idea. 🙂
Trish, these are GORGEOUS!!!!! That is all.
Love how these turned out!
Those turned out AWESOME!!!
What a great idea. I love how these turned out! Thanks for sharing!
These are so pretty. I love the colour and the finish.
Love this! Pinned it. New follower from the Monday Fun party. Have a great week.
They are beautiful….and oh so clever! I never would have thought of dying wood….great job!
I love this! Very beautiful. I cannot wait to try it.
GREAT project and easy instructions. I like the color!
I love them!! I use candles and pillows to relax. There’s nothing that says comfy than soft, cute pillows to curl up with on the couch. Love the color! Thanks for the great tutorial!!
Love those and for a serene decor — I ask husband to take the children to a movie for the afternoon.
GORGEOUS! Fantastic tutorial and project.
WOW! There are so pretty. I’ve never tye dyed wood before but I like it.
That is such a neat project! As usual, so clever in the ideas you come up with! 🙂
Somehow my feed reader isn’t putting your feed through, I’m going to have to figure that out because in linking up tonight I realized I’m not seeing your fantastic posts. I miss seeing them.
Have a great week.
KC
GORGEOUS!
Love this, ladies! I’m pinning and sharing on my fb page tomorrow.
What kind of home improvement store do you get these things? I live in a small town and would love to know for when I get to the “city” 🙂
These look great and so easy! I want to make some these weekend. Thanks so much for sharing this great idea.
Wow! This is such a cool idea!! I have been trying to find the wooden circle pieces and I can’t find them anywhere. Could you share where you found them?
I am pretty sure that I purchased them at Michaels when I made this project. They have changed their wood section a little since then, but hopefully they still have them! Good luck!