Hey y’all!
Thanks so much you guys for all of the sweet comments on our Burlap and Bunnies Easter Tablescape. As promised, I have put together the tutorial on how to make burlap bunny ear napkin rings. Which also could be known as the Pier 1 knock-off burlap bunny ear napkin rings which I desperately wanted, but could not have them, so I made them burlap bunny ear napkin rings!
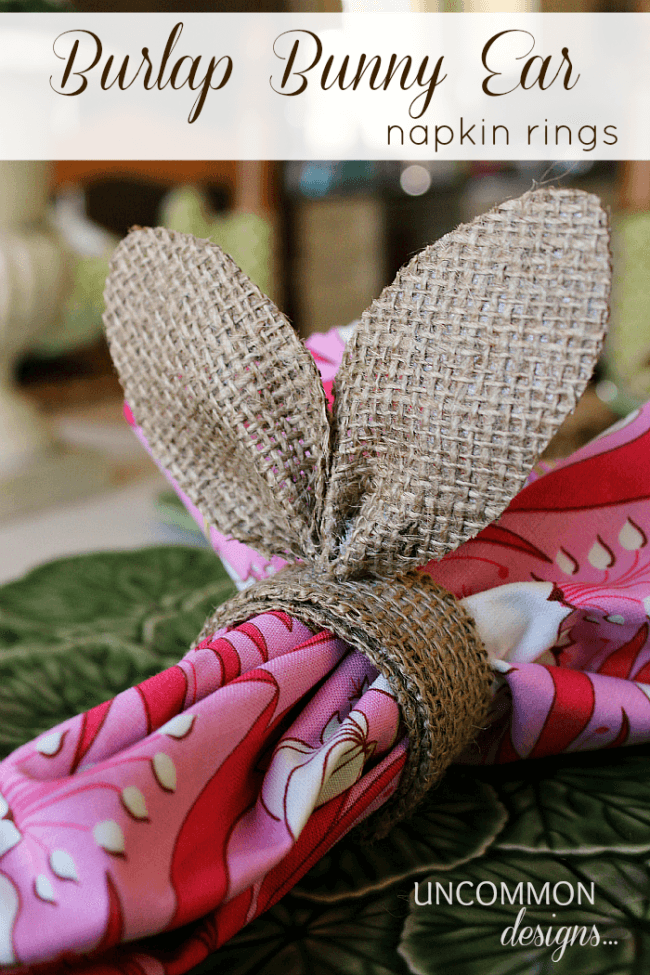
I don’t know about you guys, but once I saw those adorable napkin rings, I had to have them. Apparently everyone else loved them too, because they were completely out of stock everywhere!! Now every good crafter knows how to solve problems like these… make them! So here is a tutorial just for you guys…
Burlap Bunny Ear Napkin Rings Tutorial
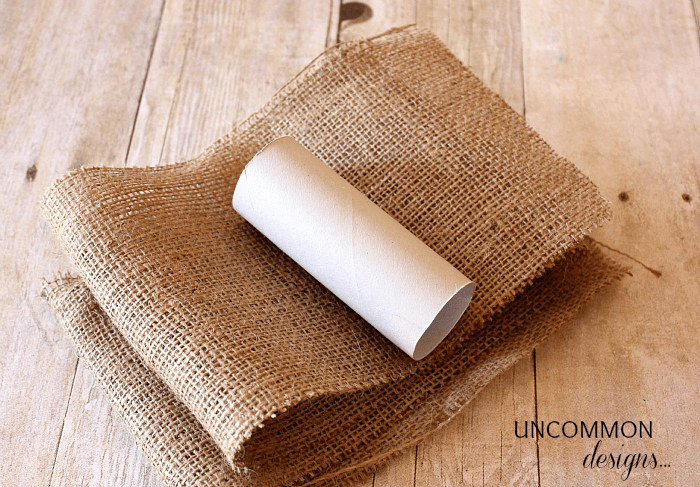
Supplies:
- burlap
- bunny ear pattern
- Heat N Bond Ultra
- toilet tissue tube
- hot glue gun and hot glue
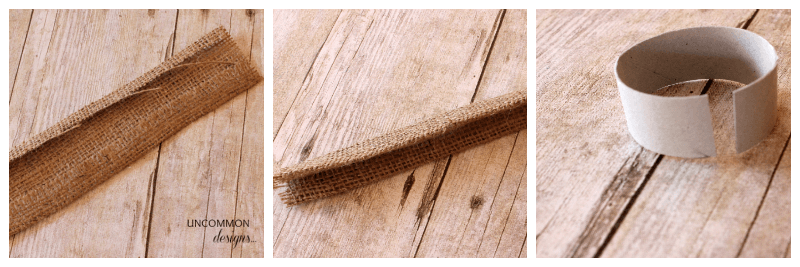
Step One. The first thing that we need to do is create the actual napkin ring. I took a piece of burlap about six inches long and 4 inches wide. I ironed down both sides of the strip of burlap. Now you will fold it over down the middle and iron it down again. Cut about an inch and a half wide circle from your toilet paper roll. Be sure to cut down the side at one point.
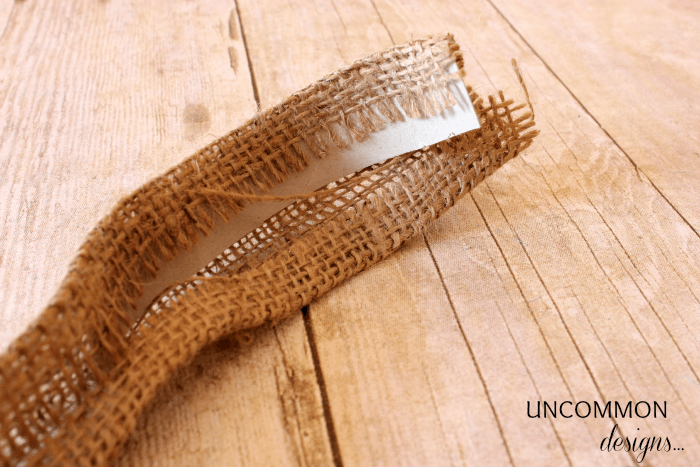
Step Two. Now you will thread the toiled paper roll through the burlap. You will thread until the paper roll is completely covered.
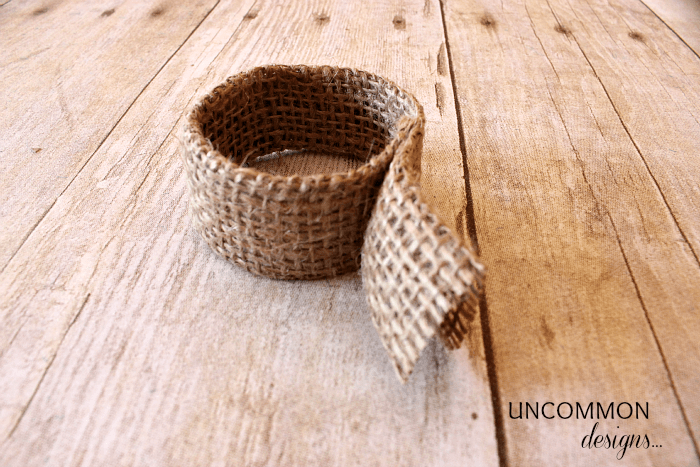
Step Three. Hot glue down each end and trim away the excess. You should be left with a fully covered napkin ring at this point.
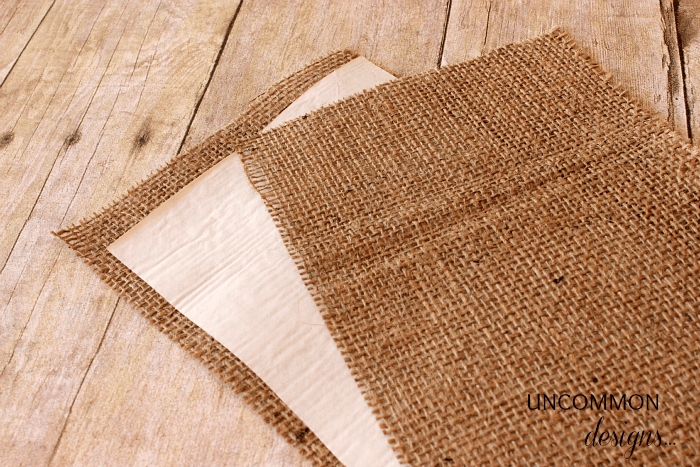
Step Four. Now it is time to make some bunny ears! Take about a square of burlap and iron on a piece of Heat n’ Bond to one side. Once cool, remove the paper backing and iron a piece of burlap on top. You are basically making a burlap sandwich with the heat n’ bond in the middle.
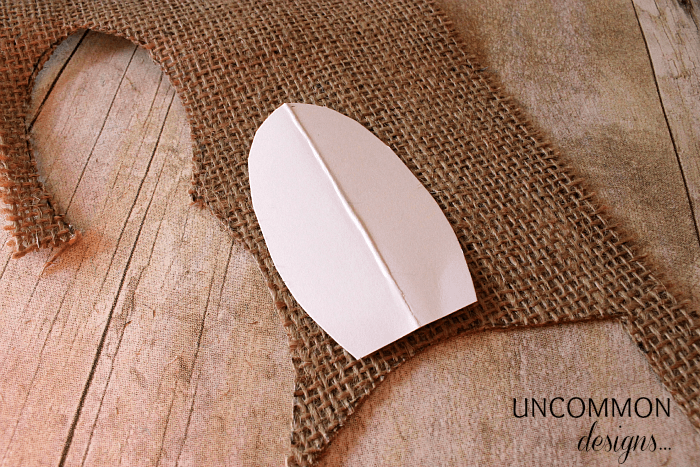
Step Five. You will now trace your bunny ear pattern two times and cut out. You should now have two sturdy ears that won’t fray.
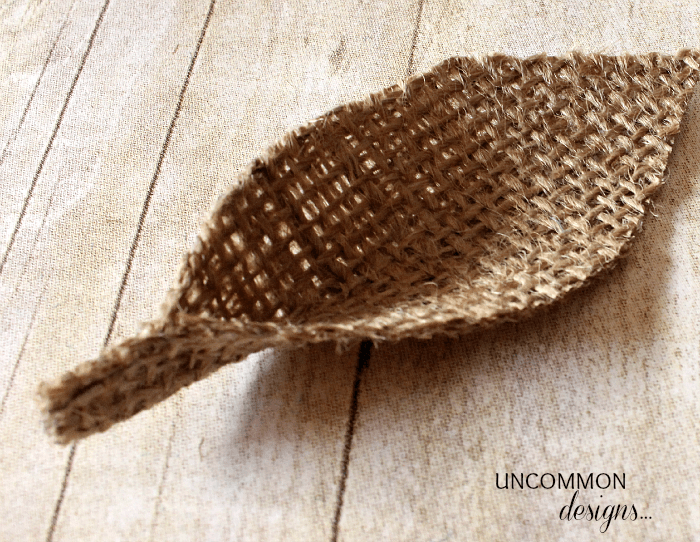
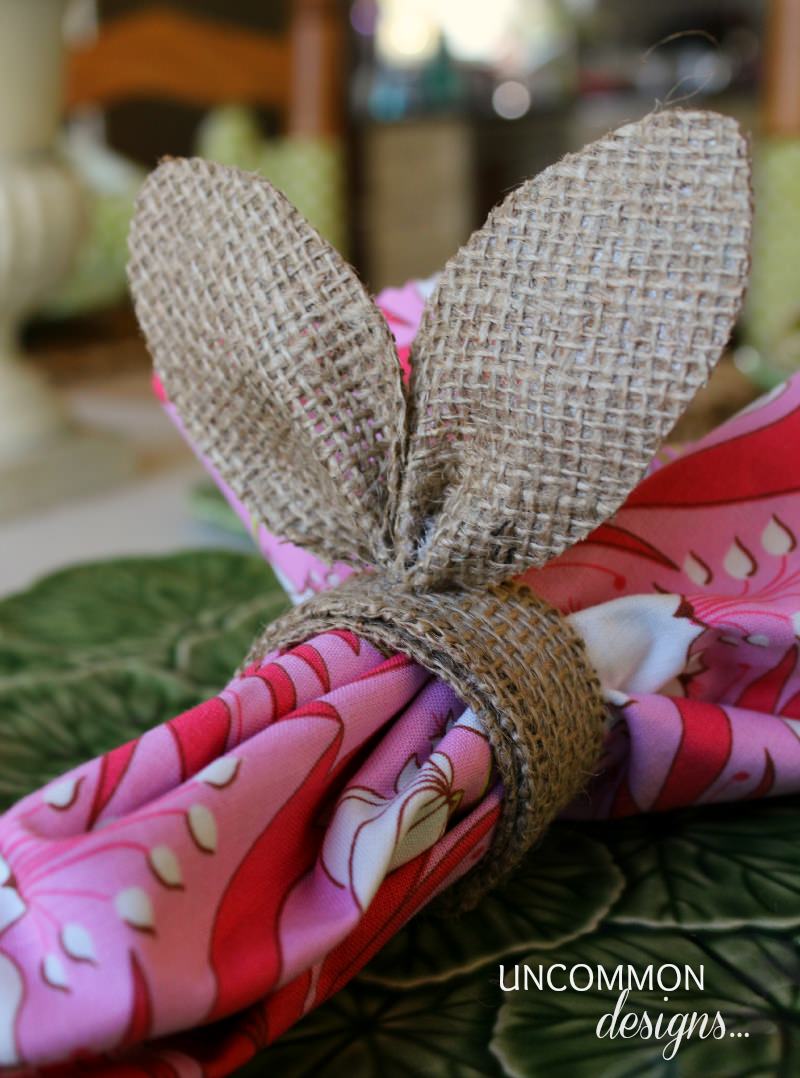
Step Six. Drop one drop of hot glue at the end of your bunny ear and pinch the sides together. Hold tight until it dries. Repeat with the other ear.
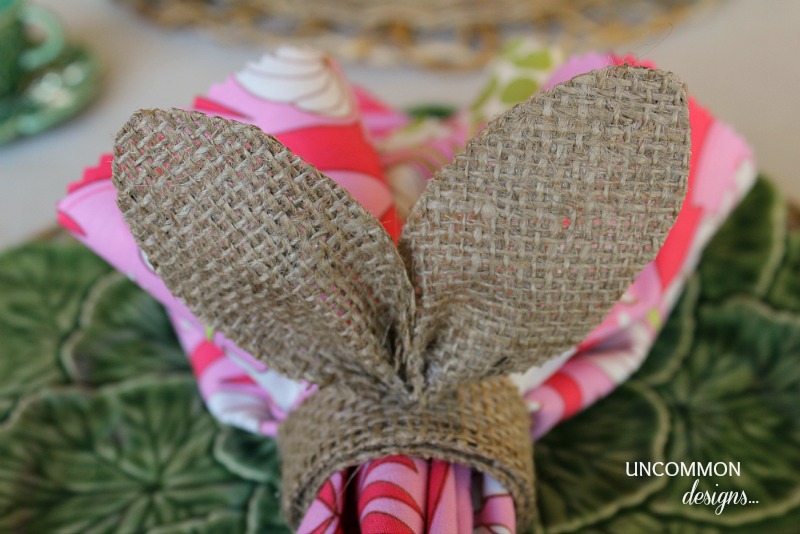
Step Seven. The final step is to glue both ears together at the bottom and then glue the ends to the top of the napkin ring. That’s all folks!
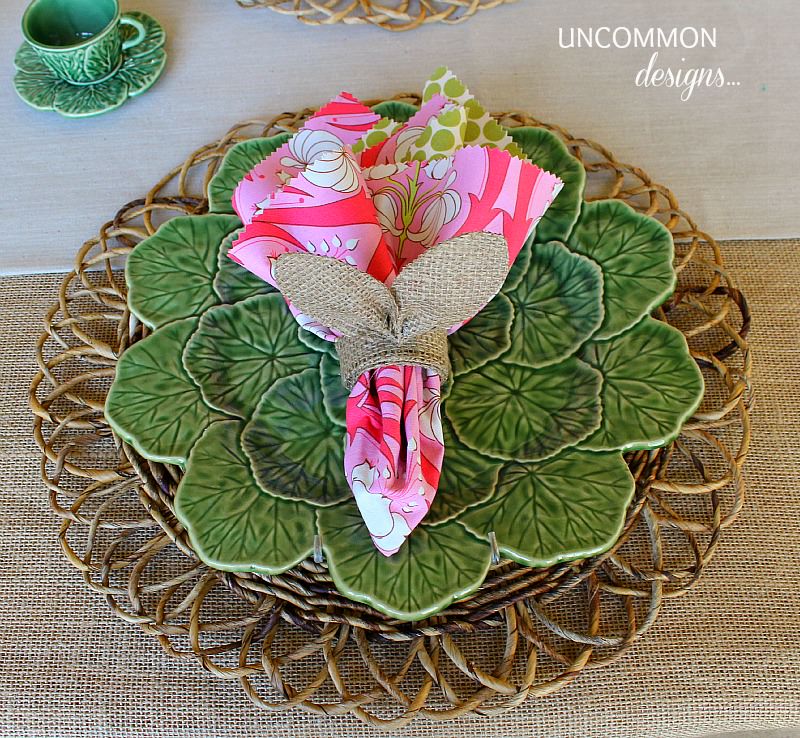
I hope that you enjoy making these sweet bunny ear napkin rings. They are so easy to make and I had everything on hand to make an entire set!
Trish Flake
Latest posts by Trish Flake (see all)
- Easy Leopard Painted Pumpkin - October 18, 2021
- Embroidered Swedish Dishcloths - May 3, 2020
- Easter Egg Decorating Party - March 21, 2020
This is my favorite party of your table! 🙂 What a sweet idea and thank you so much for sharing the tutorial. Megan
love this so cute
Wow these bunny ears are just terrific. And what a great tutorial. Love them. These would be a great addition to any Easter table!
Oh, I love these!
This is so cute! And think, you could make it with off-white or pinkish burlap too, if you wanted to shake things up a bit! Pinned!
I did these last week! I love them.
http://dreaming-n-color.blogspot.com/2013/03/pier-1-burlap-bunnies-knock-off.html
There are so adorable!
My goodness…these are just soooo CUTE!!! Gotta go and share them on facebook. Thanks so much for sharing them at my party today.
Blessings,
Linda
They are so cute!
I think this is the cutest Easter craft I have seen this year! Absolutely adorable and so clever!
Leslie
Oh my goodness! These are seriously the cutest things ever!! I heart them so much.
Heather
Very cute idea! Thanks for sharing!
Have a great week!
~Liz
These are adorable!!! Thanks for sharing!
These are adorable! Thanks for sharing.
I just love those … definitely my favorite detail in your Easter tablescape!
This is so darn cute! This would be a great craft for my older children to do with me. Thanks so much for sharing your creativity!
Adorable!!! Love it!
These are the cutest things ever…thanks for sharing!
Okay, absolutely ADORE these!!! I wonder if I can have them made by Easter….hmmm..
-andi
delusions of ingenuity
Cutest bunny ears EVER! You gals are brilliant 🙂
What a creative idea for easter!! I loooove your bunny rings!!
These are so cute! Perfect for Easter:)
These are super cute!
That leaf plate is gorgeous. Wish I wasn’t this late to find out your blog. Do you know if it’s still available?
Very cute and original!!! Thanks
So cute! I look forward to making some of my own! Thank you for sharing.