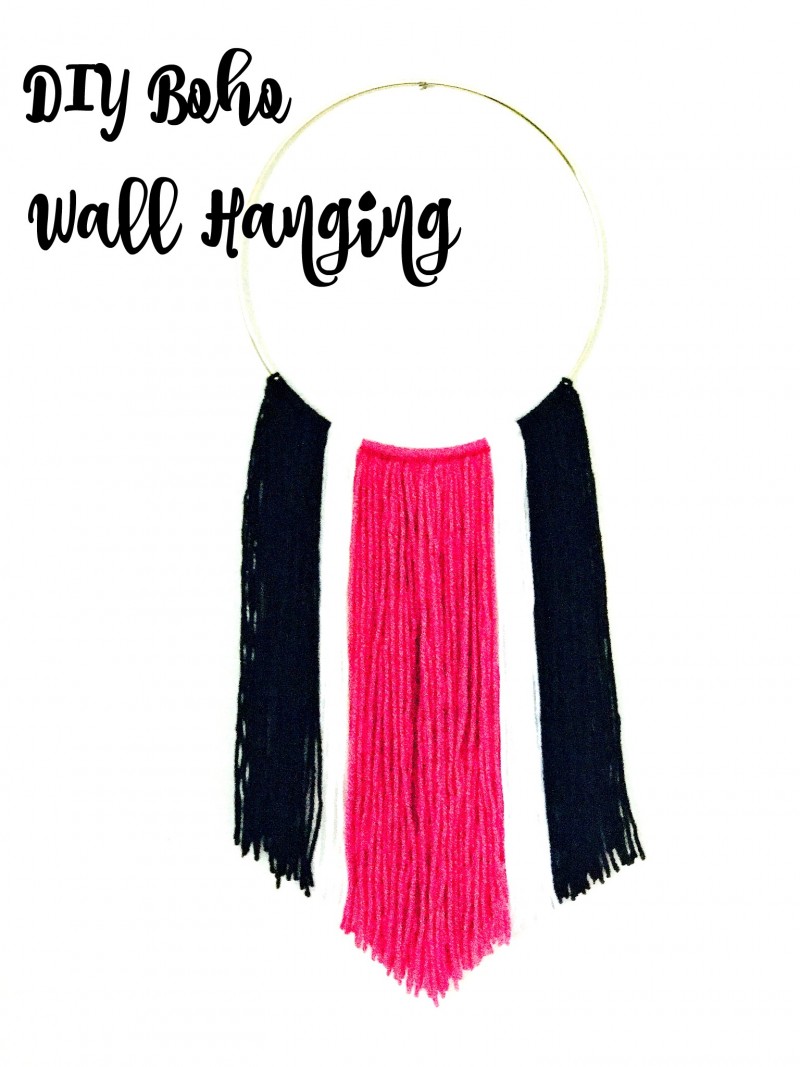
This Boho Yarn Hanging is one of my most favorite projects ever and for SO many reasons!
Reason #1
I have had this project on my mind for so many months now and it is finally complete and on my little La La’s wall. Stay tuned for the entire gallery wall that I’ll be sharing soon!
 Reason #2
This is so very extra exciting and something I’ve always wanted to do. I have partnered with Rose & Cedar and will be offering DIY kits for some of our favorite projects. This is the very first kit you will have a chance to purchase the kit at the bottom of the post. So cool, right?!
I have wanted to offer DIY kits since this blog began and it is now a reality. I could not be more thrilled. Here is a fun video introducing our partnership.
Now let’s get down to making the project… it is a fast one, but boy does it make an impact!
Boho Yarn Wall Hanging
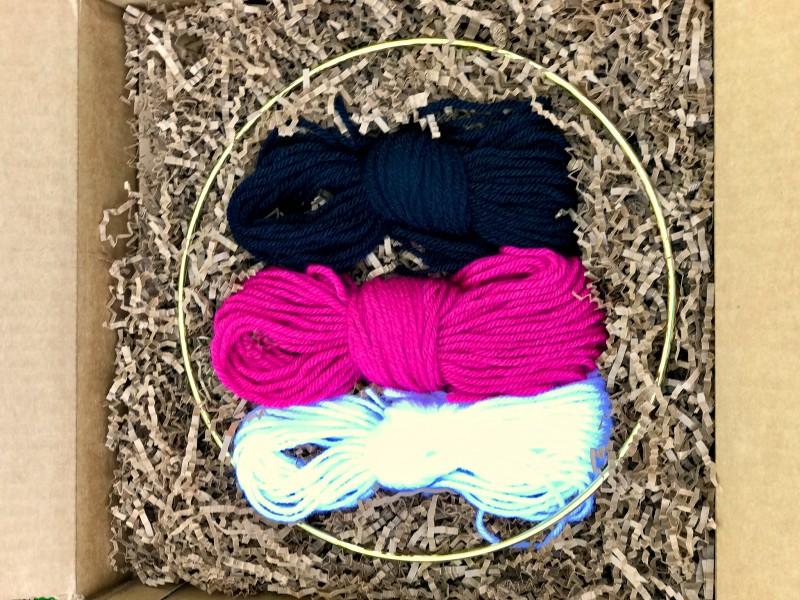
Supplies Needed:
10″ Gold Crochet Hoop
32 cuts of Hot Pink Yarn in 36″ increments
32 cuts of Black Yarn in 36″ increments
16 cuts of White Yarn in 36″ increments
Scissors
Tape
These are the colors that I selected and what will come in the box. If you have yarn on hand get creative with the colors!
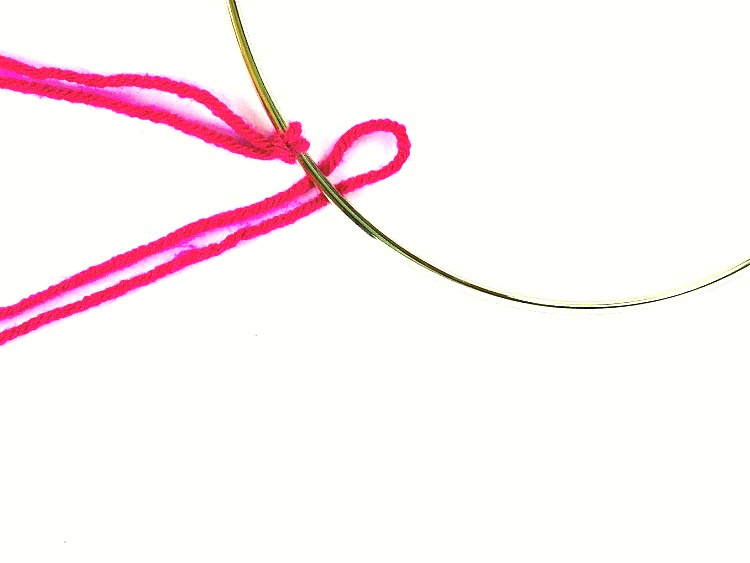
Step One.
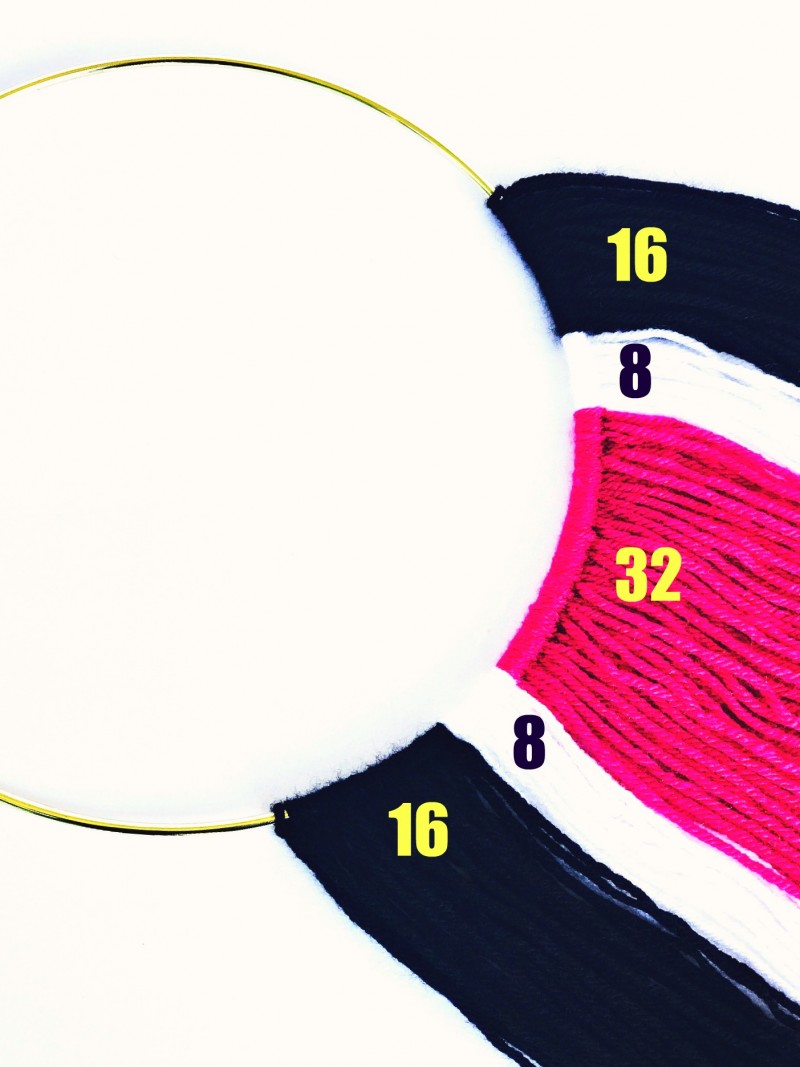
Take your gold hoop and one strand of the pink yarn. Fold the yarn in half lengthwise and place it under the gold hoop with a small area of over hang. Now, take the two strand ends and bring them over the hoop and through the loop and pull until it is smooth. You can compare it with the first loop that is completed in the picture above.
Step Two.
Repeat with the other 31 strands of the pink. You will then do 8 strands of white on either side and then 16 strands of black on the outside of the white. The chart above should be helpful.
If you notice that some of your strands are longer than others, don’t fret. We are going to shape everything up in the end and all will be fine. Scouts honor!
Step Three.
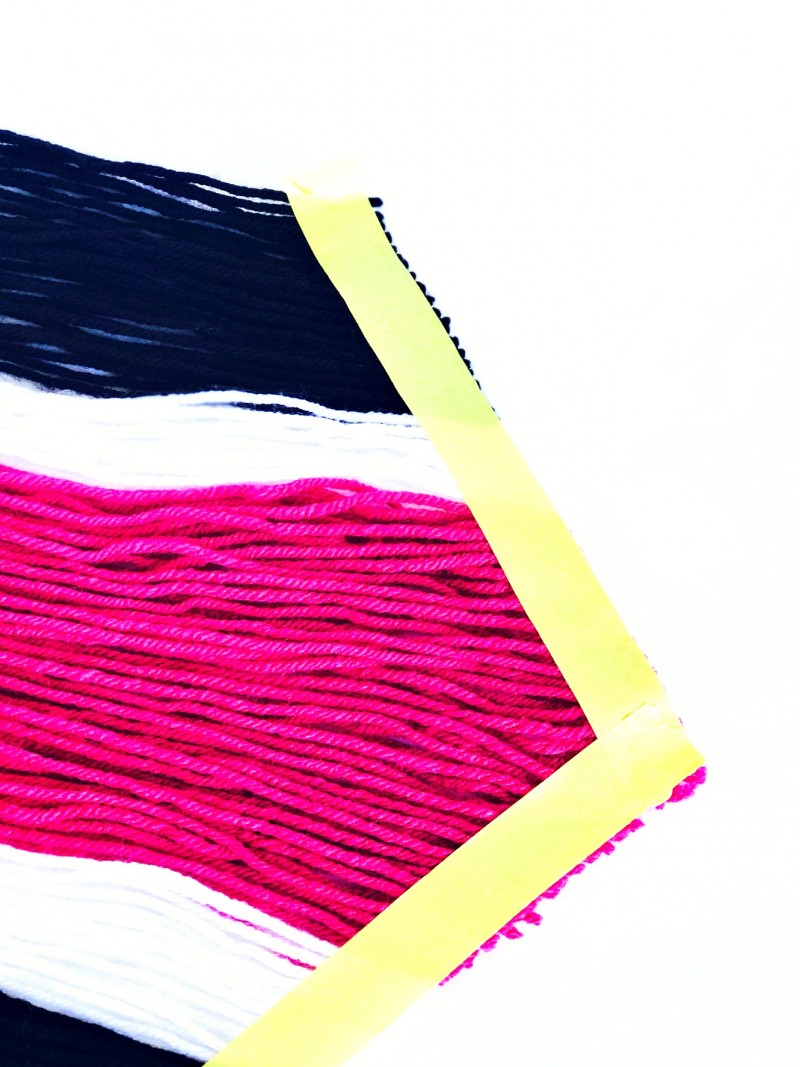
Put tape down to make a pointed shape. I used two pieces of painters tape, but any tape should work fine. Just be gentle when you remove it!
Now cut along the outer edge of the tape with a good pair of scissors.
Remove the tape and you are all done! So simple!
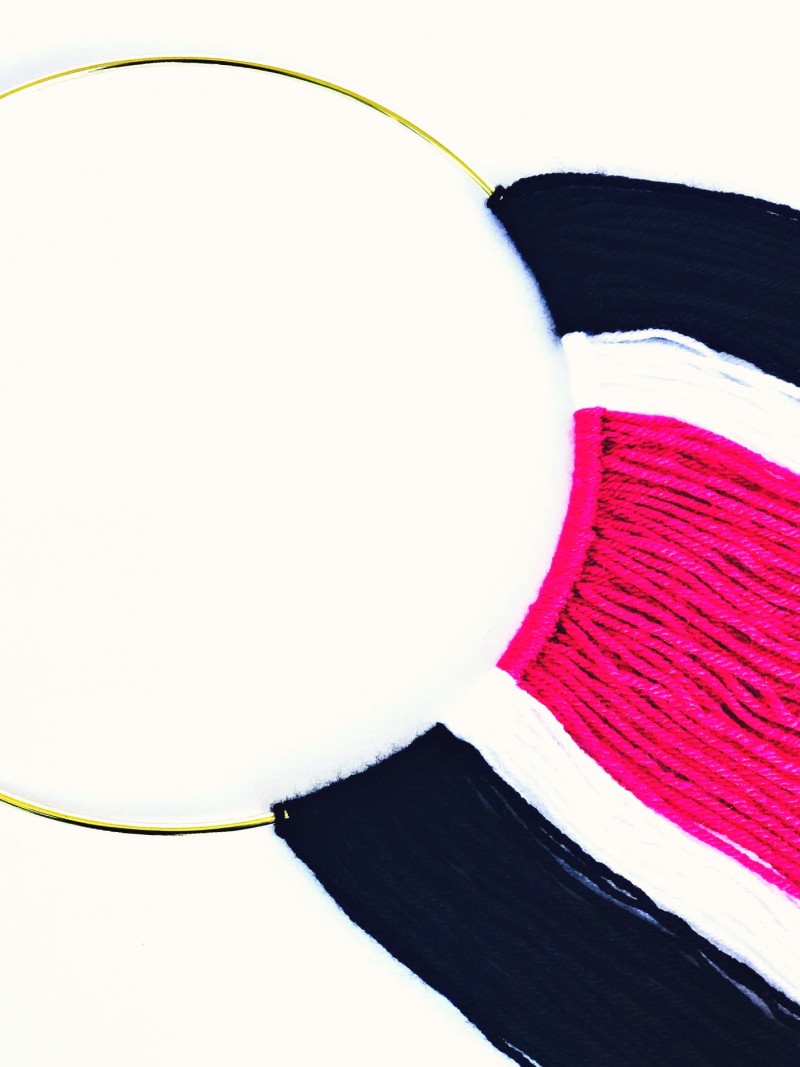
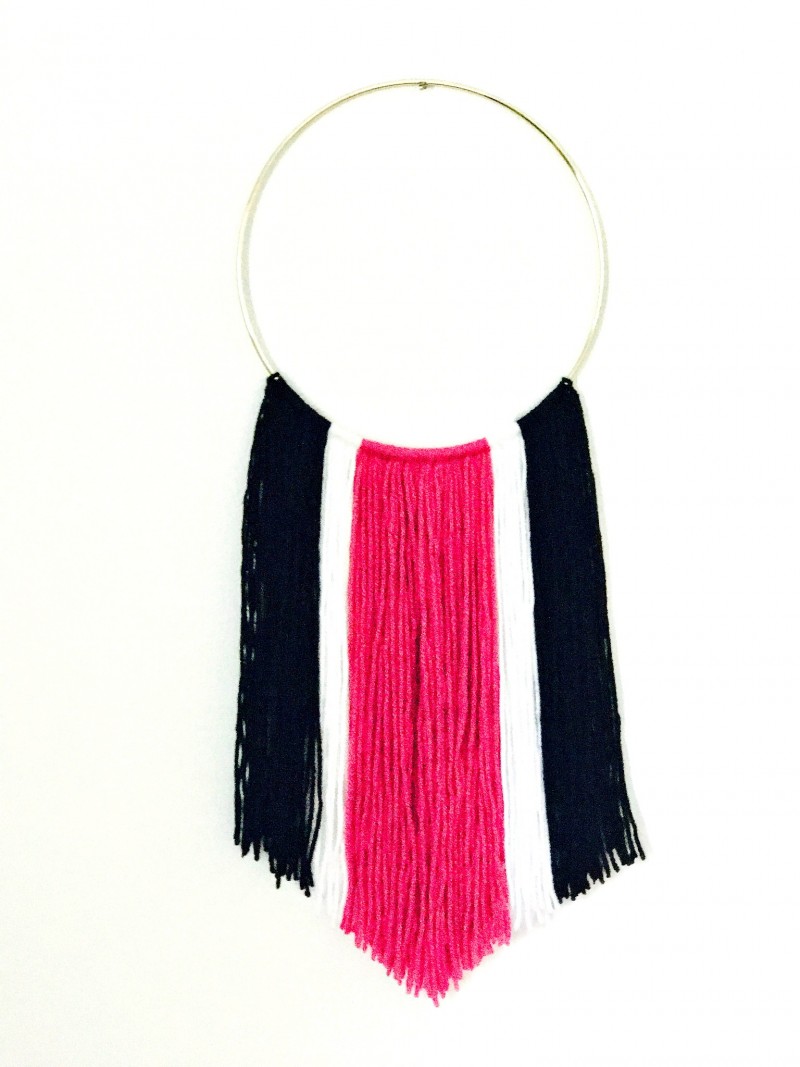
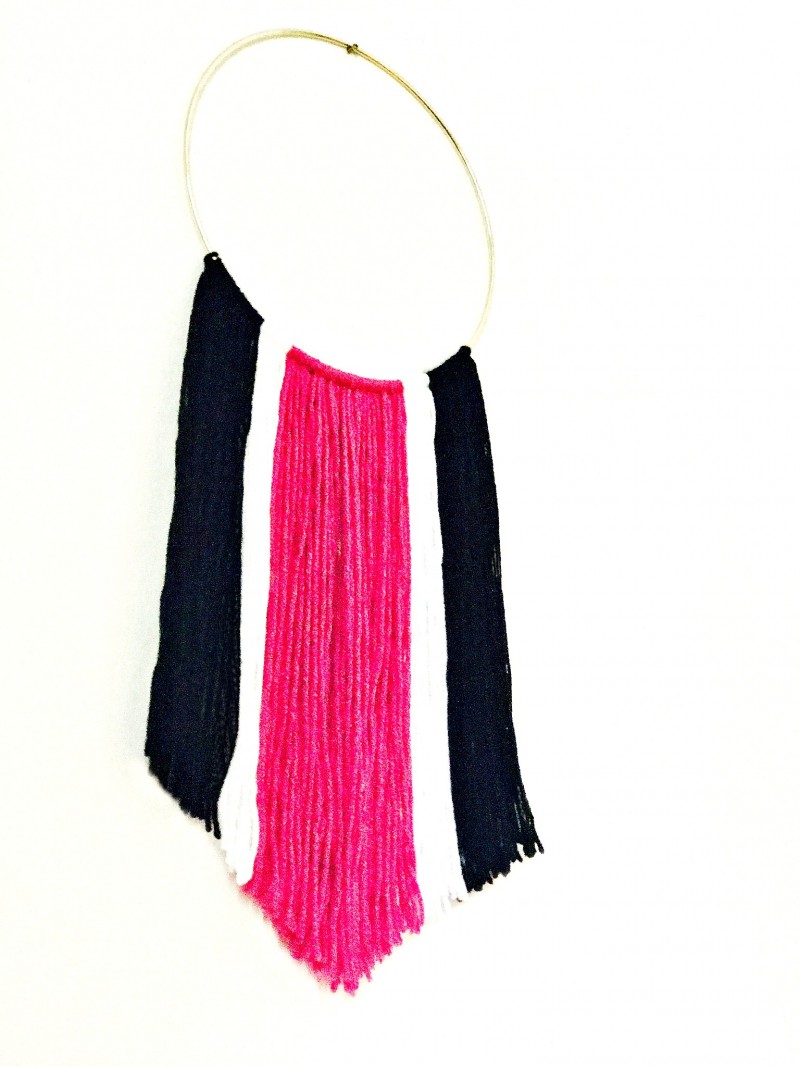
You may need to pat down your yarn to make it nice and pretty and trim any strands that may need it. This photo should give you a great idea on how the wall hanging should look when you hang it.
Purchase the Kit and have it delivered right to your door with Free Shipping!
Trish Flake
Latest posts by Trish Flake (see all)
- Easy Leopard Painted Pumpkin - October 18, 2021
- Embroidered Swedish Dishcloths - May 3, 2020
- Easter Egg Decorating Party - March 21, 2020
Great idea and creativity! Awesome video and information about the boho yarn wall hanging. Thanks.