We are so thankful for the opportunity to work with 3M on this Back to School Memo Board with the use of their Scotch Expressions Tape. All opinions are our own, of course!! #ScotchBTS
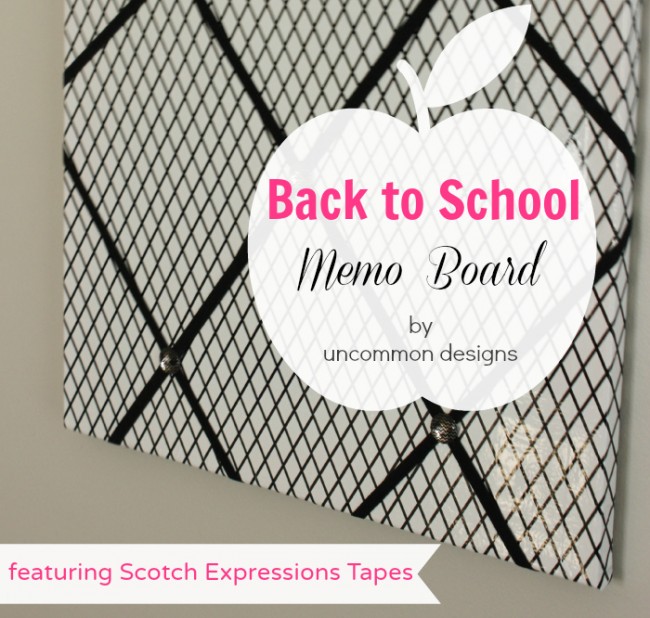
I know I am a dork, but I really have enjoyed the process of getting organized lately for going back to school. I guess it is catching on… Ann wanted me to make her a memo board to keep invitations, pictures, and all of her important stuff. Of course I said yes! A craft project that also gets my nine year old organized, score!
I had two canvases left over from her toddler era, so I decided to cover them and make a memo board with elastic and buttons.
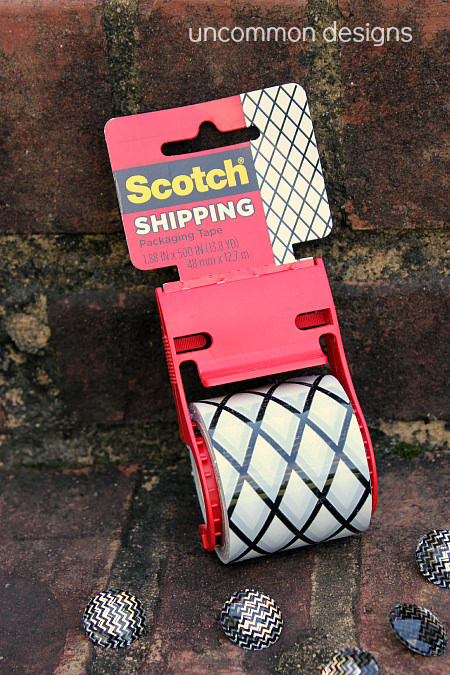
We had the amazing opportunity to see all of 3M’s Scotch Expressions tapes in person at Haven, so I knew that their black and white shipping tape would match her room perfectly. If you haven’t seen them yet, they are available in over 100 colors and patterns and come in the form of their Magic tape, masking tape, washi tape, and shipping tape. I love that they are inexpensive and run between $2.50 for a single pack and only $5.99 for a triple pack. The best part is that you can pick them up almost anywhere! For all of you moms of teens and tweens, you can even buy limited edition One Direction tapes at Office Depot where they have partnered together with an anti-bullying campaign.
Memo Board Tutorial
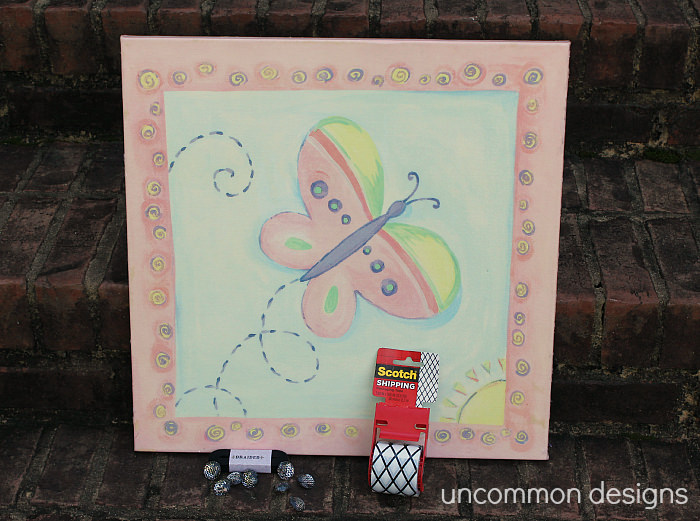
Supplies:
- a canvas
- elastic
- Scotch Expressions Shipping Tape
- buttons
- primer or white paint
- staple gun
- glue gun
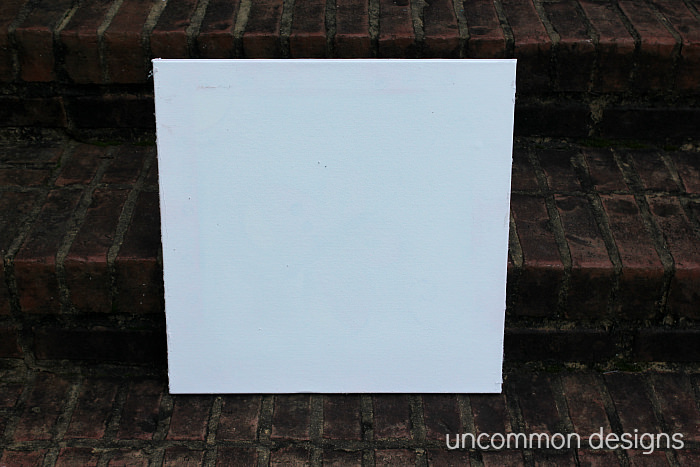
Step One. I sprayed primer over the canvas to cover the previous pattern. With the tape it would have shown through. If you don’t have primer, any kind of white paint should work.
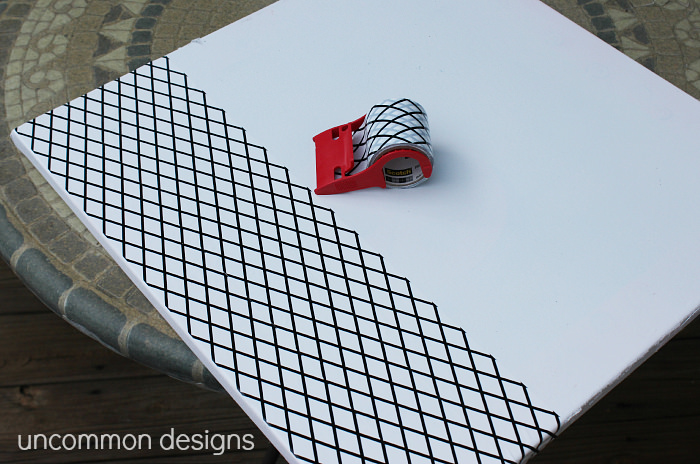
Step Two. Cover your canvas with the tape. Just lay a little at a time to make sure you are matching the pattern and not getting any bubbles. It is super easy when you go slow!
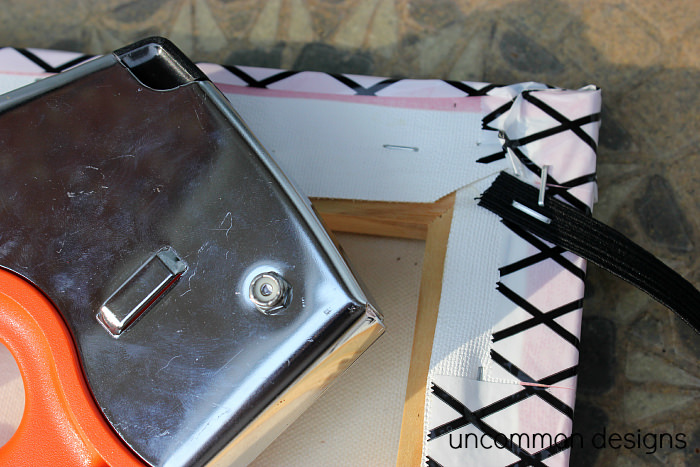
Step Three. Attach the elastic on the back with the staple gun. You will just criss cross the elastic on the front. Do one across the entire length and then one half way to the top across and half way to the bottom across. Repeat for the other side.
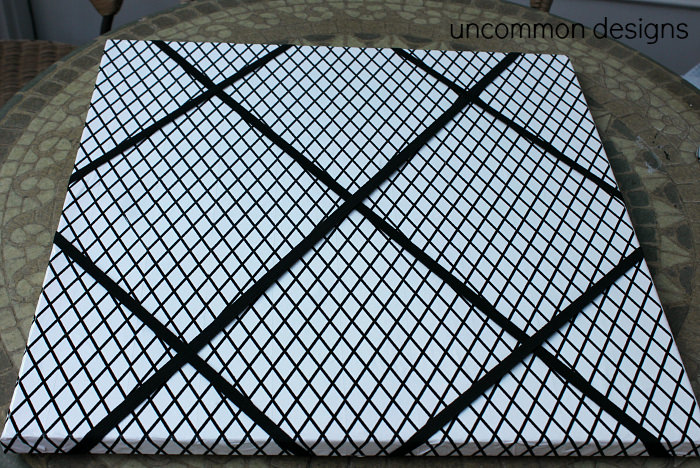
Step Four. You will want to place a little hot glue where the elastics intersect and hot glue the button on top. If your button isn’t flat, simply remove the loop with a pair of plyers.
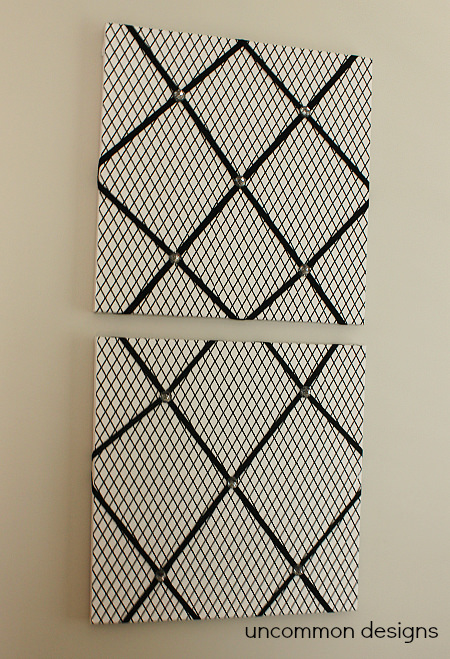
Here they are hanging in Ann’s room before she has decorated them. I can only imagine what she will place on them…
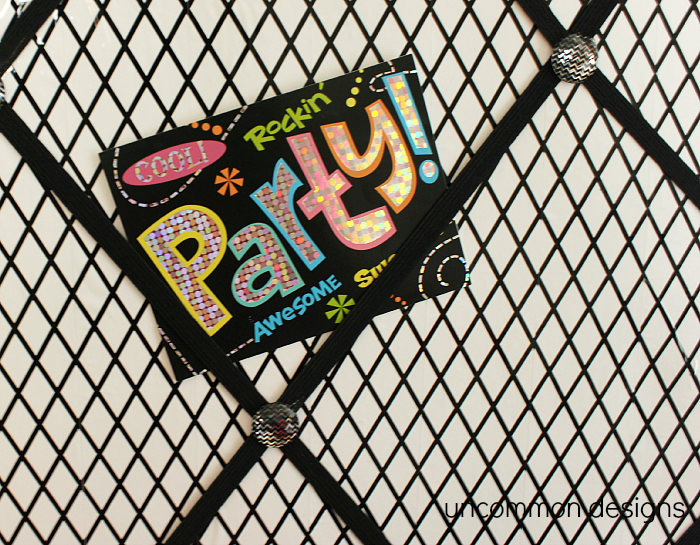
I’m am confident she will think of something!
Now… for all of you crafters and master gift-wrappers…

Scotch Brand is hosting their 17th annual Most Gifted Wrapper Contest again. Eight finalists will be chosen and flown to New York City for an all-expense paid trip to compete for the $10,000 prize and the title of 2013 Scotch Brand Most Gifted Wrapper. The first 50 entries will automatically receive a prize pack of the new Scotch Expressions Tapes! Head over to MostGiftedWrapper.com to learn all about it!
Trish Flake
Latest posts by Trish Flake (see all)
- Easy Leopard Painted Pumpkin - October 18, 2021
- Embroidered Swedish Dishcloths - May 3, 2020
- Easter Egg Decorating Party - March 21, 2020
Now that turned out cute! I never would have thought to use tape. Very neat, indeed.
Very fun! I’m glad they are coming out with more cool tape!
I love how this turned out. I’m a big fan of duct tape crafts and I LOVE all of the great selections from Scotch!