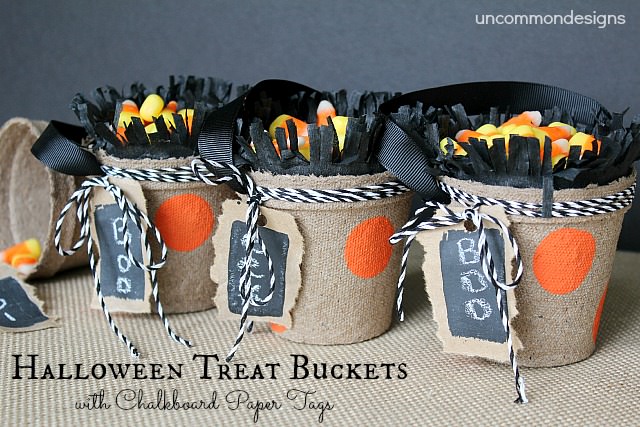
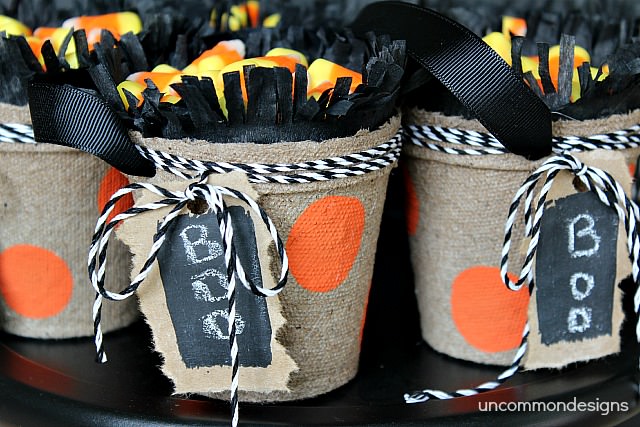
I just adore Halloween and all the fun it brings! These little Halloween Treat Buckets are the perfect way to spread a little Halloween {or even fall} spirit in your neighborhood, among friends, or even in the classroom. The bright orange polka dots, and fun little accents of crepe paper and baker’s twine add the perfect finishing touches.
So let’s get started making these adorable Halloween Treat Buckets…
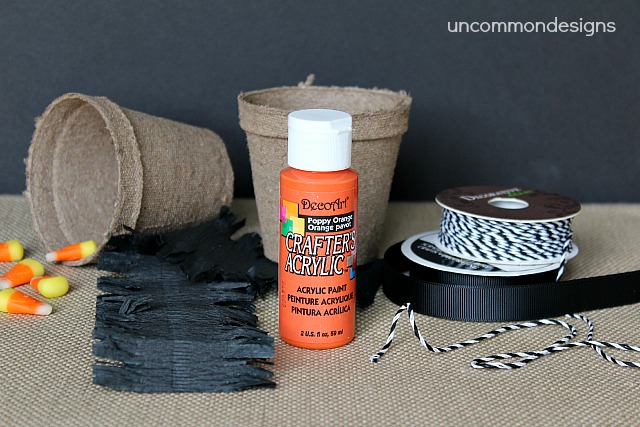
- Supplies Needed:
- Small Peat Pots
- DecoArt Crafter’s Acrylic Paint in Poppy Orange
- Black and White Baker’s Twine
- Black Grosgrain Ribbon
- Black Crepe Paper Fringe. {I have had this for a while but you could use plain crepe paper rolls and simple cut the ends yourself to make the fringes}
- Small round dauber
- Glue Gun and Gluesticks
- Small Hole Punch
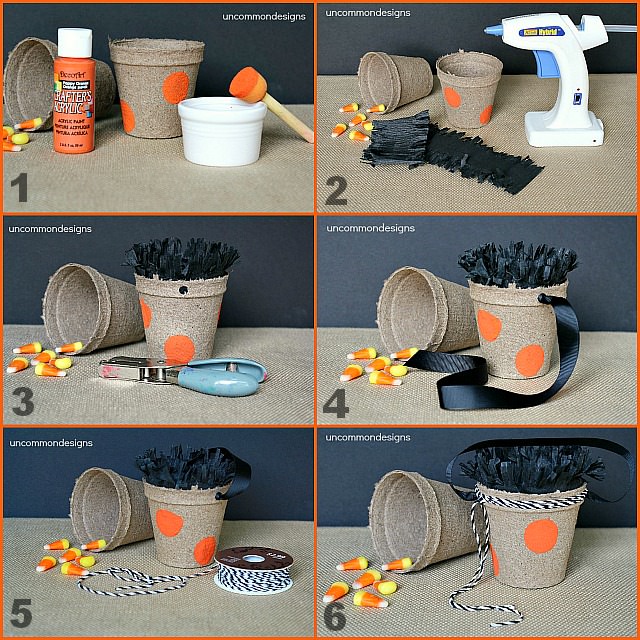
Step 1 : Use the small paint dauber and apply the polka dots to the outside of the peat pot in the design of your choice. Allow to dry completely.
Step 2: Apply the black crepe paper fringe to the inside rim of the peat pot using a hot glue gun.
Step 3: Punch a small hole on either side of the peat pot, and through the crepe paper using a hole punch.
Step 4: Cut a 12-14 inch length of black grosgrain ribbon. Thread it to the inside of one of the holes and tie a knot in one end. Thread the other end into the peat pot from the outside of the second hole and tie a knot. This will now be a handle.
Step 5: Wrap the black and white baker’s twine around the outside lip of the peat pot. I wrapped mine 4 times but you can do more or less.
Step 6: Tie the ends together in a knot slightly off center, close to one of the handle ends.
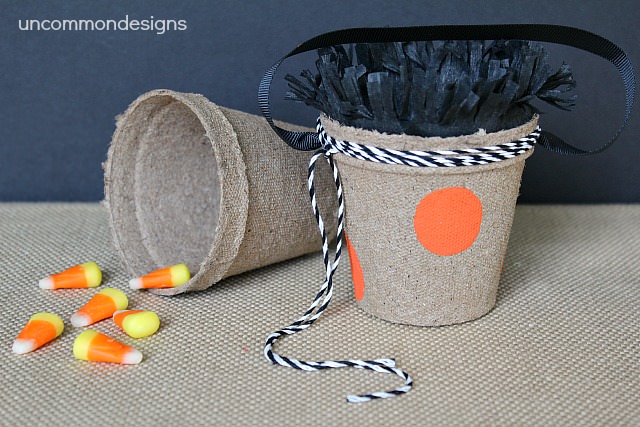
So this is how they look at this point! Cute huh?
But, let’s take it one step further and create those fabulous little Chalkboard Paper Tags.
- Supplies Needed:
- DecoArt Chalkboard Paint
- Brown Craft Paper
- Chalk
- Foam Paint Brush
- Small Hole Punch

Step 1: Use your foam paintbrush to apply a coat of Chalkboard Paint to the brown craft paper in a horizontal direction. Allow to dry one hour and then apply a second coat of Chalkboard Paint in a vertical direction. Allow to dry completely. {I went ahead and did a lot of these at one time, never know when you might need a little tag!}
Step 2: Use a piece of chalk to “season” the little chalkboards by gently rubbing the chalk across the dry chalkboard paint and then wiping the chalk off.
Step 3: Punch a hole with the hole punch at the top of the tags. Write a word, name, or whatever you would like. Tie the tags onto the bucket with the baker’s twine.
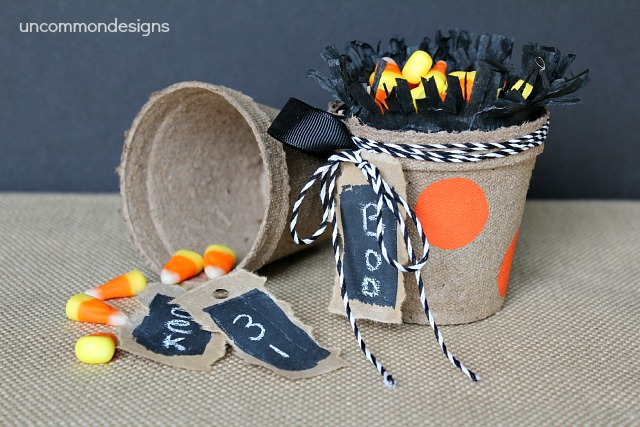
The perfect little accent to add a personal touch to this fun craft project! Seriously, these little tags were so easy, and I think they might just be on the list for Christmas present wrapping. Hmmmmm…..lots of ideas!
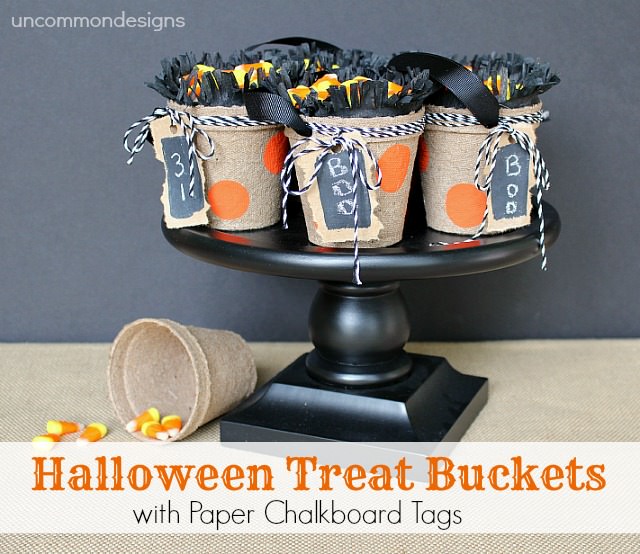
I can see these being served up on a cake plate as the centerpiece at your Halloween party! Almost too cute to give away, but so much fun to make!
Need some more Halloween Party Inspiration? Check out our BOO Your Neighbor Free Printables and our Silhouette Trick or Treat Bags . You won’t want to miss them!
this post contains affiliate links
Trish Flake
Latest posts by Trish Flake (see all)
- Easy Leopard Painted Pumpkin - October 18, 2021
- Embroidered Swedish Dishcloths - May 3, 2020
- Easter Egg Decorating Party - March 21, 2020
Those are so cute! Love the crepe paper fringe and the chalkboard tags.
KC
Super cute and festive!! I have some of that chalkboard paint, I NEED to use it 🙂 Happy day to you ladies! xo
Those are COMPLETELY adorable!
Those are absolutely adorable!!
Vanessa
I love the tags, I have only been able to find the chalk paint in spray or large cans! Love DECO ART! These are so cute
I adore these little treat buckets! There’s so many uses for these too: as placecards, candy display on a party table, on a mantel with succulents in them… Love it!
These are SO cute Bonnie! Love them 🙂
Very cute! I love how they turned out. I need to get into the Halloween spirit. Maybe this will help 🙂
These are sooo cute! I love them… and those adorable chalkboard tags really have my wheels turning. Pinning!
These are so stinkin cute!!! I love them!
These are SO cute! I’d love if you’d link up to The DIY’ers! http://homecomingmn.blogspot.com/2013/09/the-diyers-31.html
I just LOVE these buckets! Would be thrilled if you’d share this with my new link party Life Created Tuesdays. Week four of the party is live now 🙂
Erin
http://www.theviewfromfiveten.com
Ladies, these are so adorable! I love that you added the chalkboard tag for an extra-special touch! Thanks for linking up at Get Your DIY On! Hope to see you back with your thrifty Halloween projects on Sunday at 7 pm EST! Enjoy your weekend!
~Abby =)
This is such an amazing idea! Thanks for sharing it. I’m Anita visiting from I’m Lovin’ It Link Party.