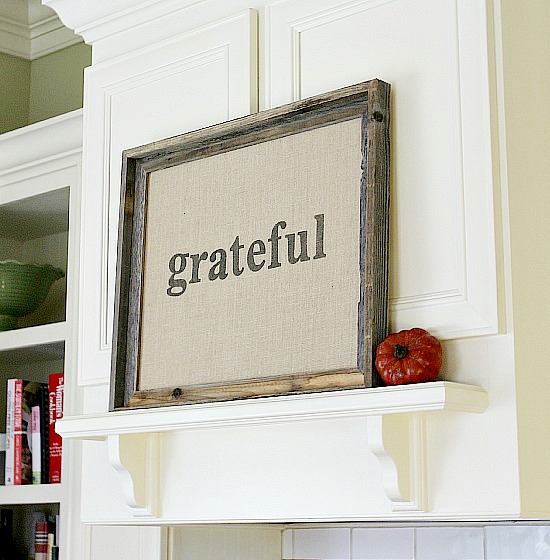
This grateful fall wall art perfectly captures how I am feeling right now… so very grateful.
As of this moment, we are waiting for Hurricane Florence to descend upon South Carolina. This incredible storm will have a devastating impact on so many in North and South Carolina and beyond. My prayers are with everyone who has been and will be affected.
I am thankful for so many things right now that my heart is almost bursting. As always, I’m thankful for a God that is powerful and merciful and that one that will provide just what we need.
I am grateful to the thousands of leaders, military, first responders, media and volunteers who have already put in countless hours to prepare for the storm and that will work tirelessly to keep us safe and sound.
Please continue to lift all of those up in prayer as they endure the storm and recover in the weeks ahead. I know y’all will and I love you for it.

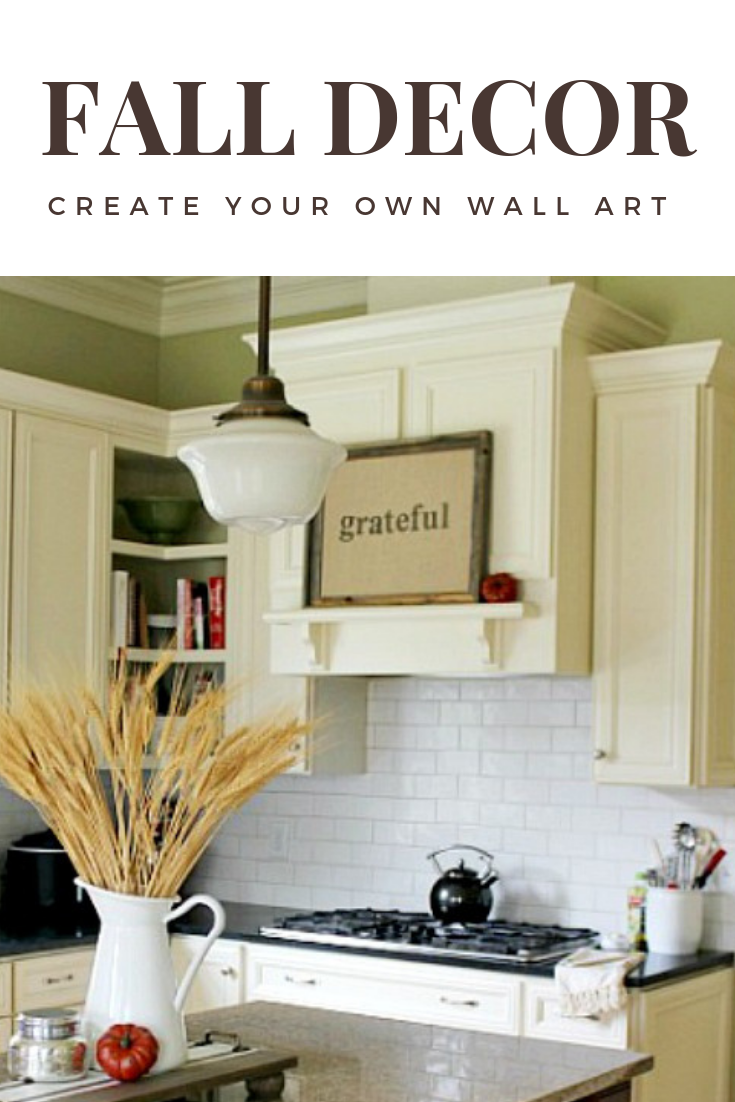
Today I thought I’d share how to make a framed burlap Grateful sign so that we can constantly be reminded to be thankful.
_________________________________
Supplies Needed:
1. Frame in your choice of size {this one is 16 x 20 inches}
2. Burlap wrapped flat canvas to fit inside frame. (Sponsored Link)
3. Set of alphabet letter stamps.
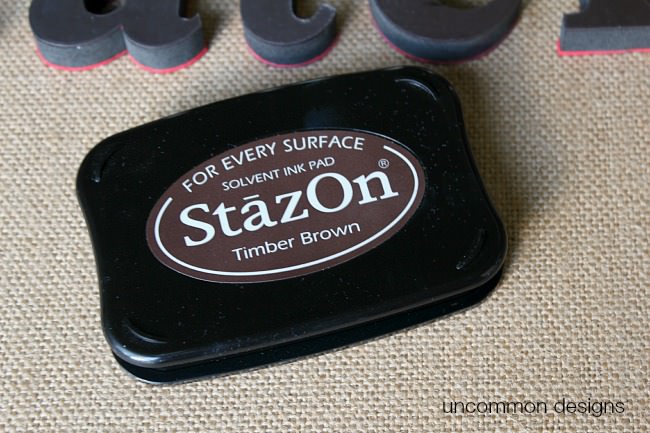
4. Stamp Ink Pad in color of choice.
5. Glue Gun and glue sticks.
6. Optional: Yardstick
_________________________________
STEP ONE: Decide on the word you would like to stamp onto the burlap canvas. I chose the word “grateful”. I love the letter stamps that I used to create this artwork…
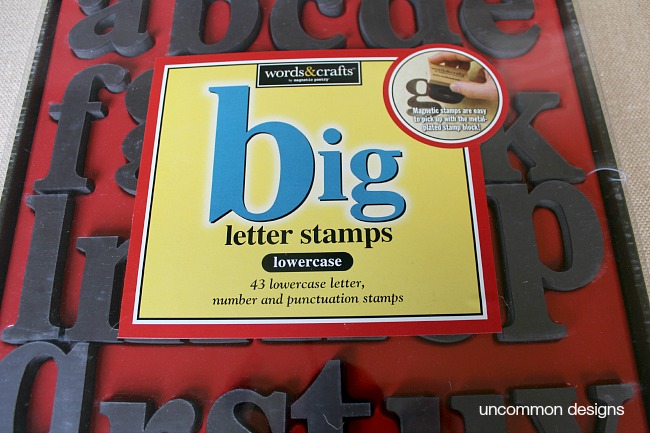
STEP TWO: Lay out the letters on the burlap canvas to determine the spacing and where you would like the word to be stamped. I eyeballed it, but you could also use a yard stick to find the middle of the canvas and align the letters.
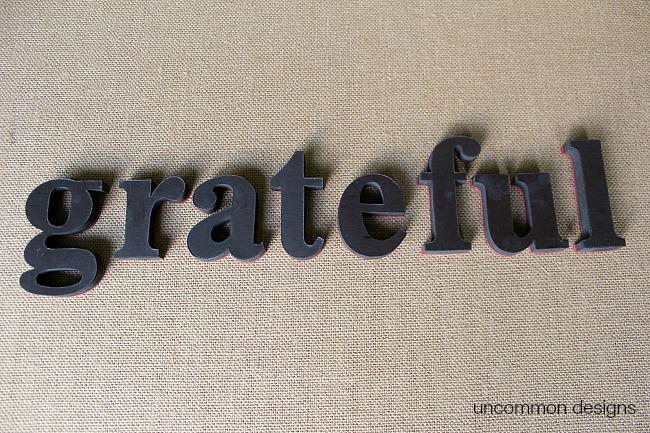
Step Three: Select the color of ink pad you would like to use and carefully start stamping the letters onto the burlap. I literally picked them up one by one and stamped each letter, to keep them straight.
STEP Four: Allow the word to completely dry. It is ok if you do not get the word exactly straight. Mine was off a bit but looks great in the frame.
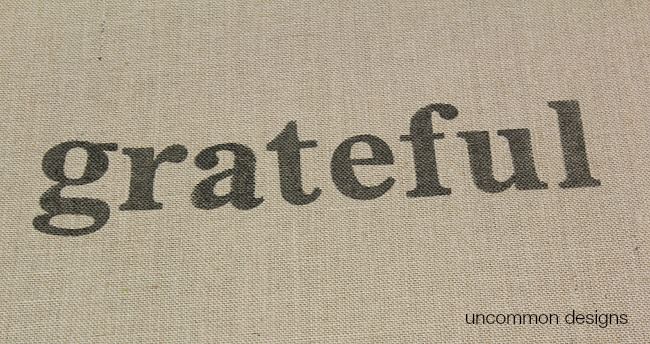
STEP FIVE: Use the hot glue gun to put a bead of hot glue around the lip of the frame where the burlap canvas will sit. You have to work very quickly in order for the glue to not cool and harden. Press the burlap canvas down firmly to adhere to the frame. I chose to put the canvas in the frame this way so that it was not permanently attached to the frame, in case I wanted to switch it out.
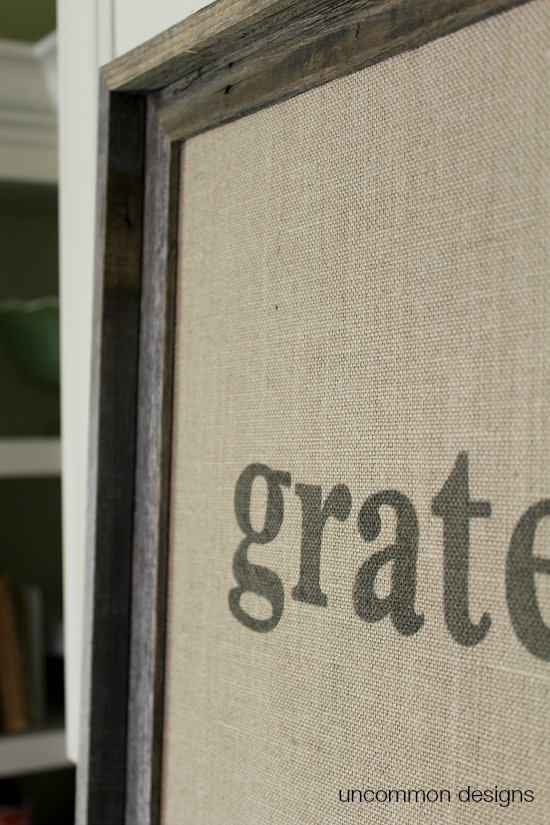
The rustic colors and textures of this project are the perfect compliment to my fall decor.
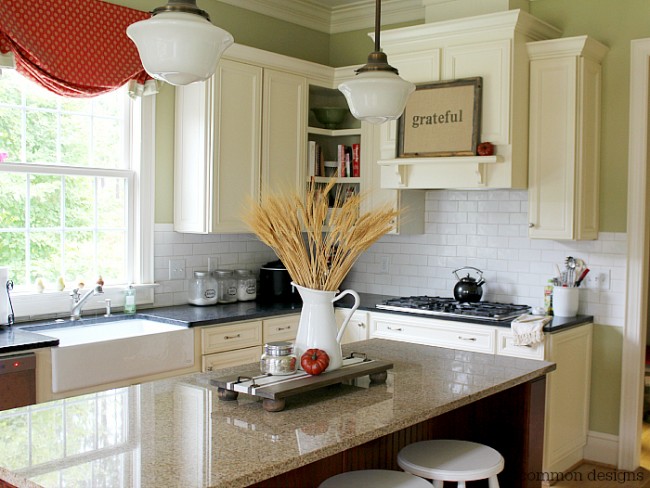
I placed the framed sign above my cooktop on a little shelf. The colors are just wonderful, and I adore this piece.
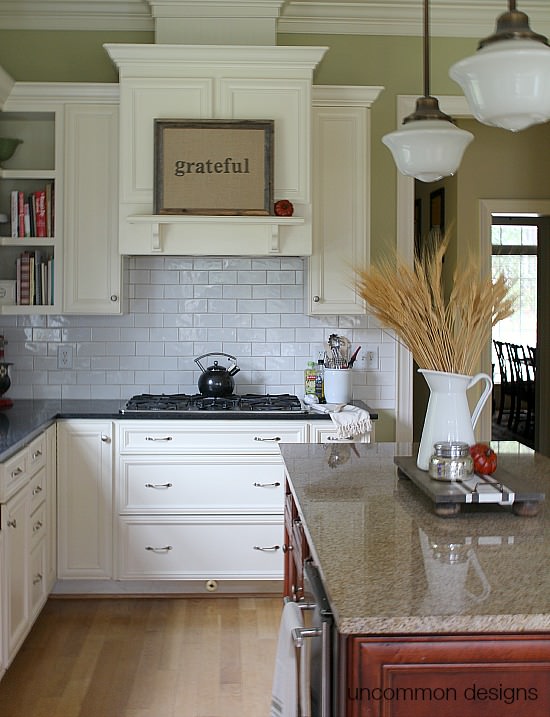
Now that is a statement…and a daily reminder for not only me, but my entire family.
Be sure to pin this post for later…
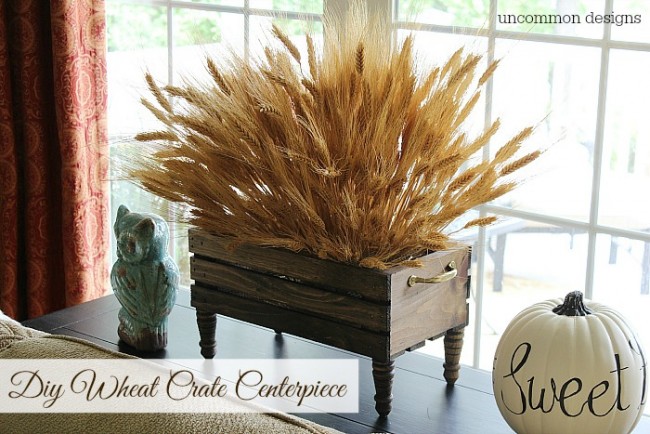
You will want to also check out this DIY Wheat Crate Centerpiece as well…
________________________________________
Trish Flake
Latest posts by Trish Flake (see all)
- Easy Leopard Painted Pumpkin - October 18, 2021
- Embroidered Swedish Dishcloths - May 3, 2020
- Easter Egg Decorating Party - March 21, 2020
Love the rustic look of frame and the simplicity of the sign. Looks great where you have placed it!
Thanks so much Joann! Have a nice weekend.
xo Trish
Beautiful post & lovely project! Do you know of a source to purchase the “letter stamps”? Thanks, Sue
Thanks Sue! You can find the stamps here: http://www.amazon.com/gp/product/B000WWK4EI/ref=as_li_qf_sp_asin_il_tl?ie=UTF8&camp=1789&creative=9325&creativeASIN=B000WWK4EI&linkCode=as2&tag=uncommon0d-20&linkId=77QRO3MMPKRK35QE (affiliate)
Have a nice weekend!
Take care,
Trish