My girls both love to cheer and tumble. In fact, we had a cheer birthday party for my oldest. We decided to make bows for all of the guests… every good cheerleader needs a pretty bow… right? So, here is a spirit ribbons hair bow tutorial so you guys can make one, too!
Before we begin, I just had to tell you about the amazing I-top button and brad tool that the folks at Imaginisce sent me. I used it, a ribbon cut and seal tool, and their cover buttons to make the covered buttons and cut the ribbons. The I-top tool worked so well! No more sore hands! I am really excited to make more goodies with the tool! You don’t have to have it for this, but it makes it so much easier!
Spirit Ribbons Hair Bow Tutorial
Supplies:
5 spools of ribbon of varying widths and patterns
1 spool of very thin ribbon that will be used to tie bow together
covered button kits or I-top
scissors (or heat sealer)
ponytail elastics
heat sealer or lighter to seal ribbon ends.
Step One. Cut your widest ribbon about 18 inches in length. You want to make sure to cut at an angle. Now, you will cut the remainder of the ribbons a little shorter each time. You will go from widest to thinnest making sure to cut the ribbons with the same angles at the ends. Your thinnest ribbon should also be angled, but only needs to be about 12 inches long.
Step Two. In this step you will make the covered buttons. If you have an I-top you can follow the directions pictured above. No worries if you don’t have one… just purchase a kit at your local fabric store. I know that they have them at Jo-Ann and Hancock Fabrics, for sure.
Step Three. This is a great time to seal the ends of your ribbon. I used the Imaginisce heat seal tool, but you can also use a lighter to seal the ends. Just brush the end through the flame. After your ends are sealed, stack the ribbons from the smallest to the widest and make sure they are centered.
Step Four. Now you will take the thin ribbon and tie a tight knot in the middle. I triple knotted mine to make sure it stayed secure. Just double check at this point to make sure you have the knot centered and the ends of the thin ribbon should be in the back.
Step Six. Tie your elastic on with the two ends of the thin ribbon. I double knotted this again and then wrapped the two ends toward the front of the bow.
Step Seven. You will now thread the thin ribbon through the button and tie in the back. Make sure to double or triple knot and trim the excess ribbon. That’s all!
We hope you will join us tomorrow for a really fun giveaway! Take care!
*Trish
You guys may also enjoy these projects…

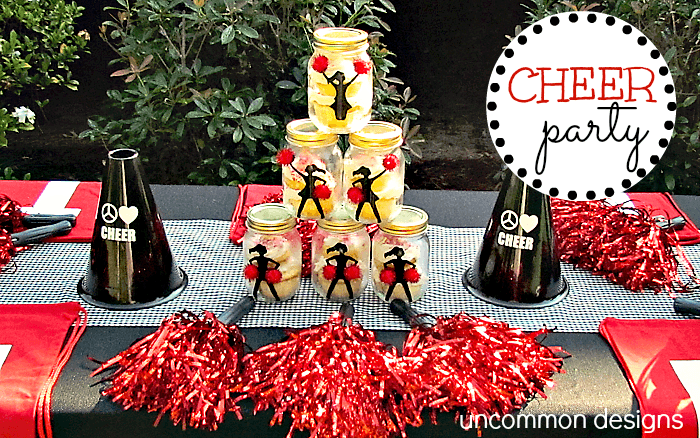
Peace, Love, and Cheer Birthday Party

Trish Flake
Latest posts by Trish Flake (see all)
- Easy Leopard Painted Pumpkin - October 18, 2021
- Embroidered Swedish Dishcloths - May 3, 2020
- Easter Egg Decorating Party - March 21, 2020


What a great hair accessory and clear tutorial! I love ribbons! What I really want though is that beautiful naturally blond hair! 🙂 So pretty!!
What an adorable little tutorial! My girls would love this!
Super cute. The colors fabulous. Too bad I don’t have any little girls to try this out on! I’d love for you to link it up to our link party!
http://crafting-cousins.blogspot.com/2012/06/what-i-wore-sunday-week-20.html
~Natalie
So cute! This is taking me back to high school cheerleading!
Super cute!! I love it!! Thanks so much for the tutorial!! Pinned 🙂