It is officially Summer and time for another post in our One Crafty Summer Series! Today we have the super sweet and talented Sara from Major Hoff Takes a Wife and she is sharing how to make a quick and easy one hour picnic quilt. Take it away Sara…
I’m so excited to be sharing today’s craft with you! I think you will love it–especially since it is so quick and easy–and will last a lifetime! Growing up, my mother had made our picnic blanket out of two twin sheets and I have many fond memories of laying on it reading a book under the trees, or watching fireworks on a hot summer night, and even cuddling with it during the winter when it was in the backseat of our car. My Grandmother even used that quilt when she was visiting our house a few winters ago. Holy cow, that quilt is 30 years old at least! The magic to what makes it easy is in the middle! Really, not the normal quilt batting that you find inside a quilt. I’m sure your wondering what that will turn out to be…….

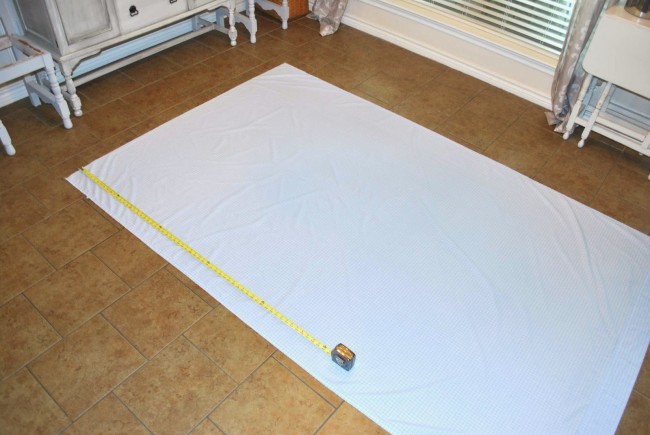
Step 1: Iron the sheets you will use to get them nice and smooth. I know, a pain in the rear, but worth the effort. Trust me, it will be the only time you ever see me ironing them. I like to lay mine out on a large flat surface, so I picked my dining room. Measure the sheets to the size you would like to use. I made mine 62 inches on each side and simply marked them with a tape measure. I cut a tiny bit with scissors and then ripped the fabric to keep it straight of grain. When I’m dealing with large fabric pieces I usually do the ripping method. It saves so much time & headaches.
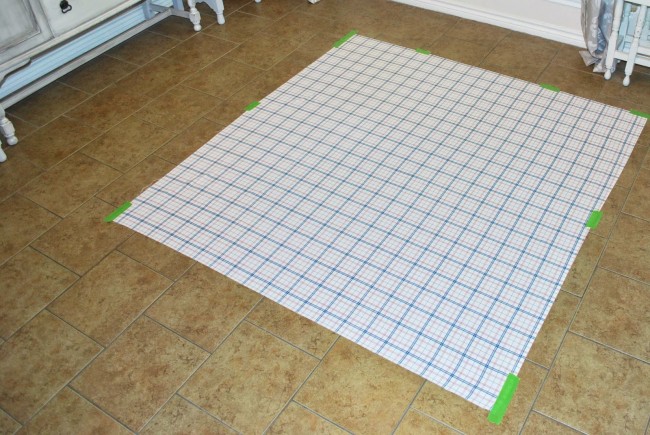
Step 2: Lay your first sheet pretty side up. I like to tape the bottom sheet of the “quilt sandwich” directly onto the floor to keep it from shifting. Next, lay the other sheet, pretty side FACING the pretty sheet, so basically the other side will be facing upwards. On top of that Add the flannel sheet. You can smooth them out a bit, try to get the wrinkles out as much as possible. Pin all 3 layers together (and remove tape at this time). Leave a 10-12 inch opening on one side so you can turn the quilt right side out when the stitching is done.
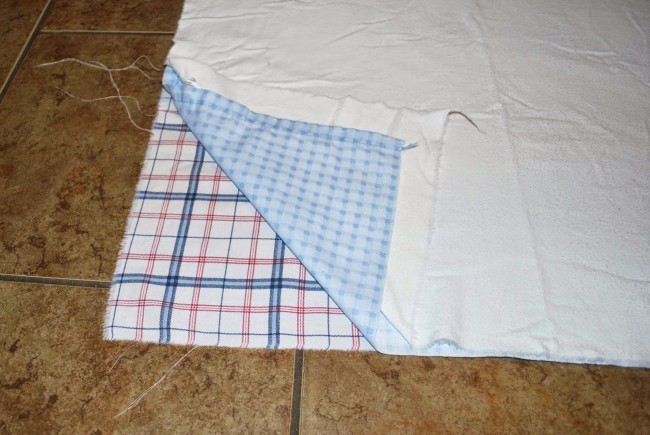
Step 3: When I have 3 layers like this I pick one fabric that I will use as the edge in case there are spots that are not quite lined up. For this one I picked the plaid sheet. I would sometimes lift the other layers gently if they were covering my hem guide. Most sewing machines stitch pretty straight, but be sure to check that you are doing a straight line every 3 inches or so in the case the guide is covered. I used a 1 inch seam for this. I wanted to make sure that all layers were locked in tight. After sewing the first seam, clip the corners to prevent bunching, reach in and turn the corners, and turn the blanket right side out. You should have the pretty sides on the front and back, and the flannel hidden in the middle. I like to iron the seams and the open area at this point.
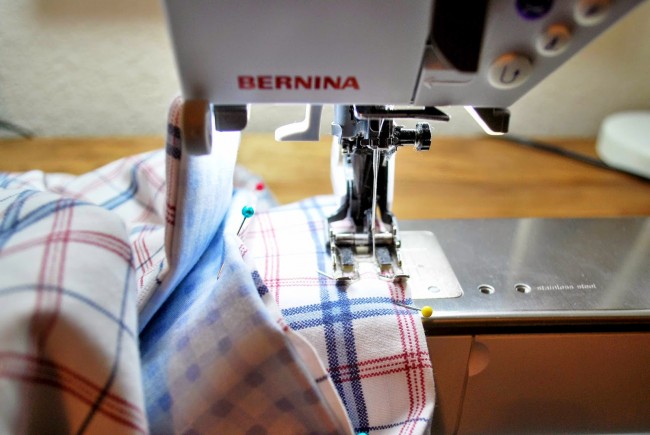
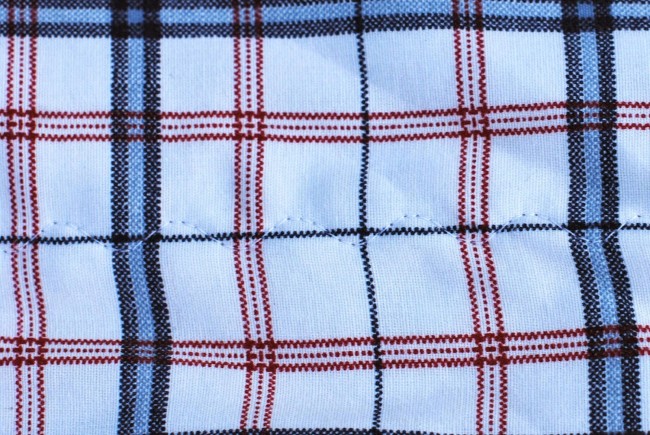
Step 4: Return the blanket to the machine and topstitch the entire blanket. For this one I used a little bit more than a quarter of an inch. For the piecing and the top stitching, I used a walking foot. It just makes handling long heavy fabrics so much easier. Remember to go slow if you use one. They aren’t meant to be run fast.
****WHY THE FLANNEL IS THE MAGIC TRICK*****
So why is the flannel so magical? If you use regular quilting batting, and you don’t quilt or tie the blanket, the batting will be ruined the first time you wash it. It would ball up, not lay flat and just make a big mess. A flannel sheet provides the thickness, with not a lot of weight, and will lay flat. You will just need to shake it after pulling it out of the dryer (think of it like a built in duvet cover). If you’d like more stability or to be more creative, you can do several things. You could put in simple embroidery floss or yarn ties. Or you could practice some quilt motifs. Since it’s a picnic quilt, it doesn’t have to be perfect! I choose to do a wave stitch about every 12 inches on mine.
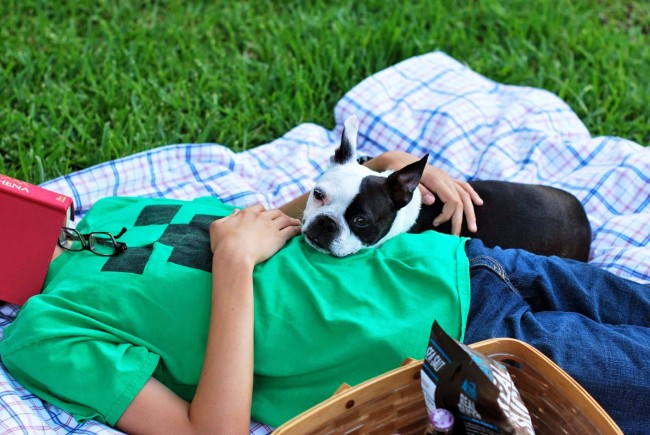
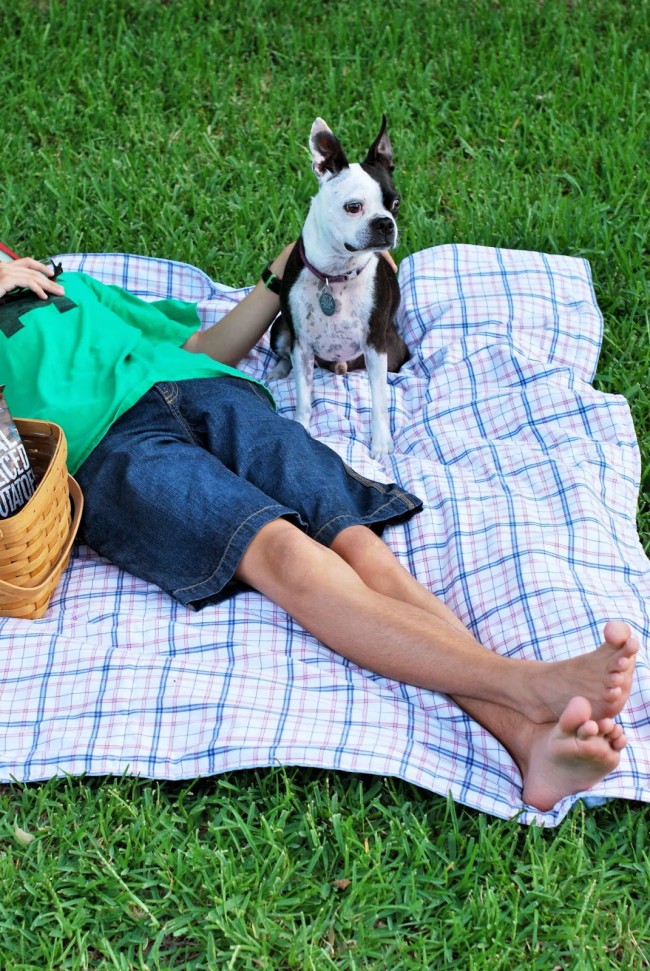
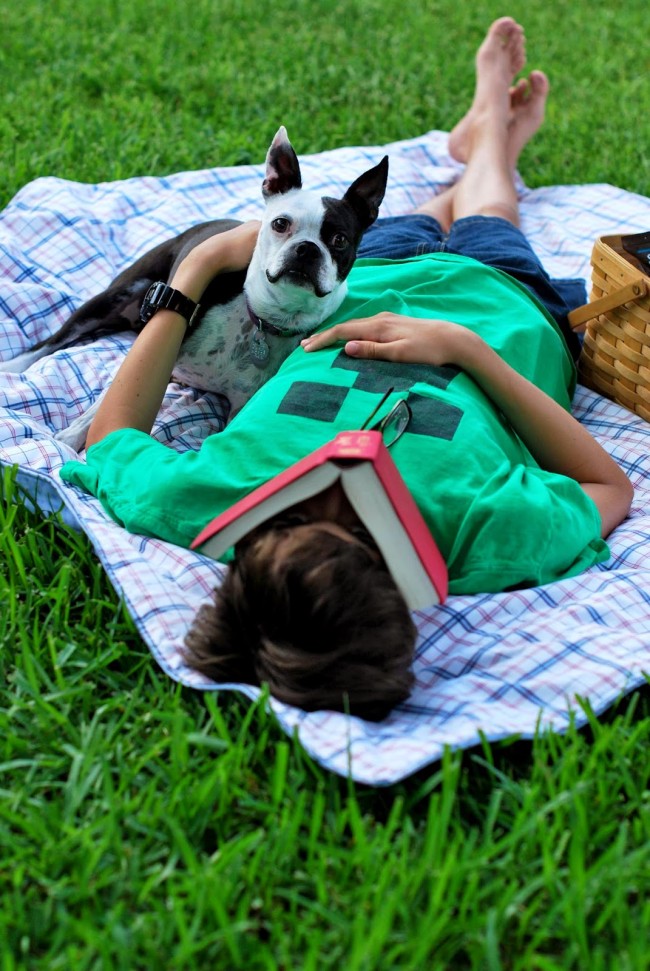
Final Step: ENJOY! I hope you make many family memories with your new picnic quilt. As you can tell, my 14 year old and rescue Boston Terrier-Jack Russell already loves ours!
Thanks so much for allowing me to be a part of One Crafty Summer! If you’d like to see more of my sewing tutorials or tour my sewing studio, please stop by my blog, Major Hoff Takes A Wife. I’d love to have you visit!

Have a wonderful summer all you lovely people!
Trish Flake
Latest posts by Trish Flake (see all)
- Easy Leopard Painted Pumpkin - October 18, 2021
- Embroidered Swedish Dishcloths - May 3, 2020
- Easter Egg Decorating Party - March 21, 2020


What sweet memories! I love the quilt. Thanks for the tutorial! Pinned it 🙂
What a great step by step! I am very much a novice sewer, and need all the help I can get. I feel like this is something even I could accomplish. Great post. 🙂
Super cool! I definitely need to add this to my to-do list! Pinned it! 🙂
So cute! I must make one! We have one giant denim blanket that is so heavy it’s a pain to take to the park with us.
I’m working on a quilt that is taking me MONTHS. I should make an easy one to feel a sense of accomplishment!
Awesome tutorial! You made me want to make one and I don’t enjoy sewing… I love the color & pattern. Great for summer!
Love this! What an easy way to get a soft blanket together. Thanks!
Thanks again for letting me guest post!
What a fabulous idea for summer!