We are proud to be a part of the DecoArt core blogging team. We were given product and compensation but all craftiness is 100% ours.
Oh how my daughter loves a monogram! I really think she would put them on everything, from school stuff to clothes. Combine her love for them with a teen wanting to keep everything and display it all, and we came up with a great craft project together. We used some of her favorite colors and a bit of burlap to create a fabulous Monogrammed Burlap Clipboard.
Monogrammed Burlap Clipboard
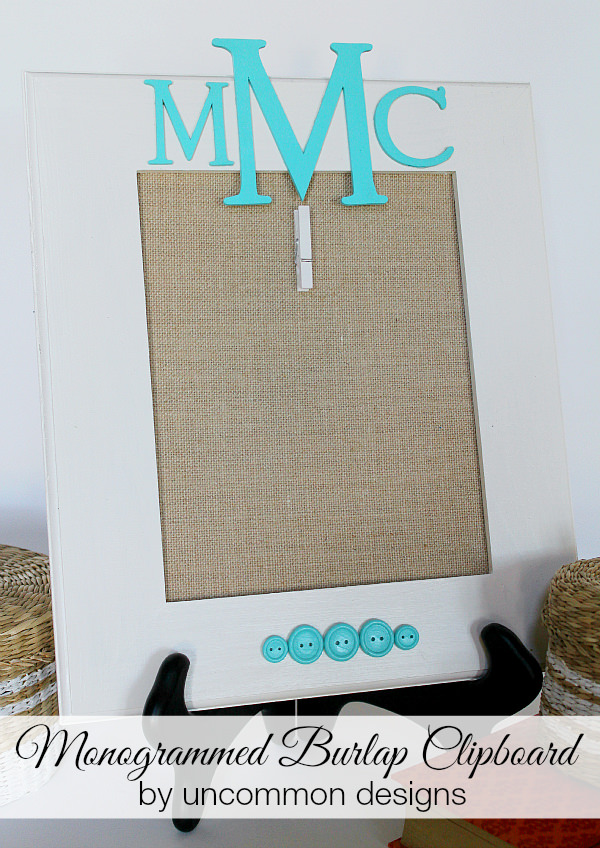
She adores this beautiful blue color by DecoArt called Coastal Waters. I have already seen some of the things she is clipping to the little clothespin….bible versus, pictures of her camp friends, reminders. I love that!
I think the little clothespin glued onto the burlap is the perfect touch.
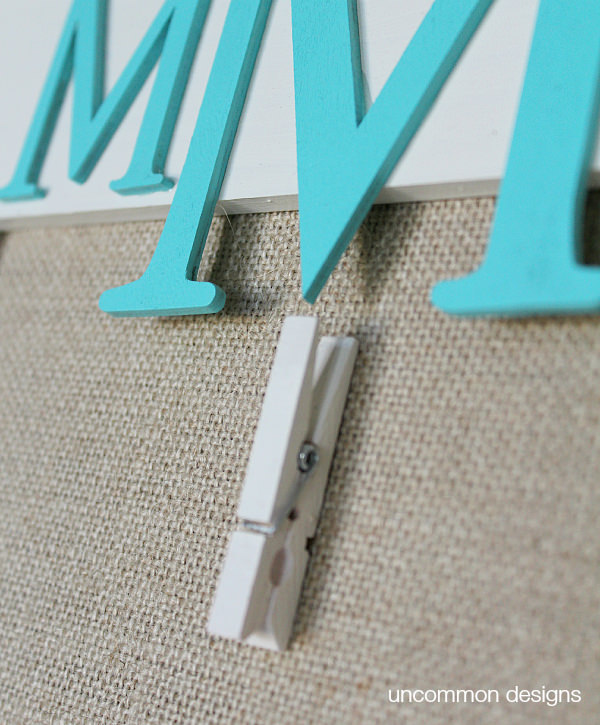
Her dad and I are thinking of leaving little notes of encouragement for her on it. She loves that. Words of affirmation are definitely one of her love languages.
Seriously, this is a great craft to do with tweens and teens. Not too many supplies and easy to paint for a beautiful result. So let’s get started making one, ok?
Supplies needed for a Monogrammed Burlap Clipboard…
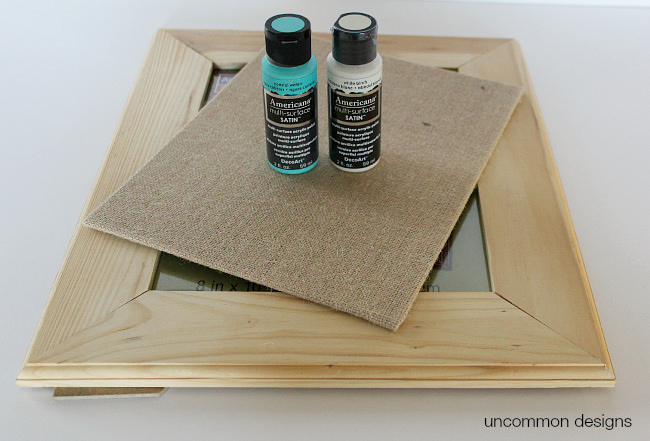
1. Unfinished Wooden Frame {this one is from Michaels}
2. Flat Burlap Canvas 8×10 {also from Michaels}
3. Unfinished Wooden Letters in style of choice
4. Small Unfinished Wooden Buttons
5. Americana Multi-Surface Satin paint in Coastal Waters and White Birch
6. Paint Brush
7. Glue Gun and Gluesticks
8. Small Wooden Clothespin
_________________________________
STEP ONE:
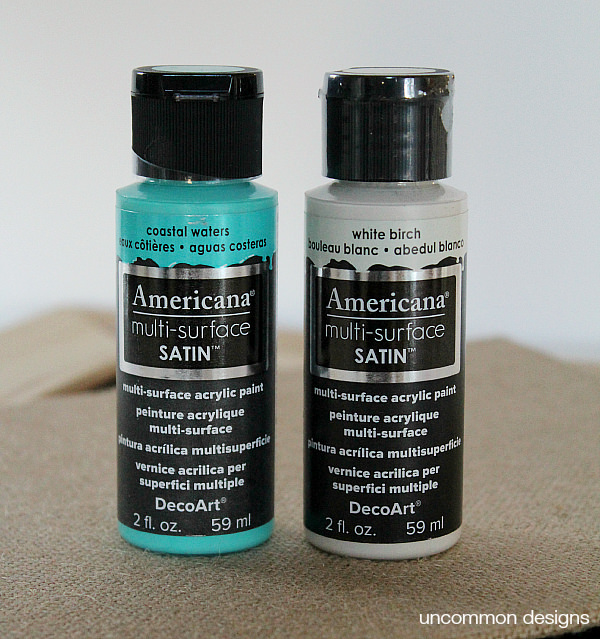
Paint the frame and the little clothespin in the White Birch color and allow to dry. Meanwhile paint the letters and buttons in the Coastal Waters color by Americana. If you have not used the Multi-Surface Satin Paints, well you are missing out. The colors are beautiful and the coverage is amazing.
STEP TWO:
Simply place the burlap canvas inside the frame like you would a photo once the frame is completely dry.
STEP THREE:
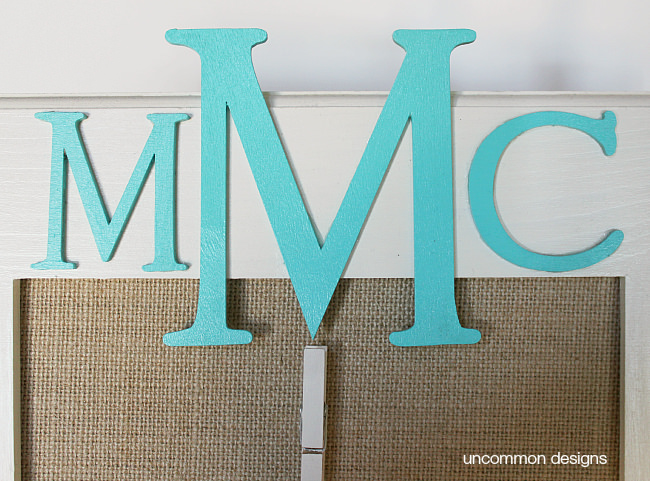
Using the hot glue gun, attach the painted letters to the top part of the frame. I centered the letters and used a traditional monogram for a young lady…fist initial, last initial, and middle initial. The last initial is the largest in the middle.
STEP FOUR:
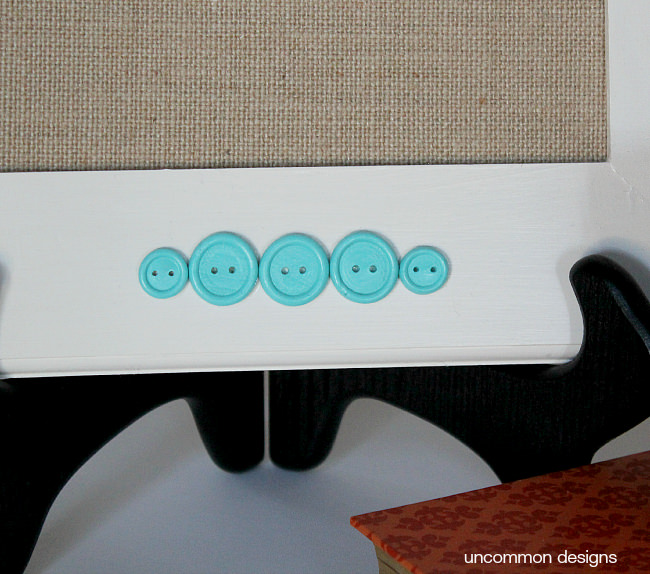
Attach the wooden buttons to the bottom part of the frame with the glue gun. I chose 3 larger buttons and 2 smaller ones. I love how adding the buttons at the bottom helped to balance the frame out. Sometimes little details like this really make the difference in something looking absolutely finished.
STEP FIVE:
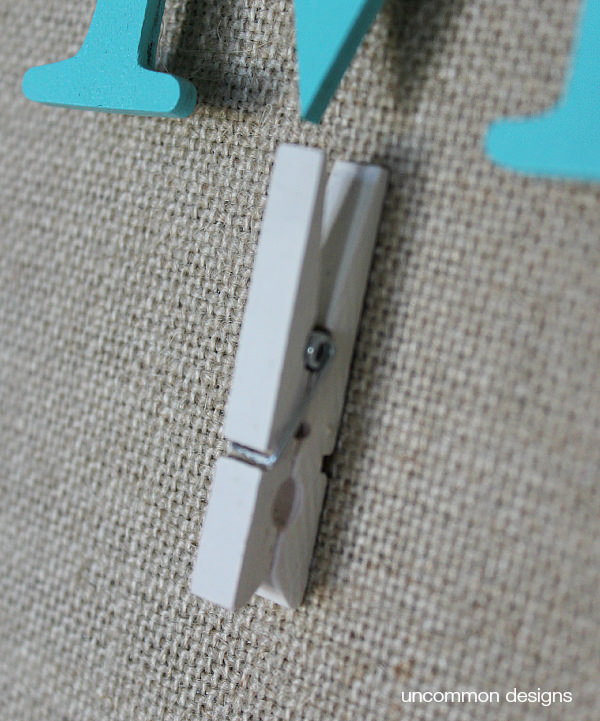
The final step is to attach the clothespin to the burlap canvas. I used the glue gun to do this. Such a great touch!
Crafting is so much fun when you have a special person to do it for. I love creating a handmade home and little projects like this add a very personal and meaningful touch to your home.
You may also enjoy a few other painted home decor projects we have made…
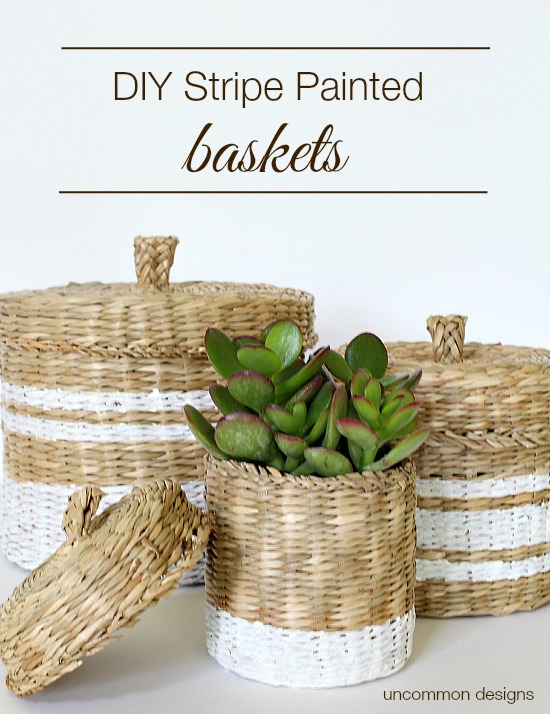
These DIY Stripe Painted Baskets are a lovely way to organize.
And how about this one…

Do you see a little stripe theme? This DIY Ticking Stripe Wooden Server Tray is a permanent part of our kitchen island now, love it! And it is much easier that you may think to make yourself.
Now go create something for yourself or someone special! Enjoy!
Trish Flake
Latest posts by Trish Flake (see all)
- Easy Leopard Painted Pumpkin - October 18, 2021
- Embroidered Swedish Dishcloths - May 3, 2020
- Easter Egg Decorating Party - March 21, 2020
I laughed when I read the first sentence of this post. My daughter is sitting on the couch and just found a monogrammed necklace she wants. If she had her way, everything she owns would be monogrammed. She is going off to college in the fall and this will be perfect for her dorm room. Love the turquoise colors with the burlap. Thanks so much!!
Isn’t it funny how obsessed they are. Mine is concerned about what happens to her monogrammed things when she gets married! Slow down!
Nice idea of using the burlap!