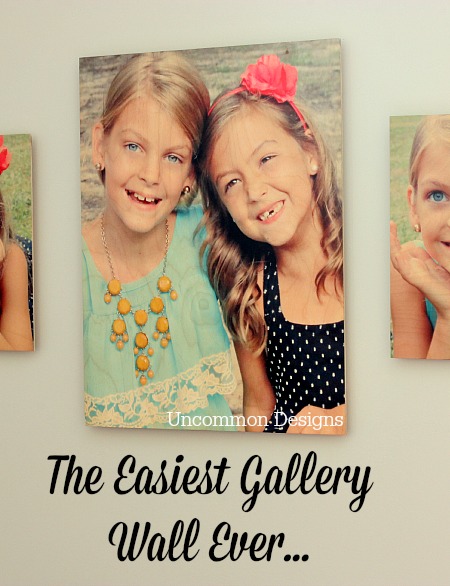
We are so grateful to have worked with Shutterfly to create this amazing gallery wall. We were provided with the prints, but all opinions are our own!
This week I have been so utterly aware that my girls are getting older (sniff sniff). On Monday they were off to fifth and first grade and the house is so quiet. I have mixed feelings on that one, but I can’t get over how grown up they have become. I feel like I blinked and I have little ladies and no more babies. There is one thing that has helped pass those school days… my new and so so easy gallery wall.

I love seeing those beautiful faces looking right back at me… aren’t they just beautiful? You guys just won’t believe how easy this gallery wall was to put together… I owe it all to Shutterfly’s Design a Wall.

My oh-so-talented neice, Sarah Nell, took pictures of the girls a few weeks ago. They turned out to be some of my favorite pictures ever of my kids. She did such an amazing job and it was almost impossible to choose my favorites. Seriously, that was the hardest part of creating this gallery wall!! I know you are trying hard to get over their cute faces, but get ready for your world to be rocked.

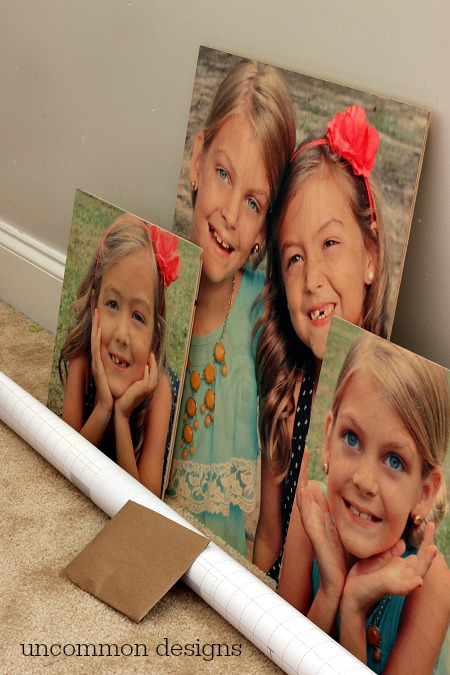
This is how my gallery wall turned out and it took me less than 20 minutes to hang it all from start to finish! Isn’t it just beautiful? I chose to get the wooden wall art and I love the beautiful texture and wood grain that shines through. The Shutterfly Design-A-Wall tool is super easy to work with, too. Just decide what type of arrangement you’d like and design a gallery wall personalized just for you! They have so many options for arrangements and types of prints. I really wanted a vintage feel for mine. Here is the amazing part… it is almost impossible to mess up when hanging it and there is virtually no measuring!

Once my prints and hanging kits arrived, I was ready to get started. I was skeptical that it would be so easy, but boy was I wrong!

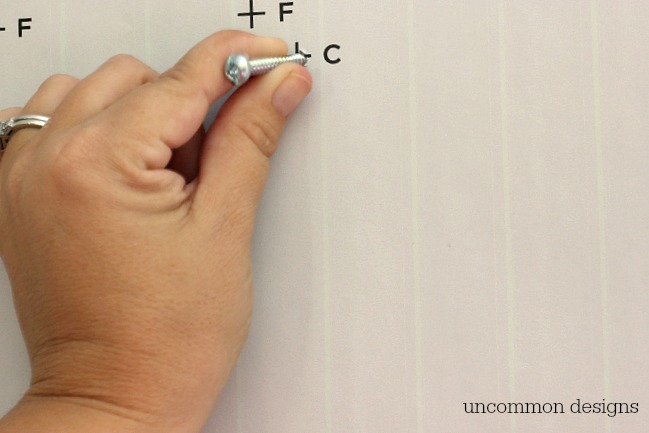
The hanging kit comes with a printed template that you will hang on the wall with some painters tape.

It even comes with this handy level, so you know that everything will be hung the right way from the start.

Follow the directions that come with your kit and you know exactly where to place your screws without even getting out a tape measure. Hang up your prints and you are in business… can it get any easier than this?!

Now if someone could make these kids stay little… that would be awesome!
*Trish
Trish Flake
Latest posts by Trish Flake (see all)
- Easy Leopard Painted Pumpkin - October 18, 2021
- Embroidered Swedish Dishcloths - May 3, 2020
- Easter Egg Decorating Party - March 21, 2020
Leave a Reply