Hello readers of Uncommon Designs!! I’m Krista from The Happy Housie and I am beyond thrilled to be a new holiday contributor for Trish and Bonnie!!
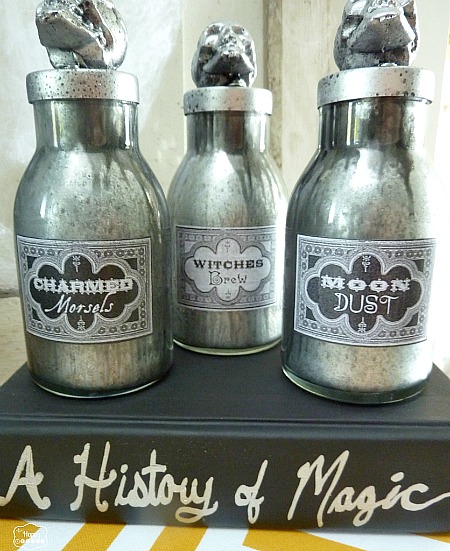
Today I am sharing a fun Halloween decorating project: DIY Faux Mercury Glass Potion Bottles. After seeing all kinds of spookily-adorable potion bottles in stores this fall I was inspired to make these. While the bottles I saw retailed for $8-10 each, I created all three of these for about $10, and still have plenty of spray paint left over for future projects! Yay!
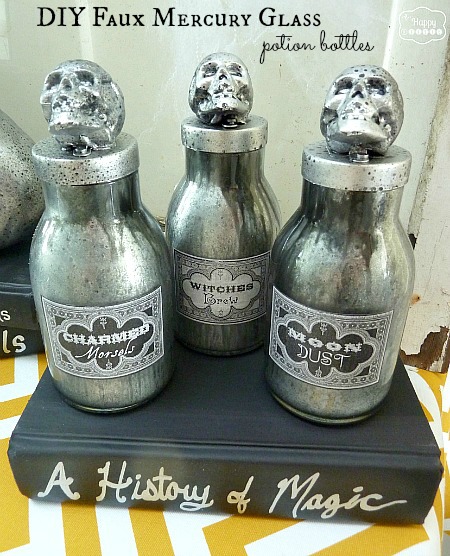
To create these DIY Faux Mercury Glass Potion Bottles you will need:
- glass bottles (mine were $0.50 each from a thrift store)
- Krylon Metallic Silver or Krylon Looking Glass Spray Paint (which I was not able to find so I settled for high gloss silver)
- black spray paint (I used a FLAT/MAT finish)
- a spray bottle with a vinegar-water solution (50-50 mix)
- embellishments for the caps (I used faux plastic skulls from the dollar store)
- hot glue
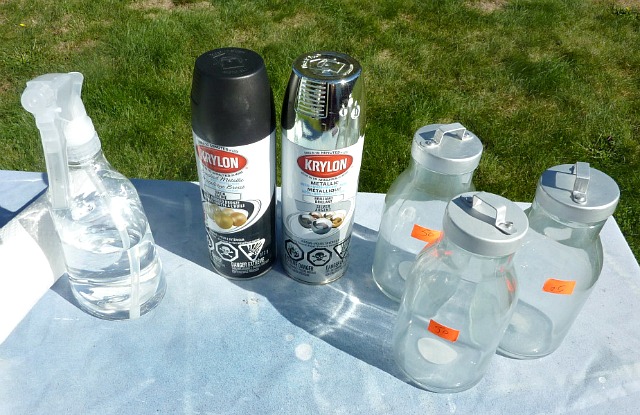
Start by spraying the vinegar into the bottle so it beads up…you want beads, not just “runs” of vinegar. Where the vinegar and water are on the glass is where the spray paint won’t stick.
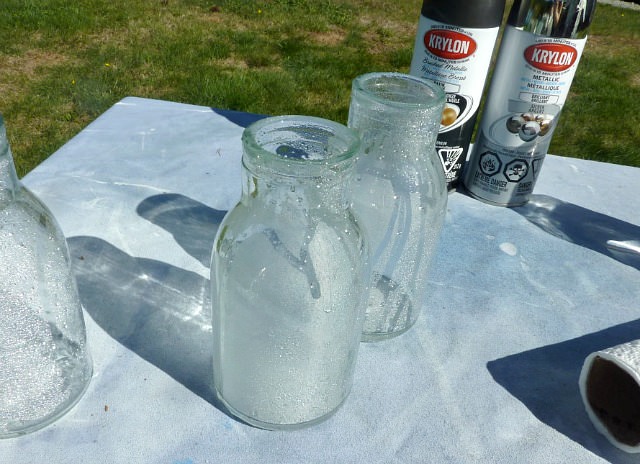
Work super quickly, so that you still have lots of ‘beads’ of vinegar-water. Spray the metallic Silver (or Looking Glass) spray paint inside the bottle and shake it/rolling it around a little and hang it upside down to let it drain out.
If your silver finish looks too opaque or solid then just immediately spray more vinegar onto the fresh spray paint and it should ‘bead off’ some of the paint finish.
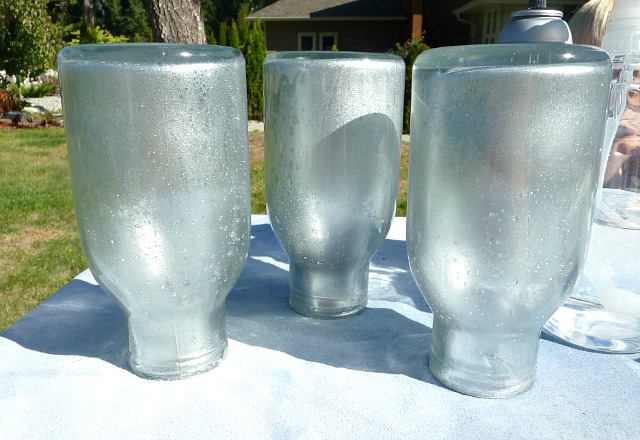
I practiced this process first on an old glass baby food jar to make sure I knew what I was doing.
Do this as many times as you like depending on how much silver you want to show (I did 2-3 coats of silver) and then repeat the process with the black spray paint if you want to add a little blackish hue coming through behind the silver. You could also just stick with the straight silver beaded finish.
You don’t want all those gross, creepy potion ingredients falling out- so time to make some lids.
I first attached some inexpensive plastic skulls to the bottle lids using hot glue…
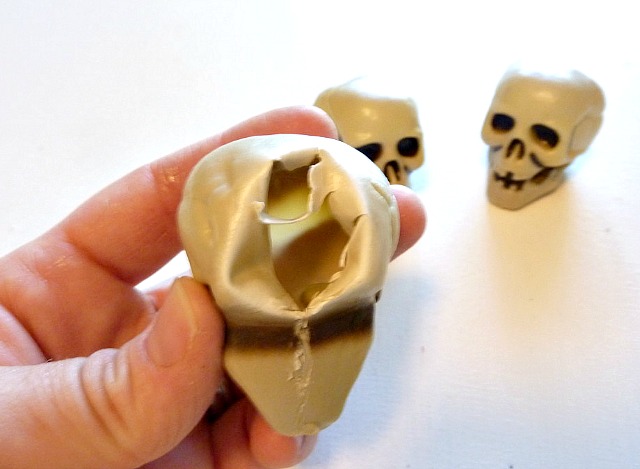
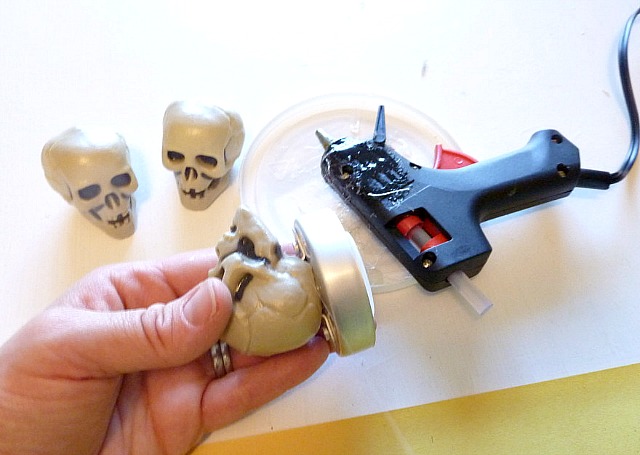
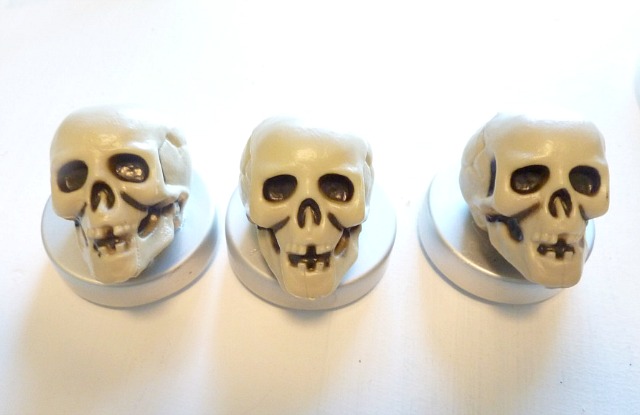
I then did the same finish on the skull lids but in reverse…
I started by painting out the whole lid with Mat Black spray paint.
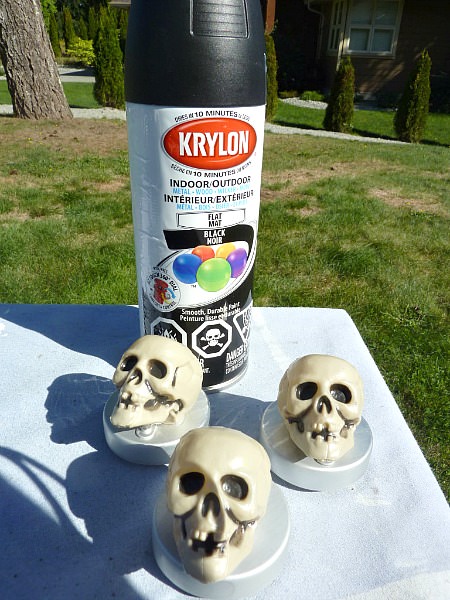
Once the mat black paint was dry, I sprayed the vinegar solution onto the skull lids, then immediately sprayed the silver paint on top of the beaded vinegar-water solution. I then immediately resprayed the vinegar onto the skull lids to remove some of the silver allowing more of the black to show through.
Bottles and Lids done – time for some Potion Labels!
I printed these ones off – they are courtesy of The Graphics Fairy.
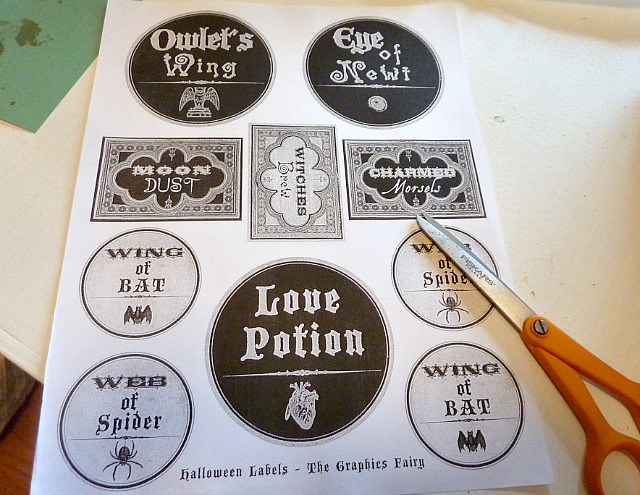
I attached them using Mod Podge.
To avoid bubbling my labels I started with a thin coat on the back of the label, gently pressed it onto the bottle pressing out any bubbles or ridges, let dry, and then applied a top coat of Mod Podge once the bottom coat was dry.
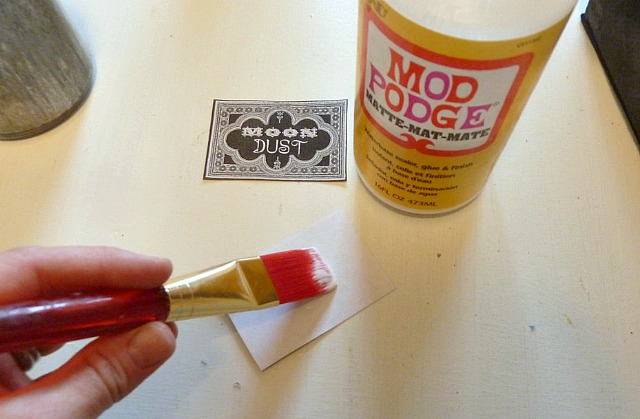
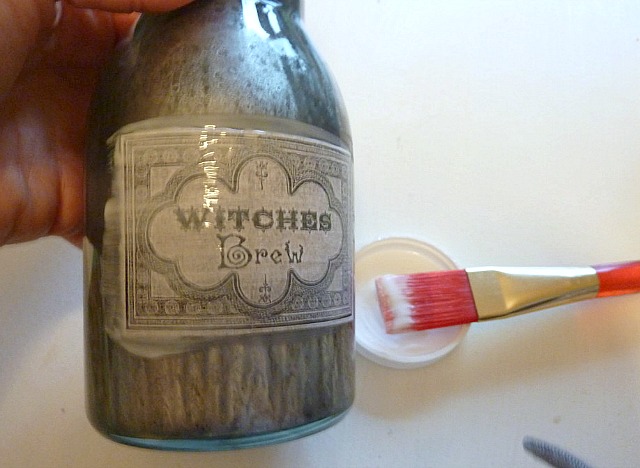
Done! I can’t wait to use these on my Halloween Mantel this year!
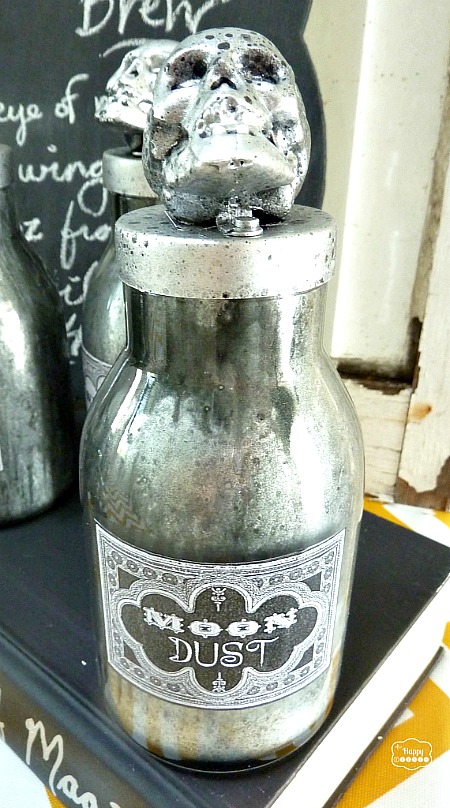
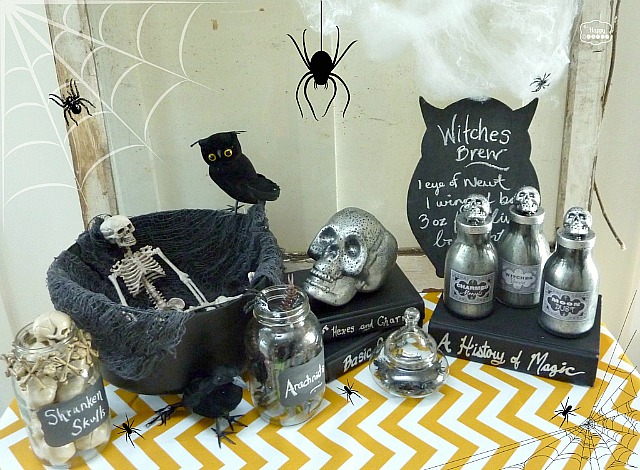
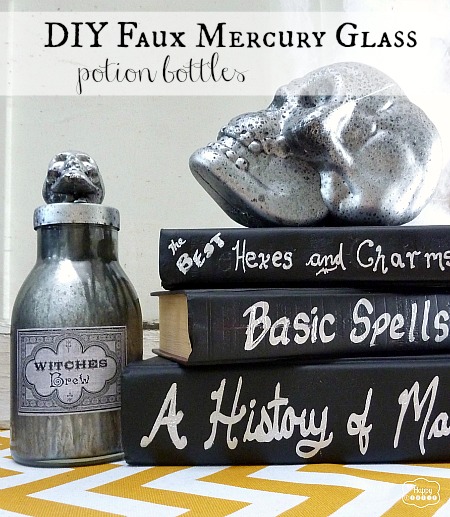
I also created these Faux Potion and Spell Books and am sharing that project today over at
The Happy Housie. I’d be so thrilled if you popped over to say hello! I have several other fun fall projects I would love to share with you as well.
Thanks again for having me over at Uncommon Designs today, Bonnie and Trish! I can’t wait to come back!
Thanks for reading. And remember my housie friends, HOME isn’t built in a day. Enjoy the journey.
Trish Flake
Latest posts by Trish Flake (see all)
- Easy Leopard Painted Pumpkin - October 18, 2021
- Embroidered Swedish Dishcloths - May 3, 2020
- Easter Egg Decorating Party - March 21, 2020
Love how these turned out!
Very cool, very spooky. I like it!
I love how you prepared these Krista, it was a lot of work on your part but it seems so fun and I love them very much these mercury glass potion bottles 🙂
SO cute, Krista, I just love these!!! I want to add these to my mantel decorations, too! 🙂 Thanks so much for sharing and great directions! Pinning and have a happy weekend!!
Super spooky!! Love it!!
Great tutorial! Thanks so much for showing us how to make the faux mercury glass not only for Halloween items but for this could be used for any time of year (without the spooky labels, skulls, etc.). I saw your post via “A STroll Thru LIfe” blog party.
This is super creative!! Already pinned!
That DIY project is brill, well done.