DIY Chevron Stenciled Rug Tutorial
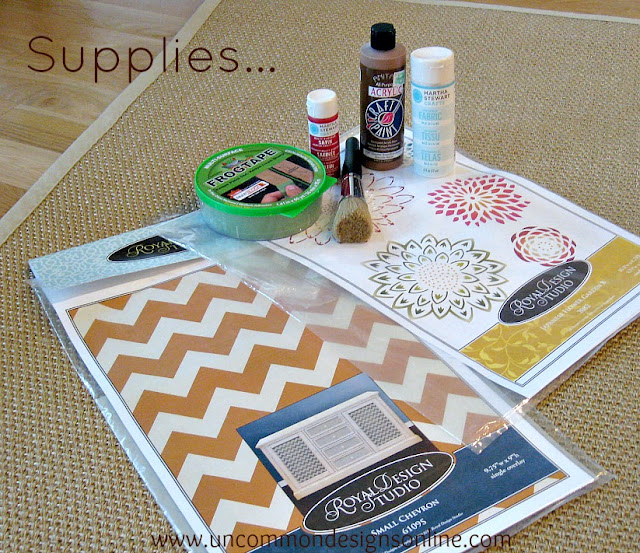
Supplies Needed….
Chevron Furniture Stencil
Japanese Flower Garden B Stencil
Royal Design Studio Stencil Brush
Frog Tape
Acrylic Paint in…Brown, Red, and 2 Shades of Green
Martha Stewart Fabric Medium
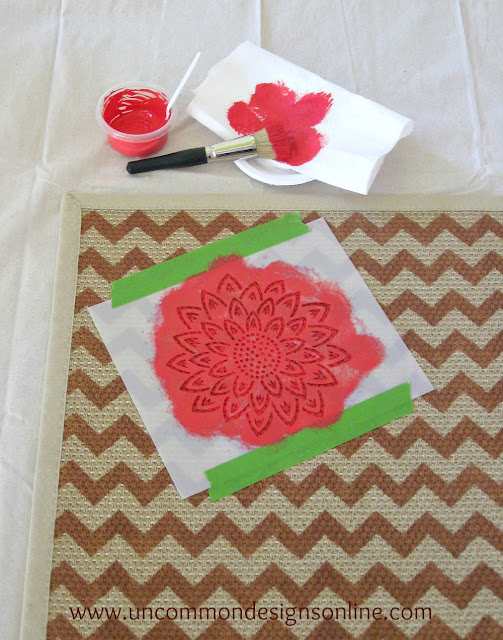
I started by taping off the edges of my plain sisal rug with Frog Tape. I then positioned my Royal Design Studio Chevron Stencil and taped it in place. These stencil are fabulously thick, so I did not need any spray adhesive to keep it in place. I loaded the stencil brush with paint, brushing off the excess per the tips on the Royal Design Studio site. The stencil brush technique was very easy and I got a fantastic result with amazing edges…
Love! The lines are crisp and the Frog Tape along the edges kept it from bleeding onto the trim of the rug. Now, I was ever so tempted to stop at this point…..but…..
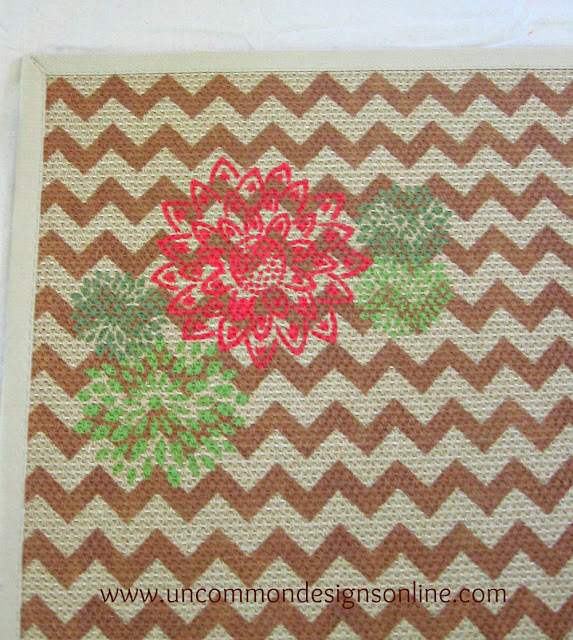
Nope! I wanted to add these adorable little flowers in the corner on top of the chevron! So, after the chevron stenciled rug was completely dry…
I stenciled these adorable flowers on top of the chevron in colors of red and green! The flowers were large and really easy to work with. The edges turned out perfect, even on top of the already stenciled rug.
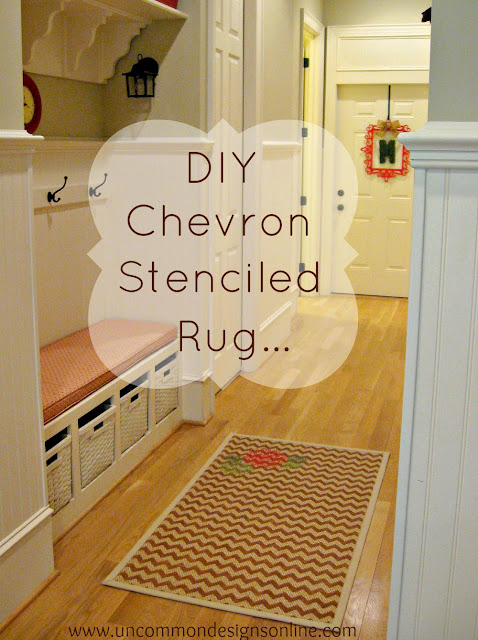
I really love how this rug turned out….so much so, I will be doing another one for the other end of the hall in the same pattern. This hallway is the major “roadway” of our home and this fun rug really gives a happy feeling to the hallway!
A Big “THANK YOU!” to Royal Design Studio for allowing us a chance to try out these amazing stencils!
I was given free product for review, but no compensation was given. All opinions are 100% mine. See our full disclosure. This post may contain affiliate links.
Trish Flake
Latest posts by Trish Flake (see all)
- Easy Leopard Painted Pumpkin - October 18, 2021
- Embroidered Swedish Dishcloths - May 3, 2020
- Easter Egg Decorating Party - March 21, 2020


wow! that looks great!
nice