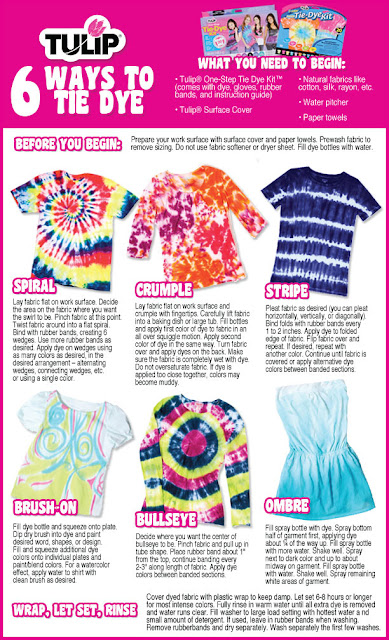
My first decision was what technique to use. The above picture shows some of the most popular tie-dying techniques. I love the ombre look, but I went a little different avenue to get there… dip dying! You should totally check out the I Love to Create site for all of their amazing project ideas and even more techniques. Now to choose what to make!
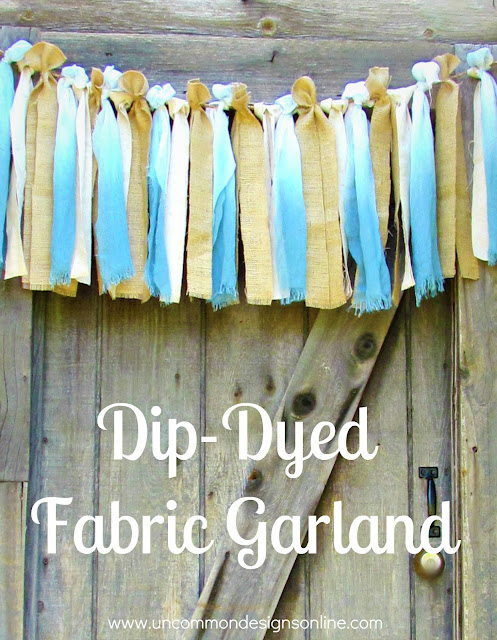
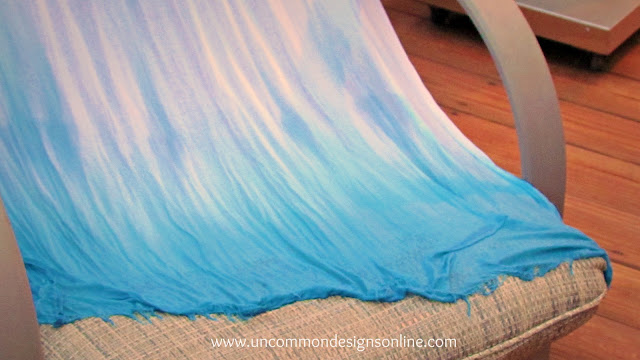
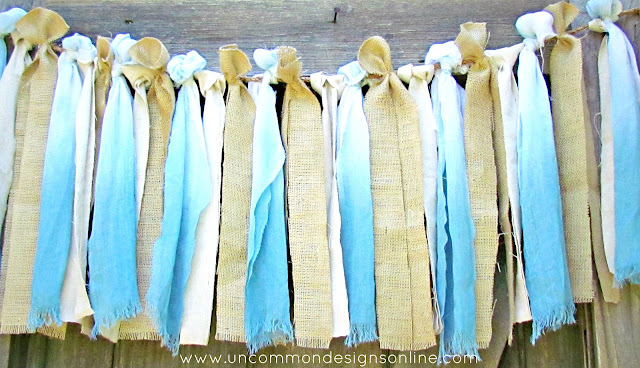
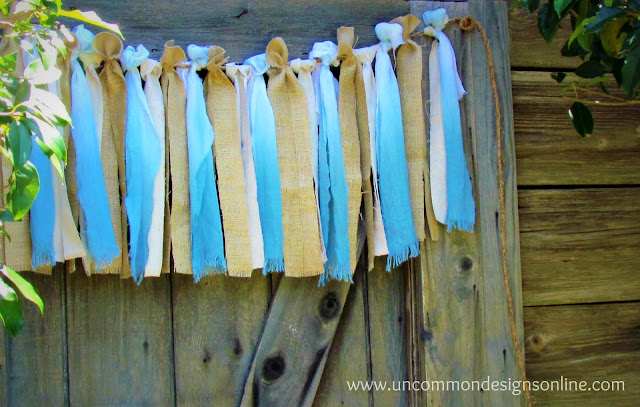
With the weather getting hot and vacation on the horizon, I knew I wanted to do something coastal using beach-inspired colors. I decided to make a flowy fabric garland out of burlap and dip dyed cotton. I had the perfect gauzy scarf that needed a little color and thought it would be beautiful with varying shades of teal at each end. If you don’t have a white scarf, any gauzy fabric will do, but make sure it is 100% cotton.
Here is how I dip dyed the scarf…Supplies:
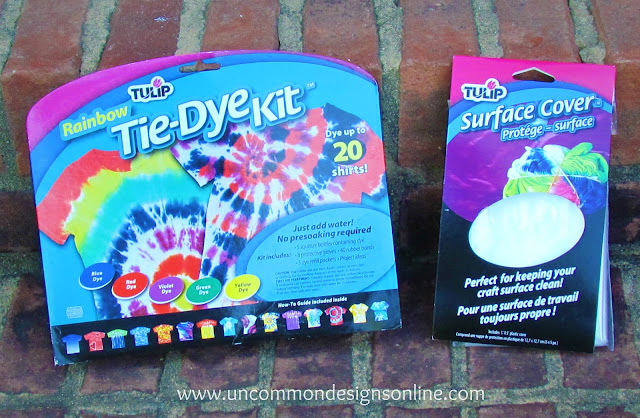
Tulip Tie-dye Kit
Tulip Surface Cover
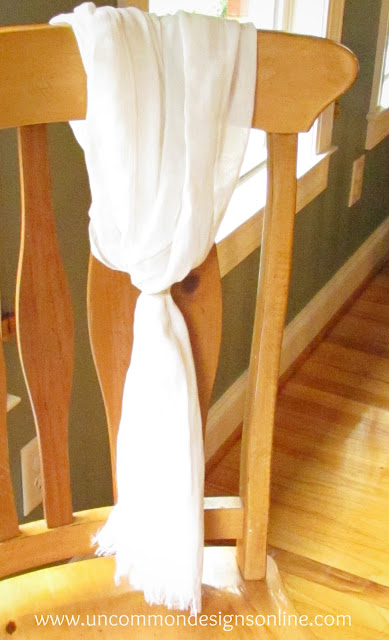
100% white cotton scarf or fabric,prewashed
1. First, I decided how far up the scarf I wanted the color to go and I tightly secured a rubber band at the top. { mine actually bled a little beyond the rubber band while drying, so just be aware }
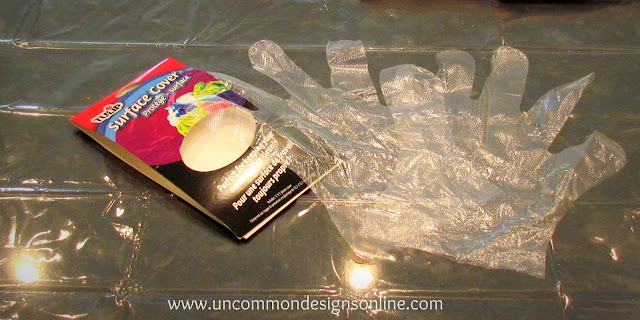
2. Let’s get the area where you will be working all covered up! I used Tulip’s surface cover and also the gloves that were included in the kit. Tie-dying is messy, so I would suggest doing your project close to a sink, with lots of paper towels on hand, and wearing gloves at all times. I layed the cover over my counter that was next to my kitchen sink.
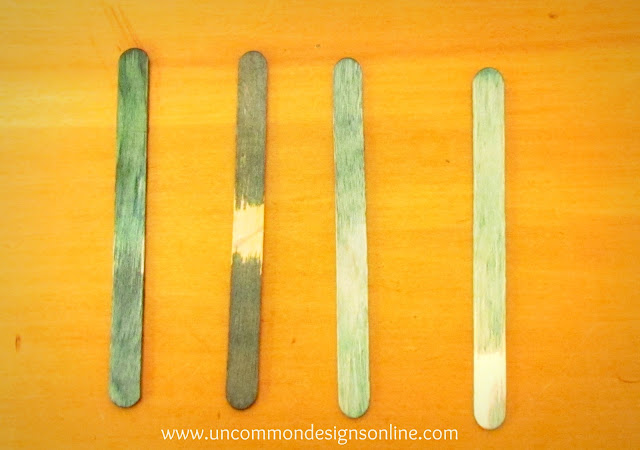
3. Now you want to mix your fabric dye. You should follow the directions on the package for the best results. Our kit was comprised of primary colors, so we mixed the blue with a little green and mixed it in a metal bowl until it resembled the teal color. Then, I used popsicle sticks to test the color. From this, I knew whether I needed more of one color or if I needed to add water to the mixture. You can see the actual sticks in the picture above.
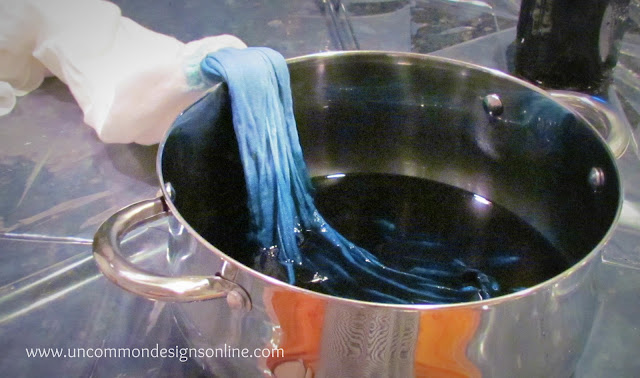
4. Now it is time to dip! Take a deep breath and dip the scarf all the way into the bowl with the die until you get close to the rubber band. You will then begin pulling the fabric back out a little bit at a time and squeezing the excess liquid dye as you go. I let the very bottom portion to soak about 5 minutes so it would be much darker than the top.
Once you have finished with the dye, you will put the colored section in a ziploc baggie and let it dry for 4-6 hours per the included instructions. After that, you will rinse the dyed portion and let line dry.
Trish Flake
Latest posts by Trish Flake (see all)
- Easy Leopard Painted Pumpkin - October 18, 2021
- Embroidered Swedish Dishcloths - May 3, 2020
- Easter Egg Decorating Party - March 21, 2020



so loving this!
so loving what you came up with using the dyes although I don’t think t-shirts will ever disappear.
Thanks Laura and I totally agree with you on the t-shirts! I am looking forward to making a few with my girls this Summer!
Take care,
Trish
I’ve never been a huge fan of tie dye, but this is something I actually LOVE. It turned out so absolutely adorable!
I love the burlap addition to the tie dye! What a fun project. You always, always, always have the best ideas!
Happy belated Mother’s Day to you!
blessings,
karianne
Love it! Looks so fun and it festive!
Debbie
Super cute and I love the subtle fade on the fabric, it’s really pretty!!
Perfection! I absolutely love it! Burlap and tie dye…who would have thunk it?
Jessica
So very cute!
So very fabulous! Seriously, it’s not hippie dippy tie dye. Though, now with the burlap, it may be accused of chippy dippy loving ladies tie dye …
🙂
Linda
Super cute project!!! Haven’t worked with dye in ages! Must change that stat!
Trish & Bonnie this turned out fantastic! I love that you used burlap in it as well. Megan
Love, love, love this! I need to make one in coral for my workspace – – so crafty & cheerful.
This is just fabulous!! Makes me want to find a reason to hang a tie dye banner in my yard or something!!
Seriously love this!
That is super cute! It would make a great window treatment!
I’m pining for future reference. Thanks.
You two are always thinking outside of the box. I just love the idea of a garland like yours. Thanks so much for sharing at Whimsy Wednesdays.
Oh my goodness!! Fabulous!! Gosh I would love a garland like that! I’ve never dyed clothing/fabric before, I’ve always been to nervous. You make it look easy!!
Thanks so much for sharing at The DIY Dreamer.. From Dream To Reality!!
I have that!! I have that tye-dye kit. Just sitting around waiting for something special. Not saying I’ll do this. Cause, well, cause you just did. And way better then I could. But still…I feel cool just to have something that you do. Sigh. Anyways…you both have a great week! Smiles and hugs!
This is a fantastic project! I love how it turned out. Would you consider linking it up at my Pinworthy Projects Party? I hope to see you there!
Love, love, love! I have an obsession with garland!!!
Love this garland. So clever & so pretty!
That is so cute!!! Very creative! Thanks so much for sharing at Thursday’s Temptation.
Jill
This is a great idea! It turned out really cute. Totally has the ombre effect going on!
Thanks for sharing!
–Katie
Such a cute idea!
Hi Trish!
I already visited one of your other items but I wanted to invite you to link this up, too! I have seen this done several times but your tutorial has to be the best by far! I am going to make these for my daughter.
Hope you have a great weekend!
Susie @Bowdabra
What a classy way to incorporate tie dye into your decor! I love the colours that you chose – much more subtle than some of the neons I immediately think of when I hear those words 🙂
So, so cute! I love this idea.
I’m excited to be a new follower! I would love you to follow me back at http://iheartpears.blogspot.com
This is so pretty! I think dyeing scares me still, but I’m really admiring this look!
Bobi
http://westernwarmth.blogspot.com
So cute! I just worked with burlap this past week for the first time and didn’t know how messy it was. Oh my! Thanks for sharing with us at Toot Your Horn Tuesday 🙂
How fun! I love the colors. I’d love for you to link it up to Crafty Cousins. http://crafting-cousins.blogspot.com/2012/05/what-i-wore-sunday-week-16.html
~Natalie
Holla! We’re your newest followers! 🙂
This is such a fun idea!! We are so glad you came to another week of our fun “Strut Your Stuff Saturday”. Please join us again! -The Sisters
I love the garland! So cool.
This is way cool! Would LOVE it if you would link this project up at my brand new Trendy Tuesday party going on right now!!
So so pretty! Beautiful even. I pinned it!
This is such a great idea … I can even see a little valance of sorts in my beachy bedroom! Thanks so much for sharing this with us at the {what’s shakin’ link party}!
How fun! Looks like a great kit! Thanks so much for sharing at Mom On Timeout!
Featuring this today, too! You guys are amazing!:)
Ginger @ gingersnapcrafts.com
This is a cool technique and i’m starting to see it a lot. You have a wonderful tutorial here -i’m book marking you! Can I pin it on pinterest??
Thanks so much for linking up to make the Scene Monday…you are being featured later today!
Thanks again for linking this up, I featured you today!
http://thecraftedsparrow.blogspot.com/2012/05/linking-up-with-crafted-sparrow-8.html
Featuring you today!!! Love it!!! XO, Aimee
would love to feature this on my blog, dedicated solely to bunting, garlands, banners, etc. Is that okay with you?
featuring this today!