We are excited to introduce Jen from New Green Mama today! She has so many cute projects on her blog, like this Reversible Messenger Bag Tutorial that she is sharing with us today.

Hey there!! Thanks so much for inviting me to participate in Uncommon Design’s Tuesday Trade Off. I am so happy to be sharing my Reversible Messenger Bag Tutorial with you guys today.
Enjoy!
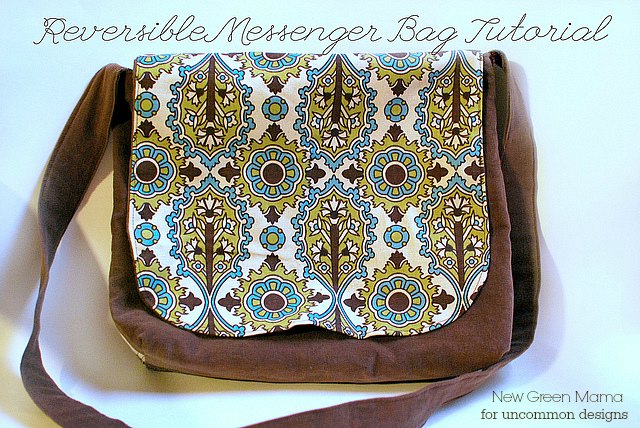
Here are the supplies you will need for sewing the Messenger Bag:
- Main body -2 pieces of home dec weight fabric or corduroy measuring 14″ x 12″ (Fabric A)
- Main body-2 pieces of contrasting home dec weight fabric measuring 14″ x 12″ (Fabric B)
- Flap- 1 piece of Fabric A- 12″ x 11.5″
- Flap- 1 piece of Fabric B- 12″ x 11.5″
- Back Pocket- 1 piece of Fabric A- 14″ x 8″
- Back pocket- 1 piece of Fabric B- 14″ x 8″
- Small Pocket- 1 piece of Fabric B- 7″ x 12″
- Strap- 1 piece of Fabric A- 6″ x 42″
Cut out all your pieces.
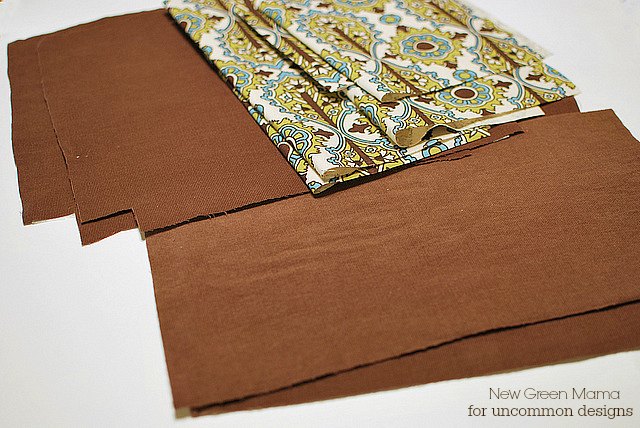
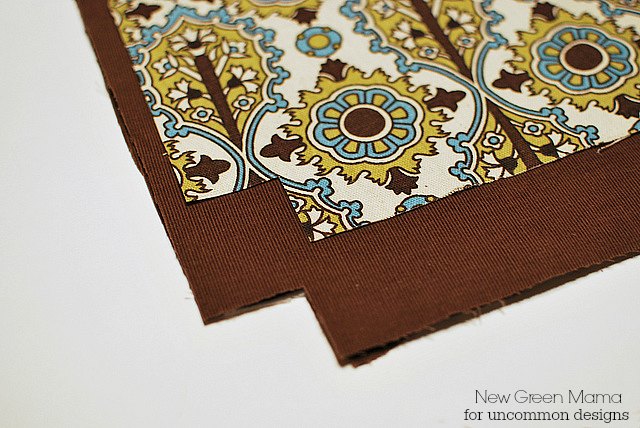
Cut a 1 inch square out of the bottom corners of all 4 pieces.
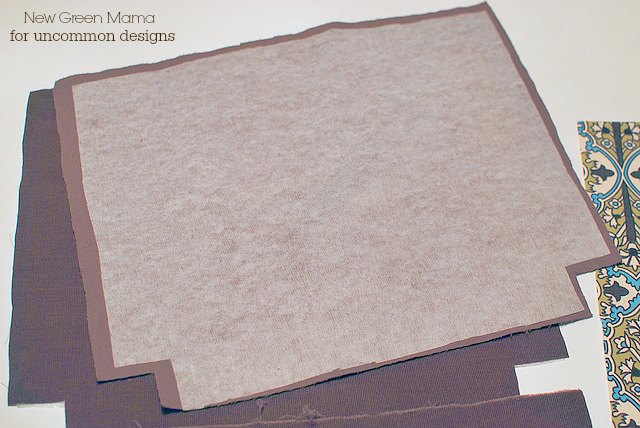
Interface pieces. I used a lightweight iron-on interfacing.
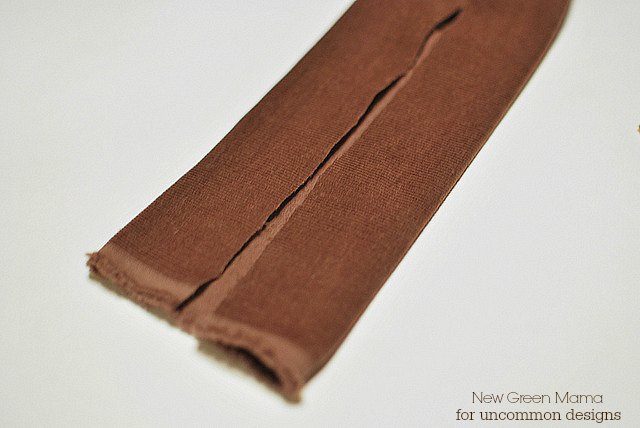
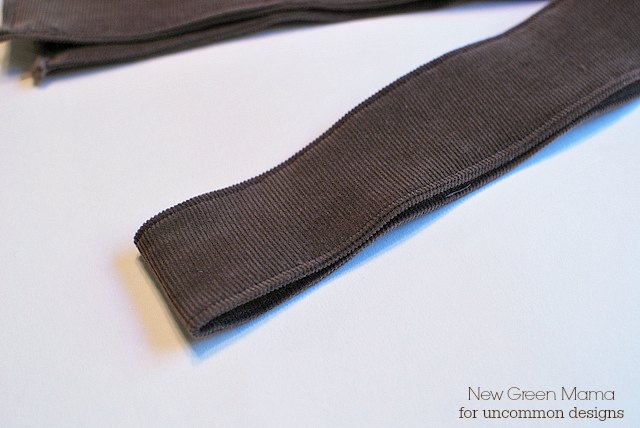
Take your strap piece and iron each side towards the middle.
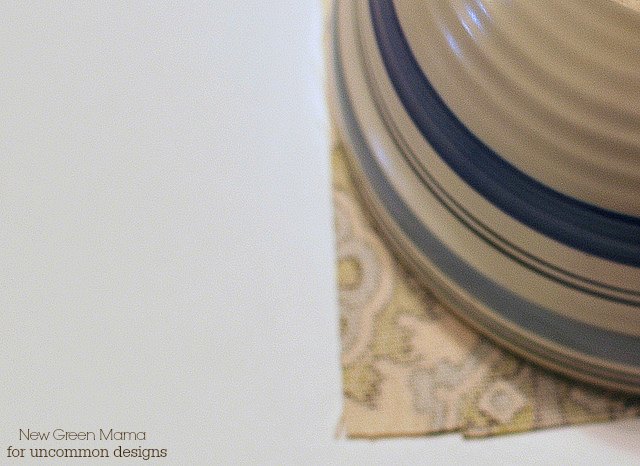
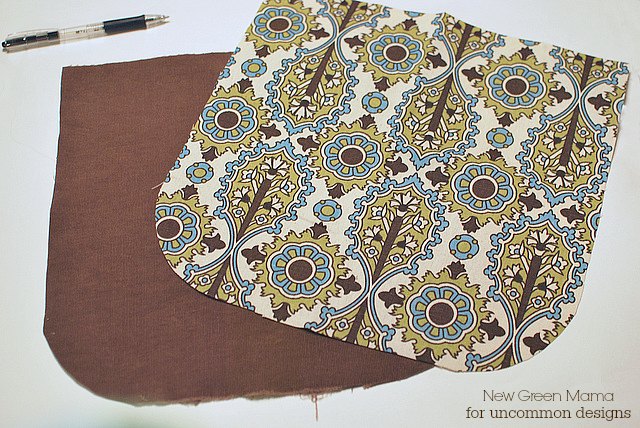
Round the corners of the flap pieces. I used a bowl.

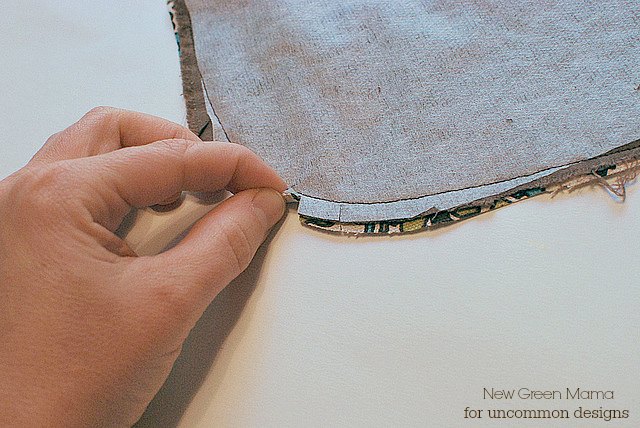
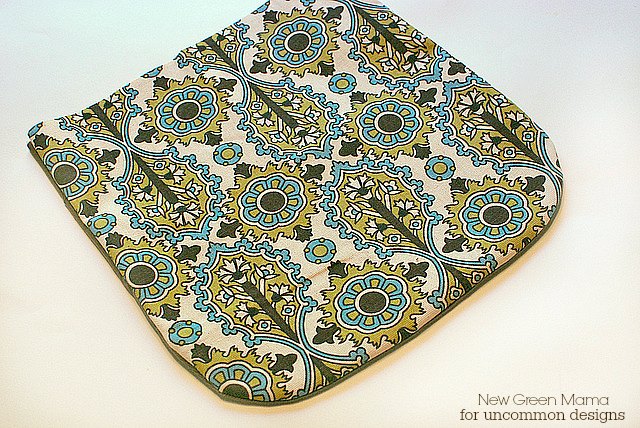
With right sides together sew your pocket pieces across the top and bottom leaving the sides open.
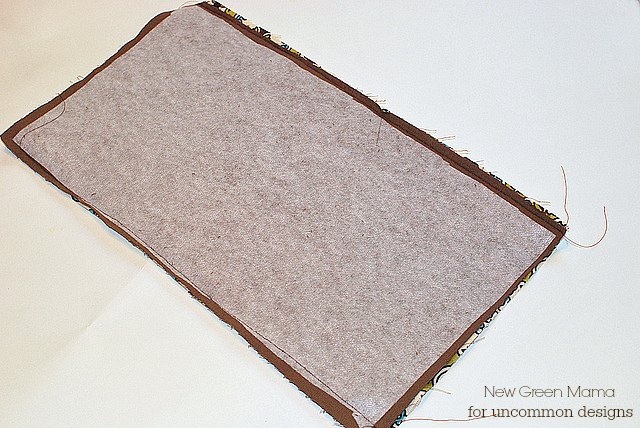
Turn right side out and topstitch the top and bottom.
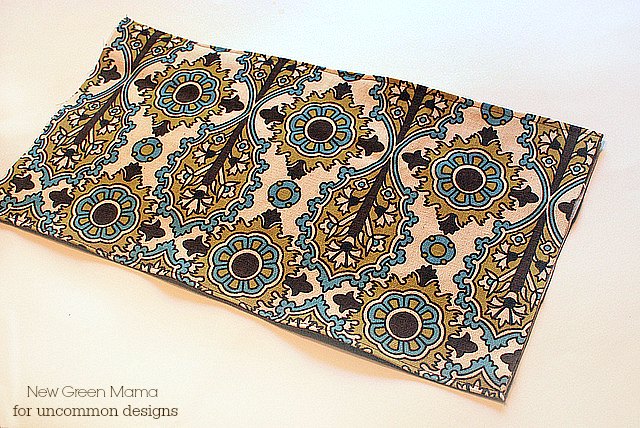
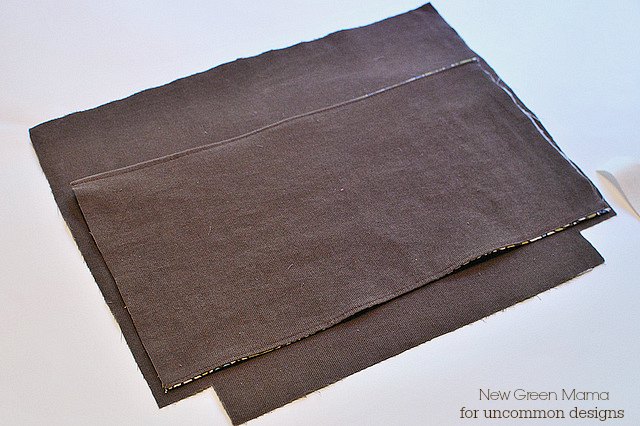
As you can tell from the photo my pocket was a little short on the side so I decided to add a strip of twill tape on each side.
Stitch across the bottom of the pocket. I stitched 2 lines to add extra support.
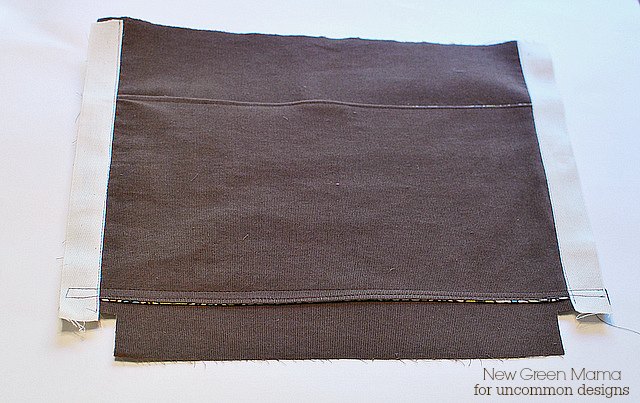
I did not get a photo of the this, but take the small pocket pieces and fold in half with right sides together. Sew all the way around leaving a gap for turning. Turn right side out. Top stitch across the top of the pocket. Then sew pocket to a main body Fabric B piece like below.
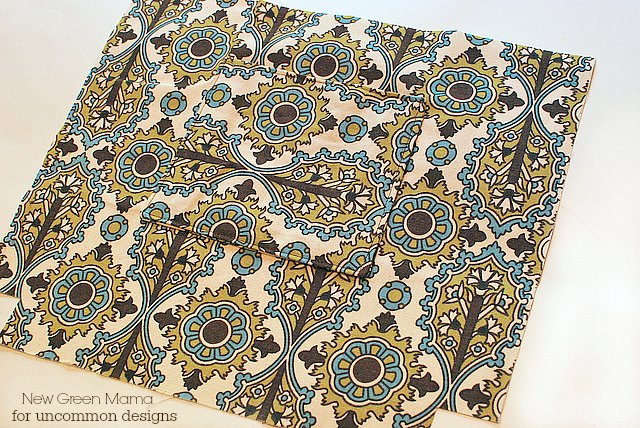
Take your 2 main body Fabric A pieces with right sides together and sew along each side and the bottom. Do not sew the square that you cut out of each piece.
Repeat with your Fabric B pieces.
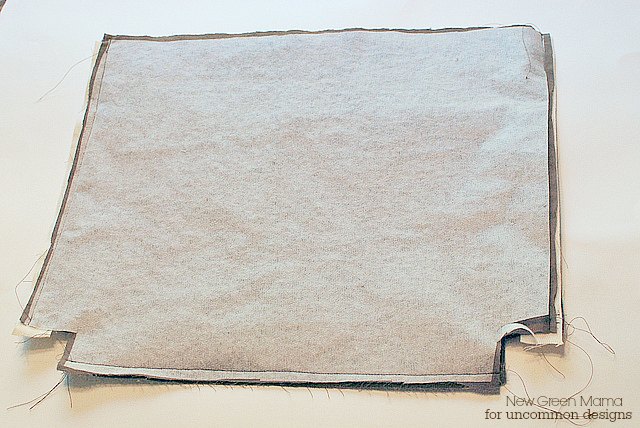
Take your main body pieces and box the corners and sew. See photo below.
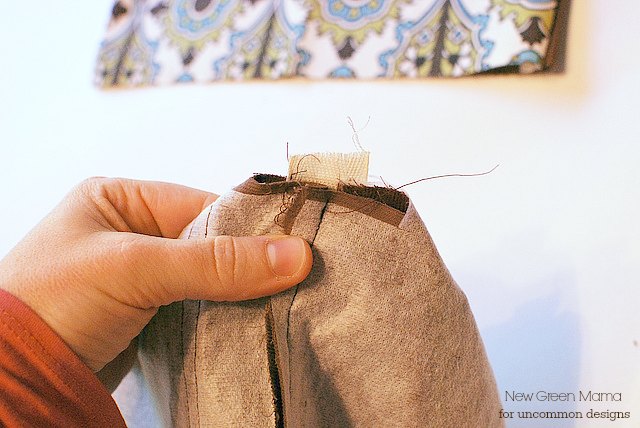
Turn the Fabric A main body right side out.
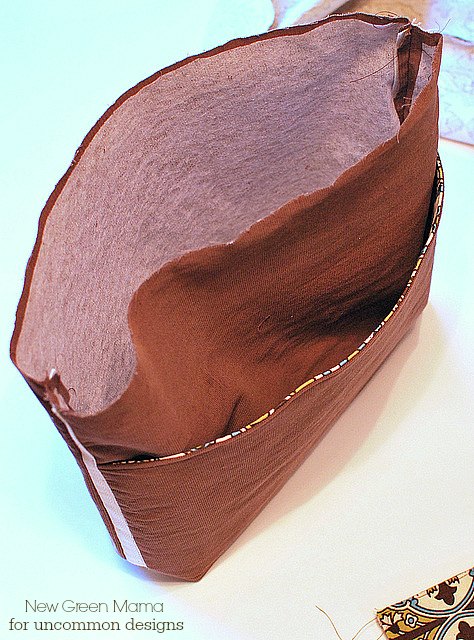
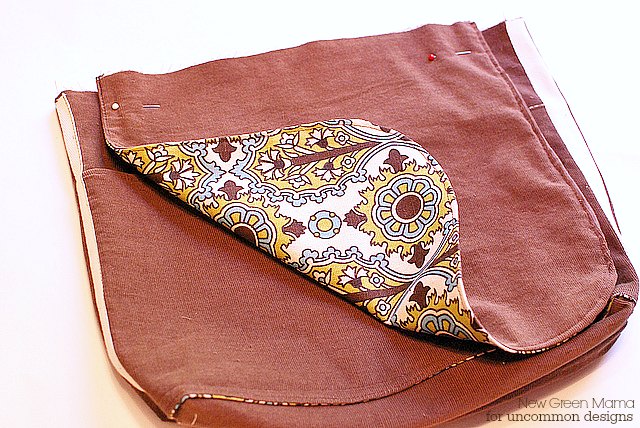
Center the straps on each side. Baste in place.
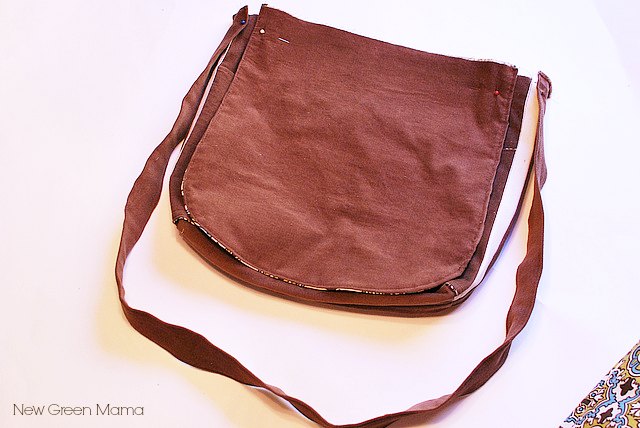
Take your Fabric A main body and place it inside the Fabric B main body. Rights sides will be together.
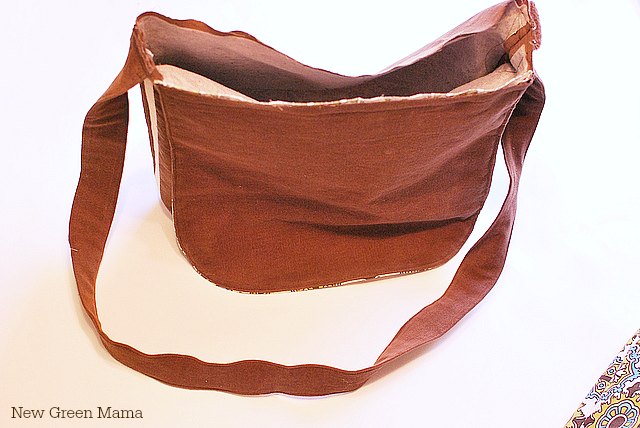
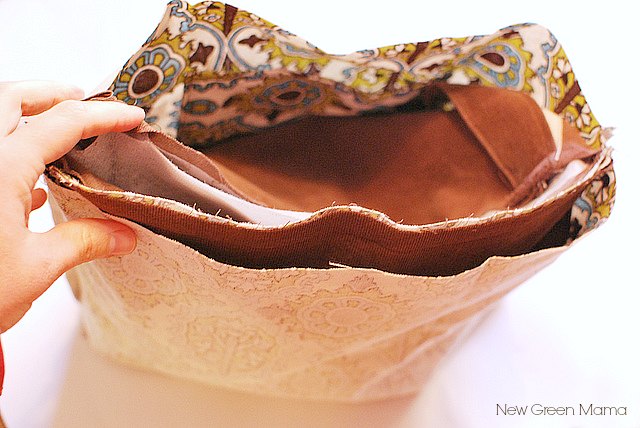
Sew around the outside of the bag leaving a 3 inch gap for turning. Make sure to leave the gap is on the opposite side of the flap.
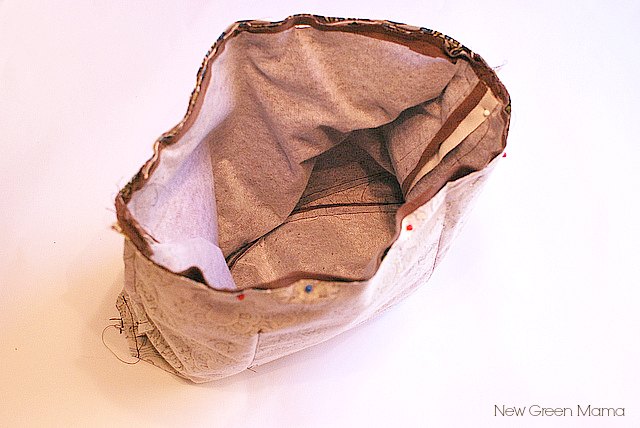
Turn the bag right side out through the opening.
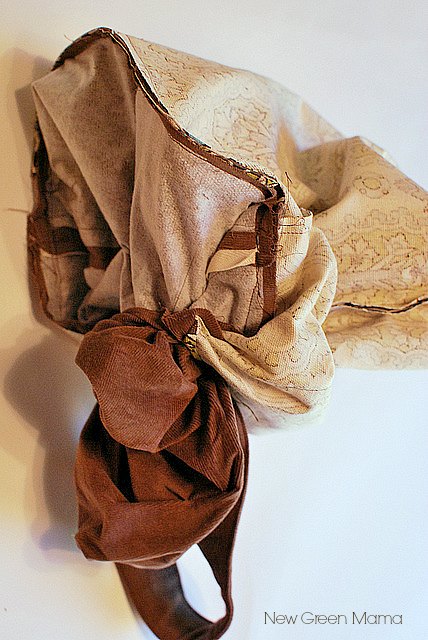
Push the Fabric B part of the bag inside the Fabric A part of the bag.
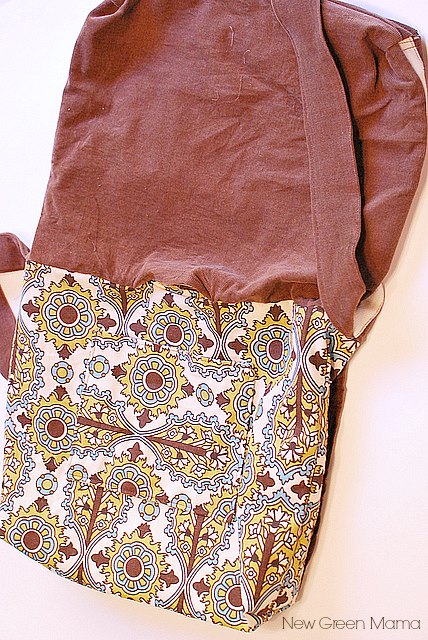
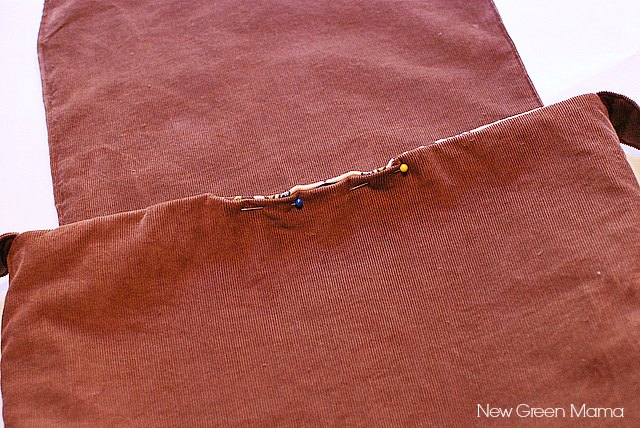

You are done.

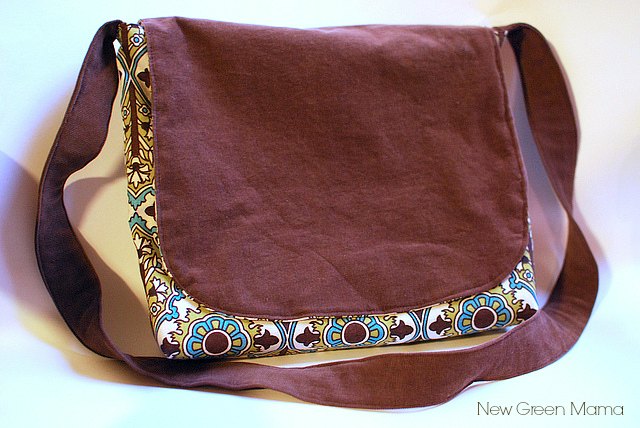
Thanks Jen! You can find Jen and more of her awesome projects on her blog, New Green Mama
Trish Flake
Latest posts by Trish Flake (see all)
- Easy Leopard Painted Pumpkin - October 18, 2021
- Embroidered Swedish Dishcloths - May 3, 2020
- Easter Egg Decorating Party - March 21, 2020
Leave a Reply