We are part of the Core Blogger Program for DecoArt. We received product and compensation, but all opinions are 100% ours.
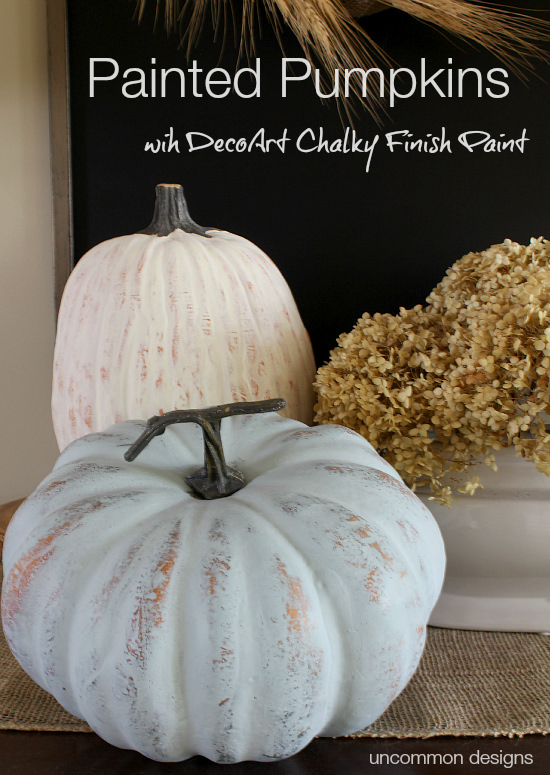
Want to know what I love about craft stores? The seasonal items go on sale way before the actual holiday arrives. It is awesome, right? I snatched up some faux pumpkins a few weeks ago for 50% off. Don’t get me wrong, I love an orange pumpkin, but I wanted a more subtle look for my fall and Thanksgiving decor. So let me show you my Painted Pumpkins using DecoArt Chalky Finish Paint…
Beautiful! The colors are just perfect..vintage, soft, neutral…a great accent for your fall decorating. I even distressed them just a bit to let the orange show through. Don’t worry, I will show you how to get that lovely look.
So let’s get painting!
_________________________________
SUPPLIES NEEDED:
1. Faux Orange Pumpkins in sizes of choice.
2. DecoArt Chalky Finish Paint in colors of choice. { I used Lace and Vintage }
3. Foam Paint Brushes.
3. Extra Fine Grit Sanding Block
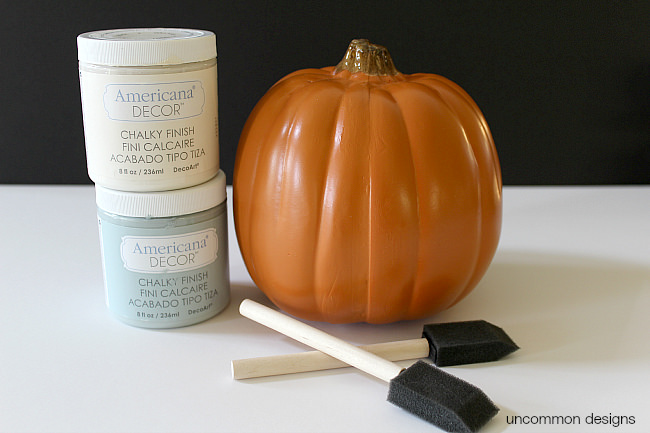
If you have never used the DecoArt Chalky Finish Paint, you are in for a treat. The colors are dreamy and it coats so well. The finish is matte and gives your projects a very vintage and rustic feel. You might just find yourself painting LOTS of things around your home.
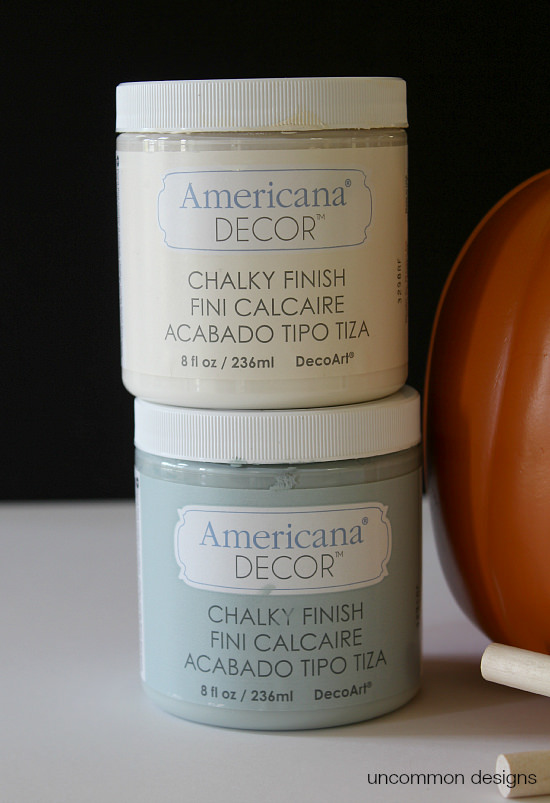
The hardest part of this project will be what colors to choose. The Lace is a beautiful off-white and the vintage is a gorgeous bluish- green color.
STEP ONE:
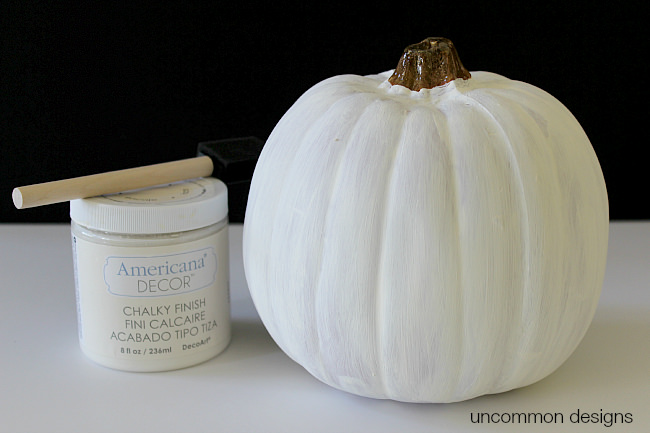
You are going to love how many steps this project has….2 ! The first one is to simply paint a few coats of the Chalky Finish Paint onto the orange faux pumpkin. I painted 3 coats to get a great coverage, but you could get away with 2 easily. I did not paint the brown stem, I simply left it as is. Allow your little painted pumpkin to dry fully.
STEP TWO:
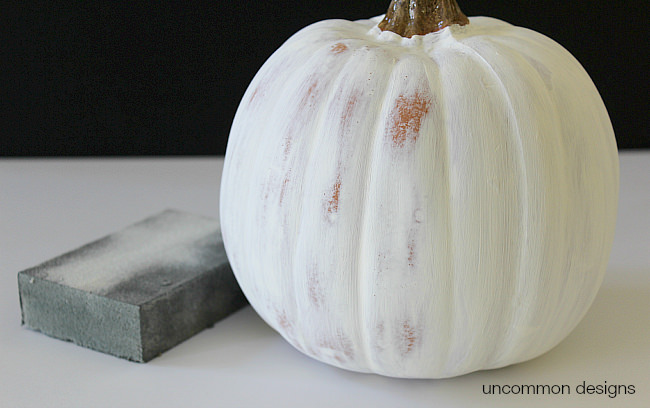
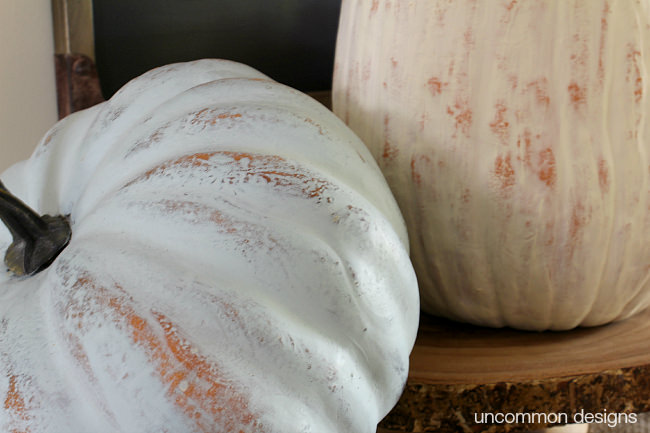
Using the extra-fine grit sanding block, simply start sanding away areas on the pumpkin to allow the orange to show through. You can see in the photo above that the left side has been sanded and the right side has been left painted. I think the distressing allows for the pumkins to have more of a rustic, natural feel. That is the look I was going for. If you have more of a modern look in your fall decor, you could leave the pumpkin simply painted the Lace color.
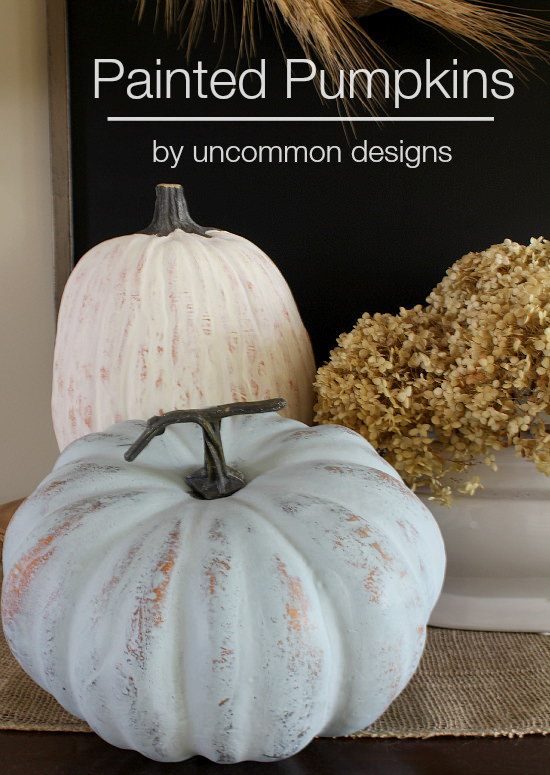
You are all done! I did quickly wipe my pumpkins with a damp cloth to get all the sanding residue off. I really love how these turned out. A complete bonus that the entire project was quick and required 2 steps! So what are you waiting for, go snatch up a few faux pumpkins!
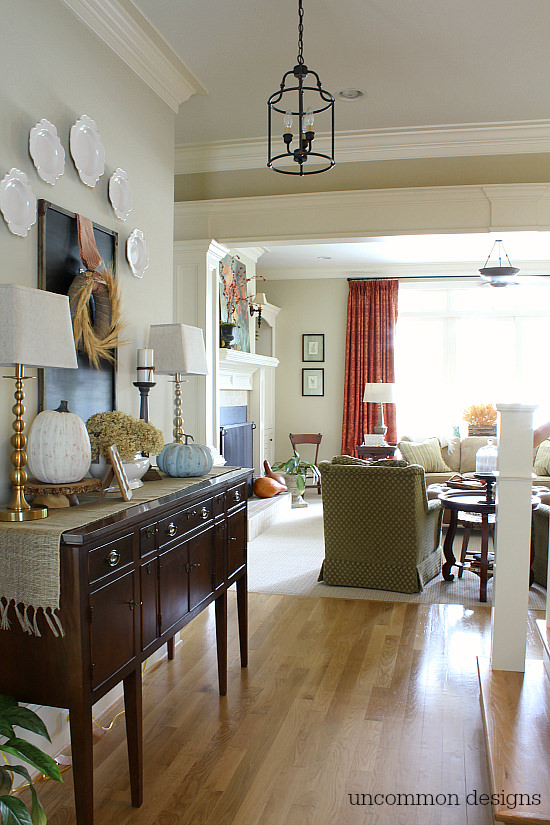
These little guys have a home in my foyer on my buffet. You may have caught a glimpse of them in my Fall Home Tour earlier this fall. They really add a beautiful touch to my fall decor.
Once you try out the DecoArt Chalky Finish paint, you are going to want to use it on a few more projects. Make sure to check out my DIY Ticking Stripe Wooden Server Tray and my DIY Stripe Painted Baskets. This paint is so versatile and you might just become a little addicted to painting!
this post contains affiliate links
Trish Flake
Latest posts by Trish Flake (see all)
- Easy Leopard Painted Pumpkin - October 18, 2021
- Embroidered Swedish Dishcloths - May 3, 2020
- Easter Egg Decorating Party - March 21, 2020
I love the painted pumpkins. I paint mine too, but I love the chalk paint look that you did. They look distressed which is my favorite look! Thanks for the great idea!!
Just discovered you in The Inspiration Gallery at Zevy Joy. I’m planning to paint some dollar store pumpkins next week! I’ve used this brand of chalk paint before, it’s a good one 😀 Nice to meet you!
I pick up pumpkins every year to paint – I love how easy they are to customize to your tastes and decor. I like the slightly rustic look you gave to yours. Thanks for linking up with Merry Monday this week; I’ll be featuring your painted pumpkins at our upcoming party. Hope you’ll stop by again to join us!